Potted roses: cut them this way and they will thrive beautifully
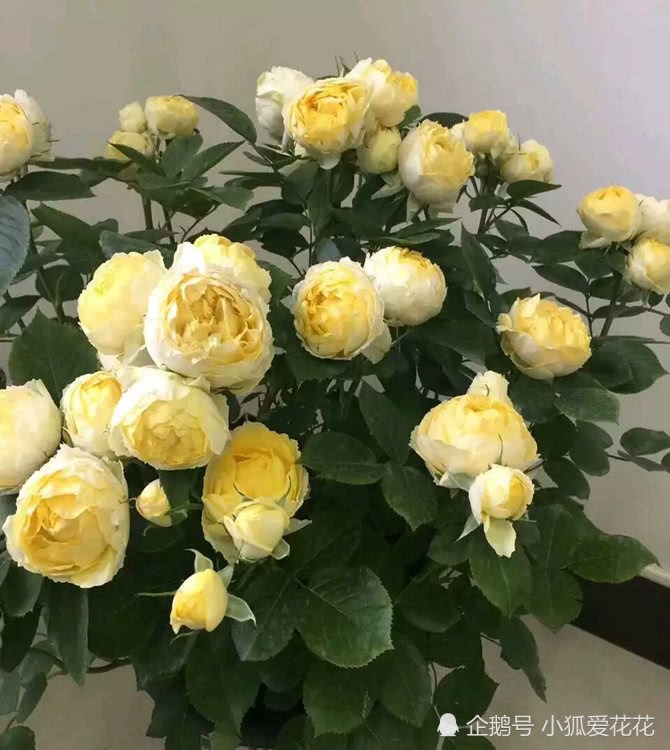
Roses do not have the noble character of the lotus, which "emerges from the mud yet remains unstained," nor the seductive charm of the rose; they have only ever-changing forms, and it is precisely these forms that have won them the affection of so many flower lovers.
Now that autumn has begun, flower lovers are busy taking rose cuttings, but after cuttings are planted, they easily develop black stems, and even if they survive, they need a long time to recover. Today the editor will introduce a method for "taking cuttings" of potted roses; with this method, they not only survive easily but also grow beautifully.
Step 1: The branch must be "healthy"
Before taking cuttings, you must of course choose a healthy branch, so that it survives easily. What is a healthy branch? When looking for a branch, make sure it has not suffered pest damage and has no bacterial growth, and that its color is mainly dark green; if it is tender green, do not choose it. If you see many bud nodes and the branch is also hardened, so that it does not bend easily when you bend it by hand, then you can cut it off.
Step 2: The bottle must be "cut at an angle"
Choose a mineral water bottle, then use scissors that have already been sterilized at high temperature to cut off the upper part; the bottom also needs a slanted opening cut into it, because only in this way can the branch absorb more water after cuttings are taken, and it also helps the rose take root.
Of course, the bottle body also needs to be disinfected. First prepare some carbendazim, dilute it with water at 1000 times, then dip a clean towel in it and wipe every part of the bottle; wait until it dries, and it is ready.
Step 3: The soil must be "nutritious"
The requirements for choosing soil are neither high nor low; it is best to use loose soil, such as garden soil and worm castings, mixed at a ratio of 2 to 1 to make nutrient soil. Preparing nutrient soil allows the branch to absorb more nutrients and promotes rapid rooting. At this point you can put the nutrient soil into the bottle, insert the branch into the soil, and wait for it to take root.
Step 4: Water must be "timely"
This step is very important. All things cannot do without water, so during the rooting process the rose needs the potting soil to stay moist. Spray it with water in the morning and evening; if there are leaves, you can sprinkle them too, so the leaves can also absorb water and will not wilt. After about 20 days, new roots will grow, and then once the roots have grown more, you can transplant it into potting soil.
Step 5: The pot must "drain water"
Choosing the pot is also very important. You can choose a terracotta pot; this kind of pot has better water permeability, and the rose's roots are not prone to rot. The size of the pot's space is best with a radius of about 17 cm. This is because roses like to spread out their roots during growth; if the pot's space is too small, it easily causes the roots to lack air and leads to wilted leaves.
Step 6: Fertilizer must be "sufficient"
After transplanting into potting soil, you can give it a little fertilizer after about one month. This is because with enough nutrients, the rose can absorb them and grow better. You can use liquid fertilizer specially made for roses; this nutrient solution has relatively complete ingredients and can promote rooting and sprouting in roses. Use it about once every ten days; 1 drop diluted in 500 ml of water and sprayed on is enough.
The above is the method for taking cuttings of potted roses. With this method, they grow even more beautifully.