The Complete Guide to Bouquet Wrapping: A Must-Read for Florists
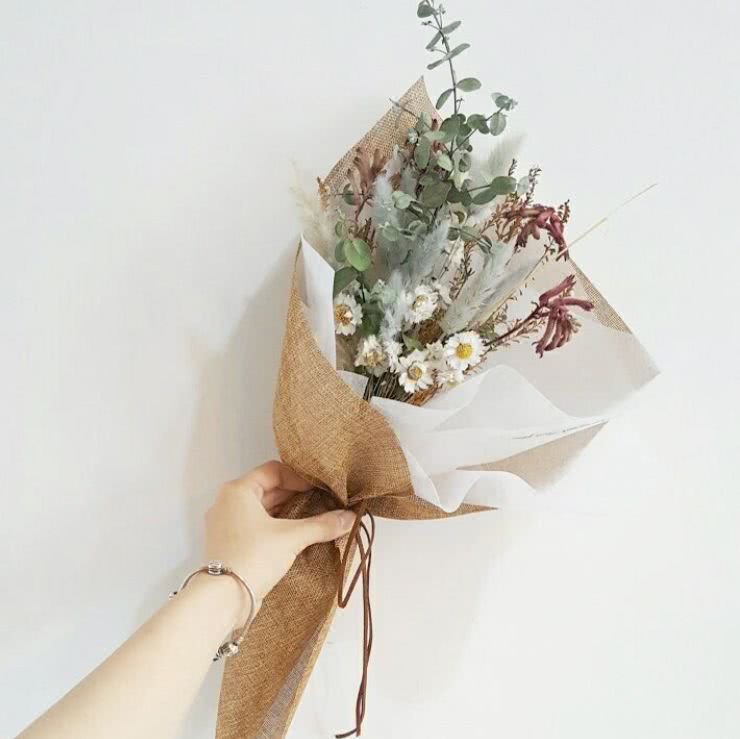
All About Bouquet Wrapping: A Must-Read for Florists!
Q1: I want to make a bouquet, but I don't know what flowers to choose. Are there any must-have floral materials?
A1: A bouquet can express the creator's mood and personality. There are no hard-and-fast rules for choosing floral materials, but if you want to make a bouquet with a sense of beauty, you can follow the experience and methods of those who came before you.
First, following natural principles, divide the floral materials into three categories: large, medium, and small. Then carefully observe the characteristics of the materials and set specific goals - you can try either making the bouquet according to the temperament of the materials or selecting materials to match the shape of the bouquet.
Some materials are suited to being placed at the center of the bouquet; some are suited to rising upward; some are suited to bending in the middle and then extending downward; some small flowers are light, clever, and lively, suited to resting above the bouquet... In short, the most important thing is to grasp the characteristics of the materials themselves and create from there.
Q2: I want to make a free-style bouquet. What shape is best? I always feel like I just can't get a grip on it.
A2: Bouquets can be divided into round, elongated, cascading, natural, and so on. If you want to make a free-style bouquet, first observe the growth state of the materials you have chosen: straight and firm, round and lush, or curved and twisting? As long as you follow the shape of the materials themselves and work to highlight their characteristics, the shape of the bouquet will naturally come to mind. What remains is to determine the center of gravity and maintain balance. This is also where the fun of free-style bouquets lies.
Q3: Before making a bouquet, you must tidy the leaves and stems. To what extent should they be trimmed?
A3: Bouquets can be divided into many types according to size and shape. A small bouquet needs at least half trimmed away, while a large bouquet only needs one third of the leaves and stems trimmed away. In fact, during the process of making a bouquet, you also need to trim excess leaves at any time, so you should still accumulate experience. Once you have done it more, you will know how to treat them differently - for example, to secure the materials, sometimes you need to keep more leaves as a buffer; some materials dehydrate and wilt easily, so more leaves should be removed.
Q4: When making a bouquet, the materials always slide down, especially gerbera daisies. With one moment of carelessness, they slide down. Is there any way to secure the materials?
A4: The key is the way the stems are tied - you must secure the stems in a spiral style, and no gaps can be left in between. Even for materials like gerbera daisies that slip easily, as long as the stems are in close contact with no gaps between them, they will not shift out of place.
The shapes and hardness of stems are all different. If you find gaps between the stems, find another suitable stem and insert it in. To know what kind of stem is suitable for filling gaps, you must keep practicing and trying, and you will naturally get the feel for it.
In addition, materials always sliding down may also be because there is a lack of green leaves as a buffer. Gerbera daisy stems are very smooth. The best method is to first secure the other green leaves and materials, and then insert the gerbera daisies from top to bottom.
Q5: The book says "Use the center of the bouquet as the axis, selecting and making at the same time," but when rotating it, there is no way to let go. What should I do?
A5: To rotate while making a beautiful bouquet, the technique lies in your right wrist. After your left hand grips the bouquet, your right hand lightly but firmly holds a position slightly lower down, gently releases, rotates the bouquet by turning your wrist, and then immediately grips it again. Also be careful not to let gaps appear between the stems, and always keep the center of gravity balanced.
Q6: At the beginning, I clearly determined the center, but as I kept working, somehow the center became off.
A6: When making a bouquet, use the first flower as the center. The key point is: add materials while rotating the bouquet, and when adding, it must be dense and tight enough, with no gaps left. Keep the center of gravity in the exact middle at all times, carefully add materials, and keep the materials at a 45° tilt.
Remember, the center of gravity must be in the exact middle! If the first flower is off, the center of gravity will shift along with it. Once the center of gravity is off, there are only two choices: one is to start over; the other is to take out the first flower, find and adjust the center of gravity, and then insert it again.
Q7: After the bouquet is completed, I often accidentally cut the stems too short. How long should the stems be left to look good?
A7: After perfectly tying the materials together in a spiral style, it is very easy to cut the stems too short because you want to emphasize the beauty of the stems. I think the most basic proportion should be two above and one below, using the binding point as the boundary - that is, let the stem length account for one third of the whole bouquet. This gives the best sense of balance.
However, if you want to place the finished bouquet in a vase, or hold it in your hand as a bouquet, you can cut it shorter. In any case, remember to let the stems account for one third of the whole, reserve some extra length beyond that, and then begin fine-tuning.
Q8: I wanted to tie a bouquet in a spiral style, but there were too many materials and I couldn't hold them. What should I do?
A8: The spiral style, as a floral technique, was invented precisely so that even when there are many materials, the bouquet can still be held easily in the hand. Stems vary from thick to thin, from curved to straight, and some are jointed. The so-called spiral style is binding these very different stems tightly together, offset from one another.
If the shape of the bouquet changes after tying, it means your spiral style is not yet perfect. If you feel there are too many materials to hold in one hand, you can first secure them with a rubber band, then reinsert materials from above and adjust their positions.
(This article comes from the internet)
--THE END--
Wild Nature of Flowers
The most readable WeChat public account in the floral field
Flower enthusiast exchange: zouzaidalulogo Design: zouzaidalu
Floral aesthetics | Plant aesthetics | Life aesthetics | Plant & floral exploration