Add this to your Clivia in autumn, and its leaves will be thick, plump and glossy, blooming non-stop
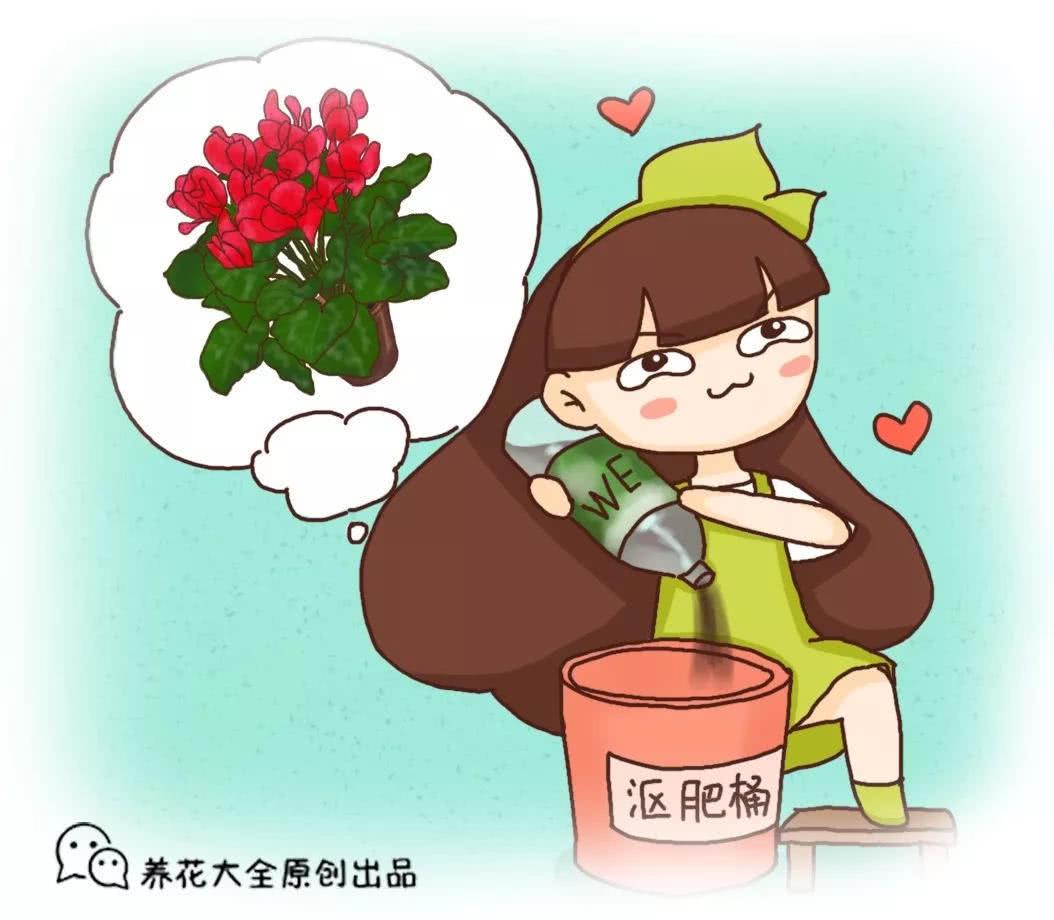
Autumn is here! With the heat of summer gone, all kinds of potted flowers have resumed growth, especially plants that bloom in winter. Now is the perfect time to fertilize. Below, let's take a look with Huahua at how to fertilize the potted plants at home!
Give your Clivia a feeding, and its leaves will be shiny and dripping with oil!
Lately many people have been asking Huahua: autumn is here, can Clivia be fertilized? Huahua would say of course it can, but for gardening friends in the south, I still suggest waiting until the highest temperature stays below 30°C before fertilizing~
Autumn is the growing season for Clivia, so you must apply fertilizer to make full preparations for flower bud differentiation.
Fertilizing method:
1. Clivia has just come through the hot summer and is in the stage of resuming growth. It is best to first apply an organic fertilizer complete in nitrogen, phosphorus and potassium. For example, roasted hemp seeds, fully decomposed and fermented cake fertilizer, bone meal and the like can all be used as base fertilizer applied along with the autumn soil change.
If you do not plan to repot, we can also bury the above solid fertilizers directly into the potting soil, at a depth of about 2cm, being careful not to let them come into direct contact with the roots.
2. Apply fermented cake fertilizer water or fishy water as a top dressing once every half month. By October, begin increasing the amount of phosphorus and potassium fertilizer to promote the plant's flower spike. At this time it also needs plenty of light and a sufficiently large temperature difference for the plant to bloom smoothly.
Give your Kalanchoe a feeding, and buds will come popping out!
With clear autumn skies and brisk air, Kalanchoe has also woken up. The next 3 months are the plant's peak growing season. Seize the timing and apply fertilizer, and a pot bursting with blooms is no dream.
Fertilizing method:
1. For small newly rooted cuttings, we must wait until they have grown roots before fertilizing. When the seedlings grow to three or four pairs of leaves, they should be pinched. During the growing period, start applying nitrogen fertilizer to promote the growth of branches and leaves.
2. Autumn is exactly the plant's bud-forming period, so supplement it with phosphorus and potassium fertilizer to promote flower bud differentiation. We can choose to use phosphorus and potassium fertilizer as a soil drench, then about once a week spray the leaves with monopotassium phosphate, so the leaves can also absorb part of the fertilizer, hitting it from two sides at once.
In autumn, be sure to give the plant plenty of sunlight, and stop fertilizing once the plant blooms.
Give your ZZ plant a feeding, and its leaves will be sturdy and its branches won't fall over!
Many gardening friends say that when the ZZ plant first came home it looked very sturdy, but after a while the branches and leaves slowly grew thin and small. That is because it lacks fertilizer!
Fertilizing method:
1. We can add base fertilizer when planting, either cake fertilizer that we compost ourselves at home, or a slow-release compound fertilizer.
2. During the vigorous growing period, the plant's demand for nutrients is relatively large. We can mix 0.2% urea with 0.1% monopotassium phosphate, or apply the balanced fertilizer calcium nitrate.
3. Note that when there is little light and poor photosynthesis, the fertilizer supply should be reduced. Also, in normal times, remember to apply thin fertilizer frequently, otherwise if fertilizer burn occurs, the loss will outweigh the gain.
Have you learned these fertilizing methods?
The summer dormancy period has already passed
Go and fertilize the flowers and plants at home
and replenish their nutrients~