Four essential orchid care techniques that can save its life at a critical moment
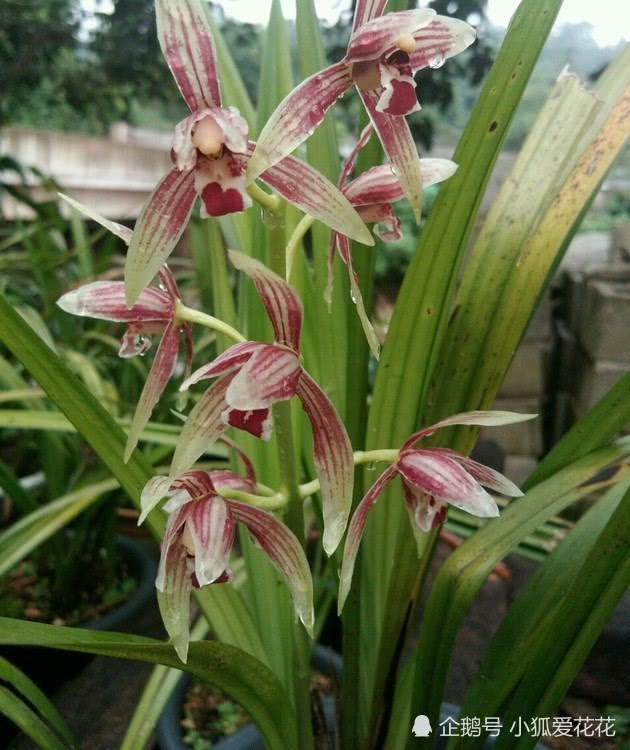
Orchids are no stranger to everyone; what is unfamiliar is not knowing how to deal with it when disease appears, and that is a major problem. To solve disease problems, you still need a pair of observant eyes, and these eyes are what can promptly detect whether an orchid is actually healthy or unhealthy. When growing orchids, mastering these four "techniques" will let you identify what disease an orchid has, and at a critical moment it can save it.
The first major technique: look at the spots
In the early stage of orchid leaf withering, there may be just a tiny few small spots, distributed respectively at the leaf tips and the front part of the leaves. Over time you will find that the spots become more and more numerous and are grayish-brown; at this point, the entire leaf will wither and die. What should be done about this?
Ventilation needs to be strengthened, and the distance between flower pots should not be too close. It is best to replace the soil with new soil, and disinfect the new soil with high temperature. Cut off those leaves that have already become diseased, so that other leaves do not suffer along with them. In the early stage of disease, Bordeaux mixture can be sprayed, once about every 8 days. If it has already reached the middle stage or beyond, use carbendazim spray, which can control the condition.
The second major technique: look at irregular spots
If there are spots on the leaves such as round, semicircular, and various other shapes, then it has anthracnose, and at this point measures need to be taken. First, all the diseased leaves must be cleaned up, and then some corresponding medicine should be sprayed.
The third major technique: look at scorched leaf tips
Scorched leaf tips are generally caused by excessive fertilization or the use of unsuitable materials. The solution is very simple: just cut off the scorched parts. As for fertilizer water, do not apply concentrated fertilizer; you can use a special orchid nutrient solution for conditioning, spraying about once every ten days. For materials, coconut coir soil can be used; disinfect it before use to avoid carrying bacteria. Then spray carbendazim regularly, about once every 8 days.
The fourth major technique: look at blackened leaves
Blackened leaves means that there will be purplish-black on the leaves, but when you turn them over, the back is actually green. This may be caused by a lack of phosphorus fertilizer. Since it is caused by a lack of phosphorus fertilizer, corresponding measures should be taken. Move the flower pot to a relatively warm environment and supplement phosphorus fertilizer. If it still does not work, then the only option is to repot and check whether there is root rot.
If there is root rot, all the rotten roots need to be cleaned away, then wash the orchid with clean water, and soak it in a basin containing potassium permanganate solution for about 25 minutes. Take it out and apply plant ash to the wounded areas to prevent infection.
A warm reminder from the editor to flower lovers: pay attention to ventilation at ordinary times, do not always keep orchids in a room with poor ventilation, and do not apply too much fertilizer. Choosing organic fertilizer helps orchid growth.
As for watering, water when the soil looks dry. Do not pour a large amount all at once just for convenience, to avoid root rot. Once again, when growing orchids, mastering these four "techniques" will let you identify what disease an orchid has.