Clivia repotting in early autumn with 1 extra ingredient: more new shoots, thick glossy green leaves and vigorous flower spikes
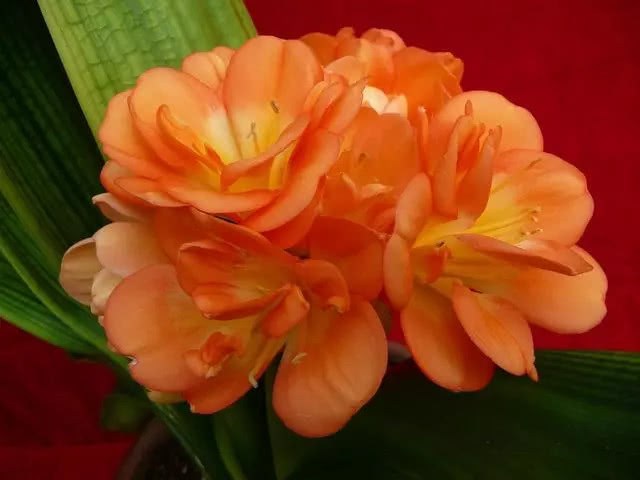
Clivia has long been known as the "gentleman of humility." It is not only modest and courteous, dignified and graceful, but also elegant and beautiful. No wonder so many flower lovers adore it; many friends around me keep it indoors, especially in the study, where it carries an even stronger meaning of noble purity.
In early autumn the weather gradually turns cool, and the dormant clivia wakes up again. At this time, one very important task is to repot and change the soil for the clivia, because its root system is very well developed, and after a year of growth it has basically filled the entire pot. Careful flower lovers can check the bottom of the pot to see whether the roots have already filled it. The nutrients in the potting soil have also been absorbed almost completely.
In autumn, to make the clivia sprout many new shoots, get through winter smoothly, and burst into bloom when spring begins the following year, you must do several things well when repotting, to ensure the clivia gets a sufficient nutrient supply and normal growth. After repotting, you can add some organic nutrient solution specially made for orchids, rich in nitrogen, phosphorus and potassium, purely plant-fermented, green and eco-friendly, and very suitable for absorption by the fleshy roots of clivia.
Huadongde orchid-specific soil nutrient solution, clivia potted flower-promoting organic fertilizer, liquid compound fertilizer for plants
¥38
Buy
The first step is to start a water-control plan for the clivia that is going to be repotted. It is best not to water it for a week, until it can be removed from the pot smoothly, so as to reduce damage to the root system. After removing it from the pot, you can wash all the soil off the roots with water, then use sterilized scissors to trim away the empty roots, rotten roots and old roots, then soak it in a 1000-fold potassium permanganate disinfectant solution for about 2 hours. Take it out, coat the wounds with plant ash to prevent infection, and let it dry before potting.
The second step is filling the soil. To enhance the drainage of the soil, add a few pieces of coal cinder at the bottom of the pot. Why does the old flower lover's clivia bloom so brilliantly every year? The secret lies in the next step. He adds a thin layer of sunflower seeds on top of the coal cinder. The old flower lover has pre-treated these sunflower seeds, already washed and sun-dried; using raw ones would probably grow sunflowers, haha.
Many flower lovers overlook this step, while experienced flower lovers attach great importance to it. This kind of nut, such as sunflower seeds, peanut shells and walnut shells, is rich in nitrogen, can improve the potting soil environment, and makes the clivia grow thick, fat, green leaves and shoot out new buds vigorously. If conditions allow, adding dried sheep manure balls works even better, and you will not need to fertilize for half a year.
The third step is potting the plant. To make the roots and soil stick closely together, when potting we can stuff a fistful of soil among the roots of the clivia, wrap it well, hold the whole plant and tilt it at 45 degrees to put it into the pot as a whole, center it on the pseudobulb, straighten the plant, and while shaking it add sterilized leaf mold, so that the soil and roots can fit tightly together and avoid empty roots. Finally, spread a layer of small granular soil on top to hold it in place.
The fourth step is watering to settle the roots. After potting, we can leave it without watering for a while, because the fleshy-rooted clivia has a certain water-storage capacity, so it is fine not to water it for a few days. Also, at this time the wounds of the clivia have not fully healed, and watering may cause wound infection and make it slower to establish. First move the plant to a cool, ventilated place to grow, water to settle the roots after 5 days, and then carry out normal care.
For flower lovers with insufficient care experience who do not understand watering and fertilizing, you can use a plant and flower detector to help. Just insert it into the potting soil, and through your phone you can see the soil moisture, fertility, air humidity and temperature. It is very simple and convenient, and beginners can give it a try. Bursting with new shoots in autumn and blooming when spring begins next year, this is absolutely a great assist.