If you want orchids and clivias to thrive year after year and bloom continuously, this is what you must do well
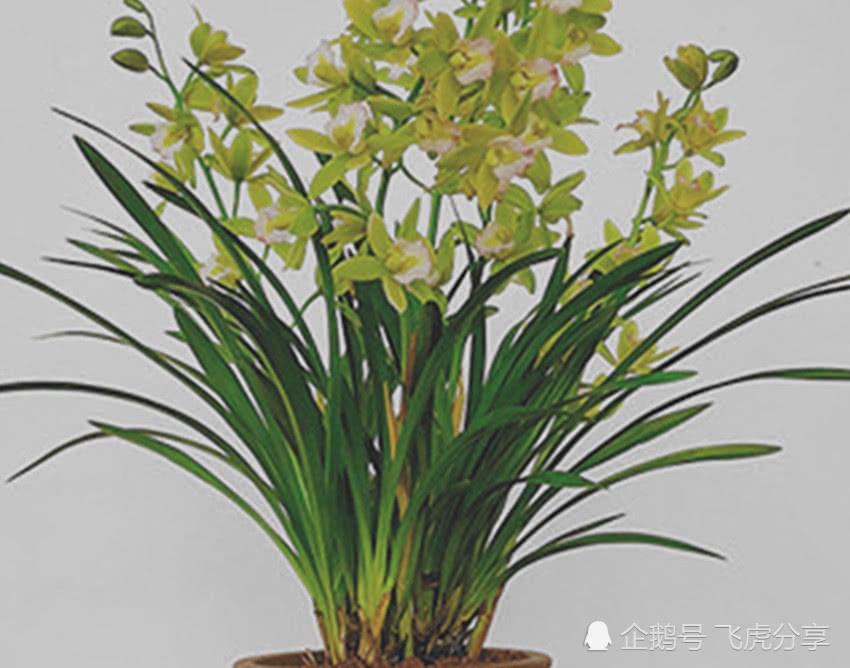
When growing orchids and clivias, you will always find that at first they grow quite well and bloom quite a lot, but gradually the plants grow more and more slowly, bloom less and less, and sometimes even fail to bloom at all. Why does this happen? In the final analysis, it is caused by growing them for too long, insufficient nutrients, compacted soil, overly dense roots, and pests and diseases. The only solution in this case is to repot and change the soil. But repotting and changing the soil is not something you can just do casually and call it done; there is a lot of knowledge involved. Do it well and the plants will grow robustly and bloom every year; do it poorly and not only will it fail to promote growth, but it will also speed up rot and death.
Therefore, for home growing of orchids and clivias, you must repot and change the soil at most no more than three years; ideally, change every two years. This is because after two years of growth, the roots of fleshy-rooted flowers such as orchids and clivias have already filled the entire pot, the soil in the pot has also hardened, old roots and new roots are intertwined, the roots cannot get enough nutrients, the branches begin to thin, the leaves begin to turn yellow, and there are fewer blooms. Repotting and changing the soil is a task every flower grower must go through, and it is also a very important task. Therefore, if you want to grow flowers well, you must master the technique of changing the soil and repotting.
Repotting and changing the soil is generally done in spring before May 1st; autumn is also acceptable, but avoid summer and winter. Before repotting, first prepare the soil to be used. The soil should be moist, neither too dry nor too wet. If dry, use a spray bottle to spray water and mix it evenly; if wet, let it dry in the air to maintain a moist state. A few days before repotting, do not water the plant, letting it become somewhat dry, which helps the plant come out of the pot. When taking it out of the pot, pull gently, turn the pot with one hand, and pat the pot wall with the other hand to loosen the roots inside the pot; generally it can be removed. If it really cannot be removed, you can only smash the pot and take it out.
After the plant is taken out, clean off the outer soil, leaving only a small amount of soil among the roots. Cut off roots that are too long, too numerous, rotten, hollow, shriveled, or diseased, and at the same time cut off residual leaves, diseased leaves, yellow leaves, and old leaves. If there are too many divisions, divide them appropriately. Then sprinkle a little carbendazim and chlorothalonil on the roots, or when transplanting, sprinkle a layer of plant ash around the roots. When transplanting, mix one third old soil into the new soil; this can prevent the plant from being unable to adapt and can also accelerate the growth of orchid fungi. After transplanting, do not rush to water; wait two days before watering. This allows injured roots to heal quickly, avoids bacterial infection, and also helps the plant adapt as soon as possible. If you can drill a few holes around the sides of the pot before transplanting, it can increase air permeability, avoid water accumulation, and prevent root rot.