If your clivia (Kaffir lily) is not growing well after summer, repot it and change the soil quickly to promote fast growth
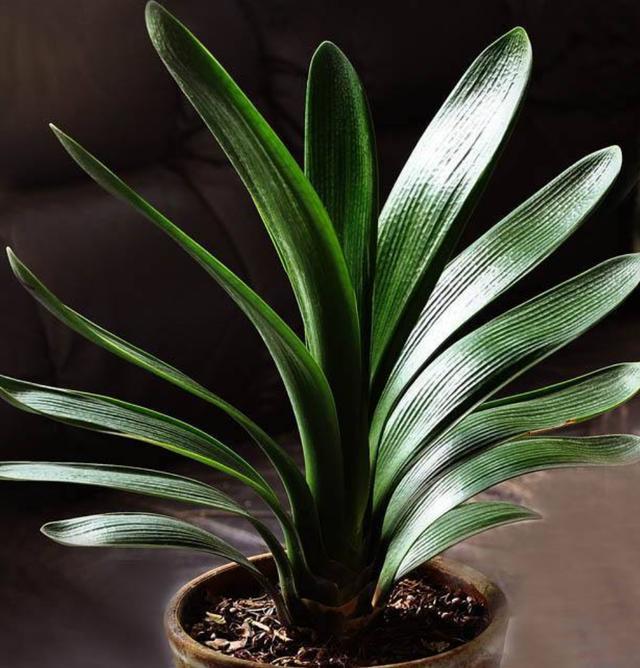
Before we know it, summer has passed, autumn has arrived, and the weather is gradually turning cool. Some flower enthusiasts say their clivia has grown larger, and the original soil and pot can no longer meet its growth needs, so they ask whether they can change the soil and repot it for replanting in autumn. The answer is definitely yes! Clivia roots grow very quickly. If you do not repot and change the soil for a long time, it will affect the growth of the roots and leaves, and it will also affect the winter flowering of mature clivia. For clivia grown at home in general, it is recommended to change the pot and soil once a year.
Clivia has fleshy roots and relatively high soil requirements. It is generally recommended to use decomposed leaf mold or pine needle soil for the soil mix, adding an appropriate amount of peanut shells, coarse sand and roasted hemp seeds, with a ratio of 5:2:2:1. For the pot, it is recommended to choose a Qingshan pot, ceramic pot or special orchid pot with good air permeability. Clivia grows roots first, then leaves. A small plant in a large pot can easily make the plant grow leaves slowly, so it is recommended to use a large pot for a large plant and a small pot for a small plant.
Take the clivia out of the original pot, first check the root system, prune off rotten roots and hollow roots, soak in carbendazim solution for disinfection, and replant after drying. When transplanting clivia, if the roots are buried too deep, it is easy for water to get into the base of the leaves when watering. If the weather is hot or muggy and ventilation is poor, the water cannot evaporate in time, which can easily cause the base leaves to rot.
Some flower enthusiasts may ask: when clivia is cultivated in commercial greenhouses, a water tap is used to spray water directly on the plants, so why do the leaves not rot? That is because they have professional ventilation and dehumidification equipment. When water is sprayed on the leaves, it evaporates quickly. But when we grow clivia at home, our growing conditions certainly cannot match their professional growing equipment and techniques, so clivia is not recommended to be planted deep. Expose the basal pseudobulb, and when watering, it is recommended to water around the edge of the pot to prevent water from accumulating in the leaf center or on the leaves and causing rot.
However, if planted too shallow, clivia with poorly developed roots can easily become unstable at the base and fall over. Therefore, when planting clivia, it is generally recommended to bury the soil to just below the last leaf at the base, or close to the last leaf. First place a layer of charcoal at the bottom of the pot, which can both sterilize and disinfect while also allowing water and air to pass through. Cover the charcoal with a layer of soil. When planting clivia with too few roots into the pot, you can hold the plant with one hand and fill in soil with the other. When the soil is half filled, lift the plant slightly upward so that as many roots as possible can contact the soil and hollow roots are prevented. For large clivia plants, the root system is very well developed. When potting, you can first turn the plant upside down, grab a handful of soil and fill it into the center of the roots, then support the roots and place them into the flower pot, and cover with soil around them.
It is generally recommended to pot clivia in moist soil. If the soil is very wet, do not water immediately after repotting; wait until the potting soil is dry before watering. If the potting soil is very dry, you can water thoroughly once directly after repotting. Be careful to water around the edges of the flower pot, and do not spray water into the leaf center.