Key points for repotting clivia in autumn, it grows lush and green
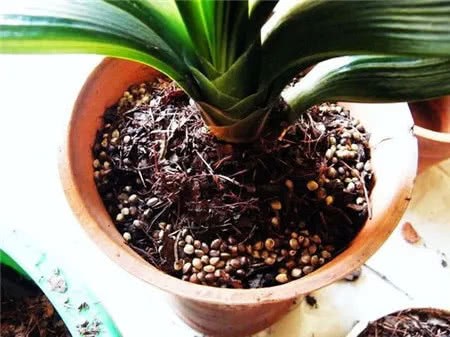
Clivia is a flower that many people especially love to grow, it is noble and elegant. It's autumn now, do you know how to repot clivia?
When repotting clivia, first take it out of the pot, clean all the soil off the roots, and then check whether the roots have any rot.
If there are rotten roots or hollow roots, cut them all off cleanly to avoid infecting the other roots, then apply some carbendazim to the wounds, which can serve to sterilize and disinfect.
If you have potassium permanganate solution at home, you can also soak it in the potassium permanganate solution for a while, then put it in a cool, ventilated place to dry.
The soil for growing clivia must have good looseness and air permeability. Generally speaking, pure leaf mold is enough, though you can also use coal cinder, river sand, pine needles, and already fermented peanut shells to make up the mix.
As long as the soil is loose and breathable it will do, this can prevent water from accumulating in the pot soil, and the roots of the clivia can also grow in it.
First put a layer of soil in the pot, note that a tile should be placed over the drainage hole, this can increase the pot's drainage, then fill the gaps around the clivia's roots with soil.
Then put the clivia roots with the soil filled in into the pot, add soil around it from all sides, and after filling, press the soil around it firm with your hands.
Note that at this time, you must not press the soil in the middle with your hands, otherwise it is very easy to crush and break the clivia's roots; wait until the clivia plant no longer wobbles. If the plant can lift the pot up with it, that is best of all.
After that, mix carbendazim with water and water it thoroughly, then place it in a cool, ventilated place for care. After about a week of recovery, you can gradually increase the light for it.