Kalanchoe cuttings always rot? Do this and white roots grow in 7 days, filling the pot in a month
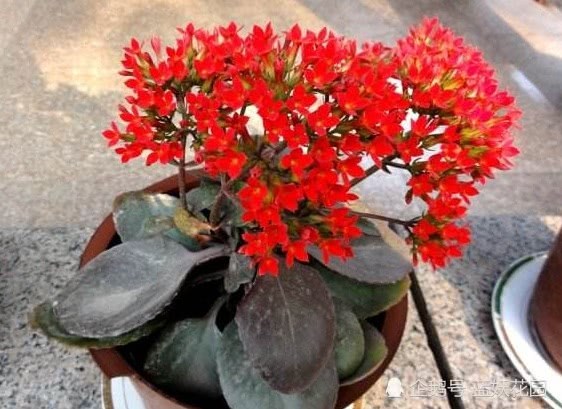
0064. Do your kalanchoe cuttings always rot? Then switch to a different cutting method: big white roots in 7 days, and a full pot in a month!
Kalanchoe is beautiful, easy to grow, and carries excellent symbolism, making it a favorite of many flower lovers. Although kalanchoe is easy to keep alive, growing it well is not so simple.
Kalanchoe very easily grows leggy in summer. To help kalanchoe survive the summer safely, some flower lovers put it indoors without light. Due to the lack of light, kalanchoe easily grows leggy, becoming thin and weak and prone to falling over. To keep the plant's shape attractive, we need to trim and prune the kalanchoe in autumn.
Don't throw away the pruned branches. Even though they are leggy branches, after rooting as cuttings and growing on, they will quickly become another big pot of beautiful kalanchoe.
Kalanchoe cuttings are somewhat different from those of other flowers. Many flower lovers find that their kalanchoe cuttings easily develop black rot, but that is actually because the cutting method is wrong.
The fast, pot-filling kalanchoe cutting method
Take the pruned kalanchoe branches, select ones of similar thickness, and cut them so that each piece has 2 pairs of leaves; a few more is fine too, depending on your personal preference.
Put the cut branches in a cool, ventilated place to let the wounds dry. You must let the wounds dry before inserting the cuttings, otherwise the wounds very easily get infected by pathogens and develop black rot.
Then prepare the soil for the cuttings. The soil should be loose; the looser and more breathable it is, the faster kalanchoe roots. Before inserting the cuttings, mix the soil with rooting powder water until it is slightly moist. Note: slightly moist, not too wet.
The potting soil for kalanchoe cuttings is divided into two layers. The soil below 1/2 the depth of the pot should contain fermented organic fertilizer, with bone meal and other base fertilizers added, while the upper layer of potting soil should be plain soil without fertilizer. (After cutting, no transplanting is needed; the cuttings are planted in their final position.)
Then insert the kalanchoe branches with dried wounds into the potting soil. Depending on the size of the pot, you can insert several branches. In this way, after they root, just one pinching is enough to make the kalanchoe fill the pot, and it can quickly fill out.
After cutting kalanchoe, do not water, do not water, do not water. Important things should be said three times.
After cutting, place it in a bright spot with indirect light. After one week, gradually give it light. You can also place it where it gets morning and evening sun. In short, avoid strong light, otherwise the potting soil will dry out very quickly, which is not good for rooting.
If you notice the kalanchoe starting to grow, that means it has grown roots, and you can water and fertilize normally. Kalanchoe is fairly drought tolerant, so never overwater. Before each watering, be sure to wait until the potting soil is dry.
Do you have any better suggestions about kalanchoe cutting methods? Feel free to leave a comment below.
To see more knowledge about growing flowers and vegetables, please follow the Lan Yao WeChat public account: Lan Yao Garden (ilanyao)