How do you repot an orchid? Follow these steps and that pot at home will look brand new
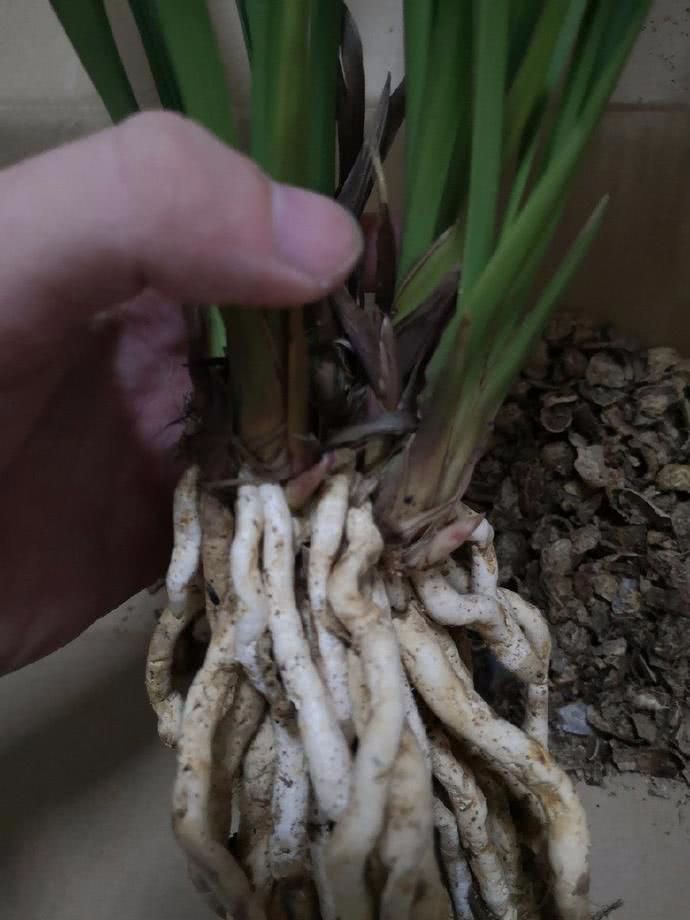
Having made it through the scorching summer, it's time to start fussing over the flowers again! If you have an orchid at home that you treasure dearly and still don't know how to repot it, then this article is just what you need!
Step 1: Unpotting
Generally, the surface of an orchid is covered with sphagnum moss, and the soil's air permeability is also quite good. So unpotting is relatively easy. Lay the pot on its side, tap the bottom of the pot, give it a gentle shake, and it will basically come out! Remember not to pull hard on the roots, as they are very easily damaged.
Step 2: Trimming the roots
After unpotting, check how the roots are growing. First rinse them with water to make sure you can clearly see the growth condition of each root. Cut off any roots you find that are not growing well, promptly. If there is rot, it is recommended that after trimming, you can disinfect them with carbendazim or potassium permanganate solution.
Step 3: Preparing the soil
Orchids are different from other plants, so you must be a bit more careful when preparing their soil. Mix peanut shells, fine sand, ceramsite and garden soil evenly. Of course, after preparing it, make sure to disinfect it: pour carbendazim solution directly over it, then let it dry for later use.
Step 4: Potting up
When the soil has dried to two-thirds dry, you can plant the orchid in it! When potting up, remember to press the roots down a little to ensure the roots make close contact with the soil, but do not use too much force and break the roots.