Pitaya is delicious and easy to grow; stick a single cutting in a pot, and the fruit you harvest will be sweet and fragrant.
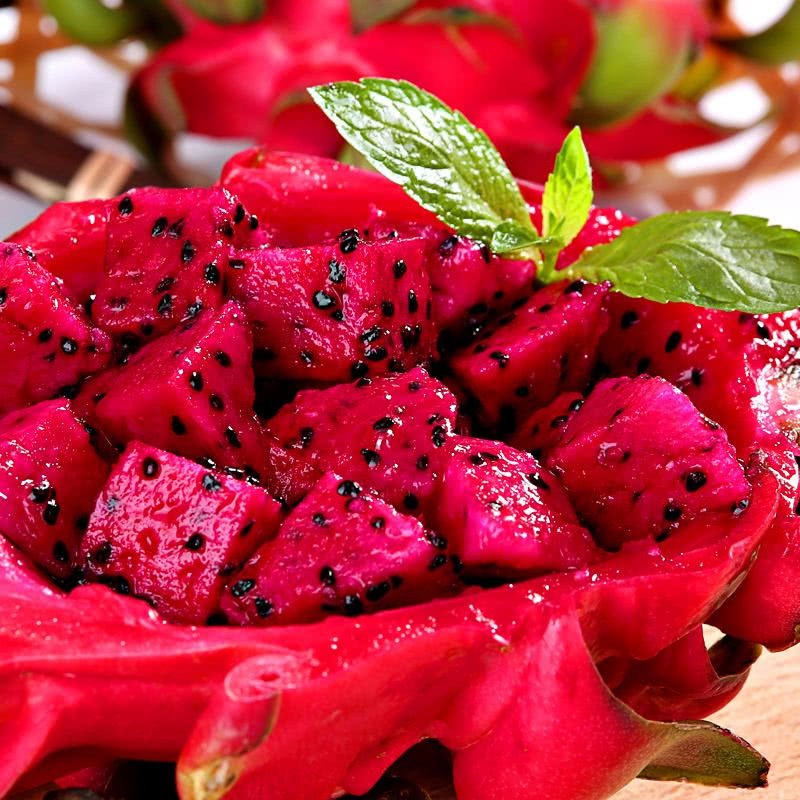
Supplementing vitamins is crucial to people's health, and generally everyone chooses to eat fruit as the way to do it. Nowadays quite a few gardening enthusiasts are no longer satisfied with just growing flowers; fruit potted plants have also become a popular choice for balcony growing, but which fruit is both convenient and tasty to grow on a balcony? It is probably none other than pitaya.
Pitaya has a high nutrient content and can be grown in a variety of ways; the more common ones are the seed propagation method and the stem cutting method. Both methods are fairly easy to master, and later care requires relatively little effort. Below, Huahua will teach you how to use these two methods to grow a potted pitaya.
First is the seed propagation method. The seeds needed for this method do not have to be bought outside; you can simply plant the black seeds from the pitaya flesh directly. Before planting, clean the flesh off the black seeds, leaving only clean seeds. Remember that the extracted pitaya seeds must be dried in the sun, as this helps with later sowing.
For the soil used to grow pitaya, generally just choose fairly fertile soil. Before planting, first lay a layer of small stones at the bottom of the pot, which helps with drainage during later care. After placing the stones, you can begin covering them with soil, and right after that scatter the pitaya seeds into the soil to sow. After scattering, note that it is best to cover with plastic wrap to keep it warm; afterward, lift the plastic wrap every day and spray a little water on the seeds. Once the seeds sprout, you can remove the plastic wrap.
Slowly the small sprouts will grow to look like a cactus. When they are a bit thicker and sturdier, you can divide them into separate pots to grow. After another year or two, you can harvest sweet and delicious pitaya fruit. Just thinking about it makes you happy.
The second is the stem cutting method. For stem cuttings, it is best to choose relatively thick, sturdy mature stems; a stem length of about 20 cm is fine. Remember to let the cut end of the stem dry in the sun before inserting it into the soil to cultivate. A stem that has just been successfully cuttings-rooted is best placed in a shady spot to grow; in about one month or so the potted pitaya will begin to take root, then apply more fertilizer, and the next year you can harvest fruit! The stem cutting method produces fruit much faster than seed propagation.
After the pitaya is planted, you must not be careless with later care either. Because pitaya stems are relatively large, it needs more fertilizer, so fertilize regularly to help it grow. When pitaya blooms, it needs artificial pollination, so that the fruit it sets will be sweeter and more fragrant. Because pitaya is a tropical plant, it generally does not need much watering; just watering a little during fertilizing is enough.
These are the pitaya growing methods summarized by Huahua. Friends who like eating pitaya might as well grow a pot of pitaya at home; after all, fruit cultivated with your own hands tastes even better!