Wood shavings are a treasure for growing flowers, and can turn one pot of flowers into many pots.
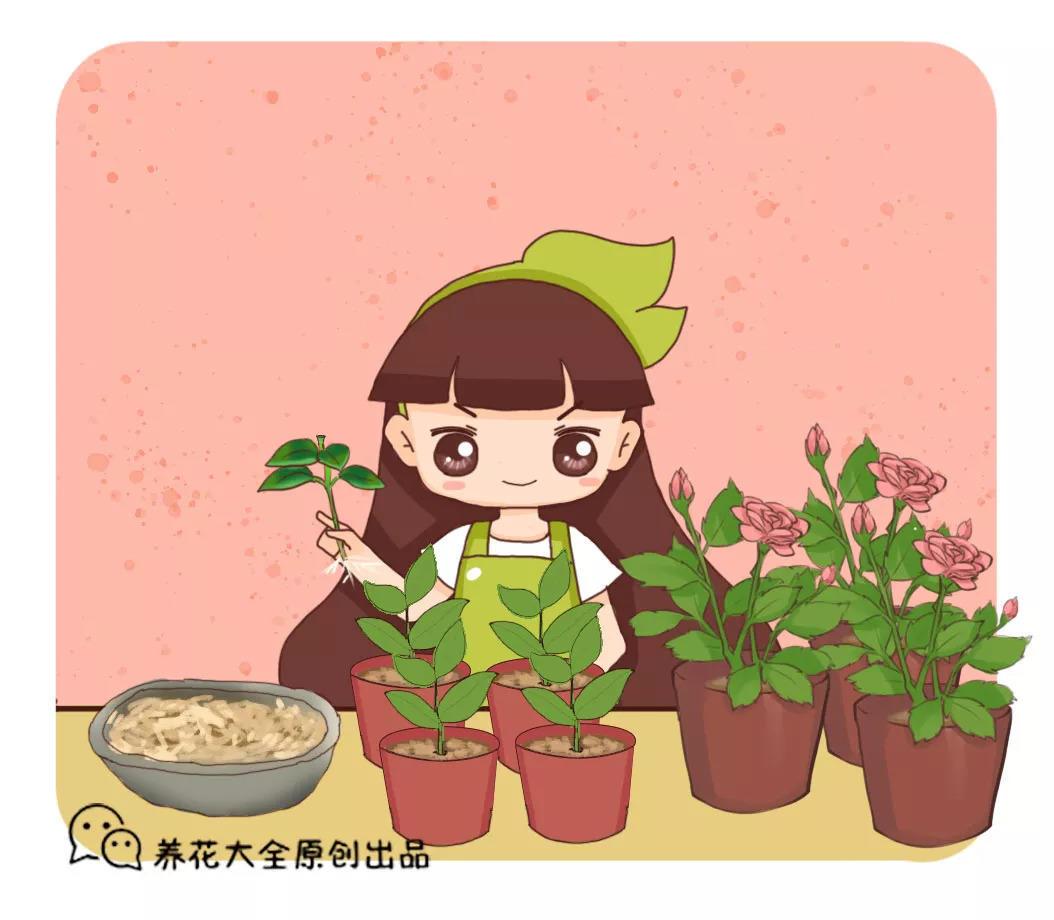
After renovating a new home, quite a bit of sawdust and wood shavings are left behind. These inconspicuous little things are actually great helpers for growing flowers, and it would be a real shame to throw them away! Today, Huahua will introduce several clever uses of sawdust and wood shavings for growing flowers, so hurry up and learn them!
Clever use of wood scraps No. 1: Cutting medium
Many flower lovers enjoy taking cuttings, but what do you do when you run out of cutting medium? At times like this, sawdust can be a big help!
1. Put the sawdust for cuttings into a pot, add clean water and boil for about 10 minutes to sterilize and disinfect the sawdust.
2. Dry the boiled sawdust, put it into a disposable plastic cup, insert the cuttings you want to root into the sawdust, water thoroughly, and place in a cool, ventilated spot.
3. After taking the cuttings, keep the sawdust slightly moist, and spray a little water whenever it dries out. Although sawdust does not root as fast as vermiculite, as long as you care for it normally, it is still very easy for big white roots to grow.
Clever use of wood scraps No. 2: Air layering propagation
After growing roses for a few years, many friends like to take on the challenge of air layering for propagation. You surely did not know that tiny wood shavings are a great helper for air layering propagation!
1. Choose a rose branch of the current year (or another woody plant) for girdling, and a cut of about 1cm is enough.
2. Prepare a mineral water bottle, cut off the upper part of the bottle, cut the remaining bottom part open along the bottle wall, and cut a small hole in the bottom.
3. Slip the cut mineral water bottle over the girdled branch, mix wood shavings and sphagnum moss at a 1:1 ratio, water thoroughly, and put the mixture into the mineral water bottle.
4. Wrap the mineral water bottle with a plastic bag and seal it well. In about 15 days, fine roots will grow on the branch!
Clever use of wood scraps No. 3: Seed germination
Huahua has found that many flower lovers are masters at growing clivia, and their clivia produce quite a few seeds every year. As long as these seeds are germinated properly, you will harvest quite a few small clivia!
1. Put the wood shavings for germination into a pot, add clean water, and boil for about 10 minutes.
2. Dry the prepared wood shavings, put them into a seedling box, and lay the clivia seeds that need germinating flat on top. After placing the seeds, spread another layer of wood shavings and water thoroughly.
3. Place the seedling box in a cool, ventilated spot, spray water once in the morning and once in the evening, and in about 10 days, sprouts will emerge from the seeds.
4. When the sprouts grow to 2-3cm, they can be transplanted. After transplanting, place them in a bright, well-ventilated spot and care for them normally.
Clever use of wood scraps No. 4: Growing orchid roots
Orchids count as one of the more precious flowers among all flowers. Because the price is high, many orchid enthusiasts buy plants with rather poor roots. Today, Huahua will teach everyone how to use wood shavings to grow roots!
1. First prepare some hard potting medium specially for orchids, and soak it in water for about 5 hours.
2. Put the soaked hard potting medium into a flower pot, bury the orchid in it, with the depth decided according to the orchid's specific condition, as long as the orchid stays upright.
3. Mix wood shavings and fine potting medium at a 1:1 ratio, and spread it on top of the hard potting medium.
4. Finally, spread another layer of fine potting medium on top of the wood shavings, then water thoroughly, and place in a spot with diffused light and good ventilation for care.
Did you ever expect these clever uses of wood shavings?
From now on, do not throw away the wood shavings at home as garbage!
If you think Huahua's introduction is pretty good,
you can share it with friends to take a look!
?