3 little tips for ranunculus care: sprout in half a month and bloom nonstop next spring
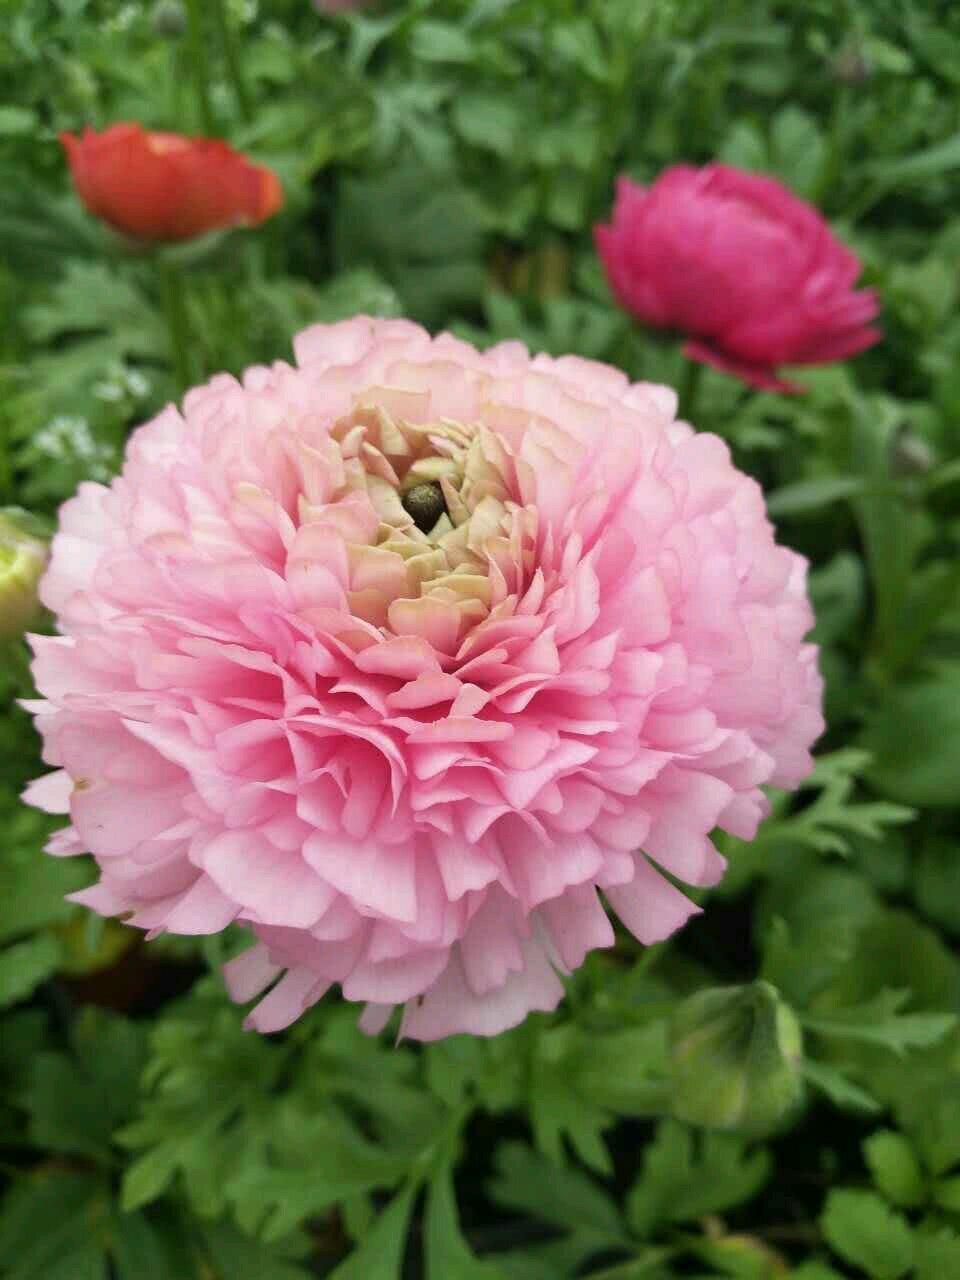
Ranunculus (Persian buttercup) has delicate flower shapes and brilliant colors, and its double flowers look a lot like peonies. A pink ranunculus given to your sweetheart or a friend in business is a good choice, and it has always been deeply loved by flower growers. There is not yet that much experience in growing this variety, so many flower growers feel that ranunculus is beautiful, yes, but is a rather hard-to-please character. Today let us learn together how to grow ranunculus better.
First let us understand the growing habits of ranunculus: ranunculus likes a cool, moist environment with plenty of sunlight. It is relatively cold-tolerant and also tolerates partial shade, which is actually quite suitable for balcony growers; it fears strong direct sun and high temperatures, and hates waterlogging and drought. The temperature most suitable for growth is around 10-20 degrees. Once you understand the habits of ranunculus, it is actually not that hard to grow it well; just do the following points well.
1. Seed selection and propagation. The way to propagate ranunculus can be sowing your own seed or choosing to buy potted flowers directly. Growing flowers is a kind of pleasure, and many flower growers choose to sow their own. If you sow your own, you can keep the seeds yourself or buy them at a reputable flower market, so the seedling rate of the seeds will be relatively high. Right now the autumn weather is cool, exactly the season suitable for sowing.
Sowing notes: first put the ranunculus seeds on a moist sand bed to propagate, because sand holds moisture well without waterlogging and has always been a good substrate for promoting root growth. After spreading them out, you can move it to the refrigerator, at a temperature of around 15 degrees, which is a relatively good germination temperature. After about half a month, you will see sprouts emerging. During this period, keep the sand bed moist; spray a little water when it dries out. When 2-5 true leaves appear, we can transplant them separately.
2. Transplanting. Transplant in September-October, pay attention to cold protection and fertilizing in winter, and by the next year they can bloom. For transplanting, the soil mix can be leaf mold + coarse sand + some garden soil, and put some large-particle growing medium at the bottom of the pot to ensure good air permeability. All the media must be sterilized before use. 3 plants per pot is best. For the flower pot, it is still recommended to use a clay pot, as it has better air permeability; a diameter of around 15cm is enough. When covering with soil, it should not be too deep; around 2cm is enough.
3. Strengthening the seedlings. After potting, place them in a ventilated, shady spot to grow. Once they have settled into the pot, you can use some organic nutrient solution for strengthening roots. When growing this ranunculus, the worry is that it will not survive the cold winter, so in autumn we must grow it a bit stronger; use some organic nutrient solution for strengthening seedlings every 10 days, so it can make it through the cold winter smoothly.
By February of the next year, it is the bud-promoting period for ranunculus. If you want the flowers to bloom brilliantly and large, this time is the key period, and we must make all the preparations for promoting flowering. Give a flower-promoting organic nutrient solution once every 7 days, and keep only 2-3 robust buds per plant, so the flowers that bloom will be large enough and beautiful enough.
Throughout the whole care season of autumn and winter, just keep the potting soil moist, place it in a spot with diffused light, and you can use a gardening assistant plant and flower tester to help; just insert it into the potting soil, and through your phone you can see the potting soil moisture, values, humidity, and light values. Follow the numerical prompts plus your own experience for care, and wanting to see beautiful flowers next year is very simple.