Remember these 4 steps when potting orchids: no root rot, no scorched leaves, and fragrant blooms while saving money
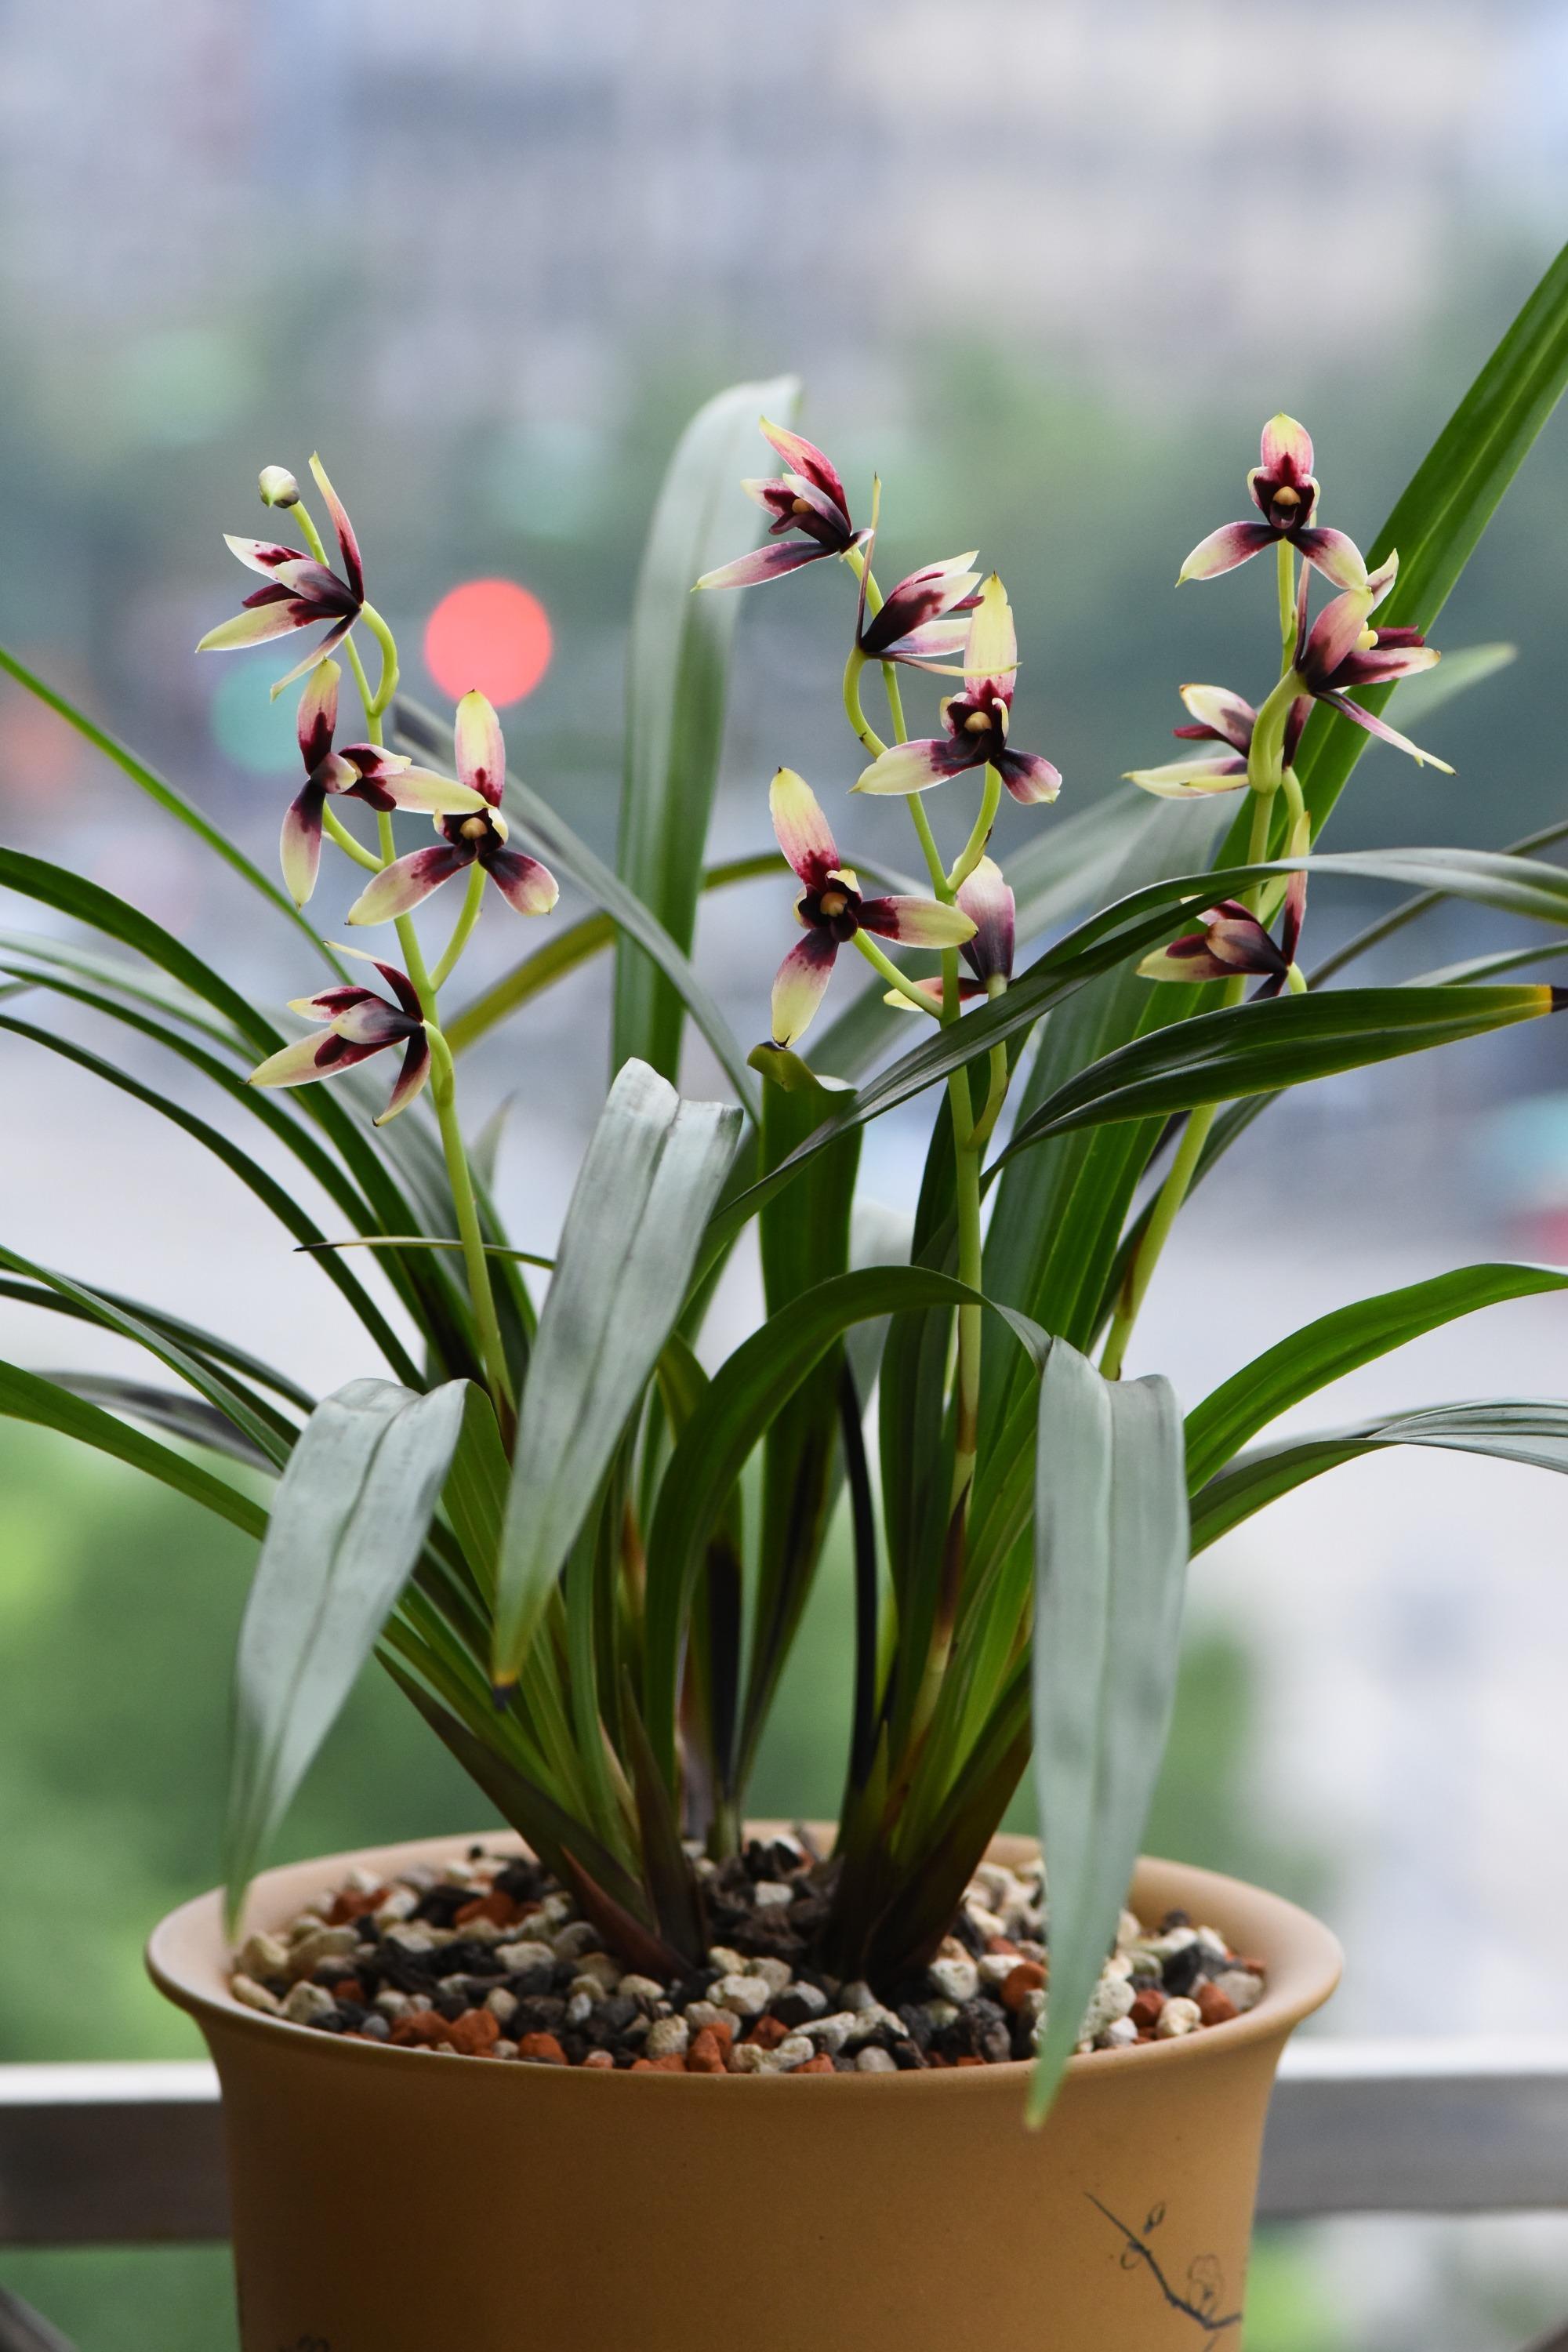
Orchids have a history of more than two thousand years from ancient times to the present, and they are still deeply loved by flower enthusiasts today, which shows there must be a great deal of care experience behind them. Now that the weather is starting to cool down, many orchid owners are falling into the hobby again.
Potting an orchid is a real technical skill, and doing this one step well will make all the care that follows much smoother. Recently I went out of my way to ask an experienced orchid grower for advice. When potting is done well, the orchid plants do not rot at the roots and have fewer scorched leaves; they grow well and cost less money. You must master these 4 steps.
1. Step one: air-drying the roots. These are 3 small seedlings just mailed from Fujian. After 4 days of transport, they are still in good condition and are fairly sturdy orchid plants. After separating the plants, use sterilized scissors to trim the rotten roots and old roots of each plant, then soak them in a disinfectant solution. Once the orchid roots turn white and soft, take them out, put them in a spot with bright indirect light to dry, and then they are ready for potting.
Why air-dry the roots? Because after several days of transport, the orchid's roots are fairly brittle, and planting them directly makes them very easy to break. After washing and disinfecting, the orchid's fleshy roots are full of water, and after air-drying they become soft yet resilient, so they can be bent freely during potting without breaking easily. What is more, with air-dried roots, the wounds from trimming can scab over faster, which can increase the sprouting rate of the orchid seedlings.
2. Step two: lining the pot. These days orchids are basically grown in purple clay pots, whose shape and material suit orchids very well. Then comes lining the pot. The benefit of lining the pot is that it gives the plant loose, breathable, well-draining conditions. For lining material, experienced orchid growers generally like to use coal cinder or charcoal; these 2 can do a very good job of preventing root rot. Orchid growers can also use whatever is available locally, such as broken tiles, peanut shells, or sunflower seed shells, which are also very good lining materials. Some orchid owners may like to use foam. As for personal preference, I do not like to use it: it not only has no nutrients, but also drains poorly.
3. Step three: potting. Prepare all the potting medium. The medium must be clean, and the principle for using it is coarse below and fine above. The middle layer of medium only needs to be nutritious and permeable, serving to loosen the mix and provide nutrients. For example, medium-sized granular media such as dried cow dung and rice husks are good choices. The top layer of medium only needs to retain moisture and let light through, so you can choose smaller-grade bark and the like. When potting, add material while giving the pot a little shake, to reduce the gaps between the medium and avoid hollow roots.
To increase the breathability of the potting soil, you can give the orchid a "skylight" when potting: that is, add a perforated plastic tube, then slip a plastic mesh over it. That way, when you water again, the medium will not scatter everywhere, and it also lets the roots breathe more smoothly. Remember, throughout the whole potting process, never let the orchid roots fold over. If you do not cover it with a plastic mesh, laying a layer of Kanuma soil can also hold the medium in place. You can insert a flower and plant monitor, and through your phone you can check the moisture, fertility, humidity, and temperature of the potting soil. With this little helper for growing flowers, combined with your own care experience, orchids grow well and cost less money.
4. Step four: settling the roots. Settling the roots means the first watering after potting, to settle the orchid's roots. Some orchid owners settle the roots right after potting, while others wait 2 days before giving the settling water, saying that this way the roots absorb better. Personally, I think this 1-2 day difference has little effect, and either way is fine.
For the first watering, use a gentle stream and slowly water along the edge of the pot. Once water flows out from the holes at the bottom of the pot, stop watering. After 5 minutes, repeat the first action; the third time, water heavily. Watering in 3 rounds like this is meant to let the medium absorb water completely. If you find 3 rounds too troublesome, you can also use the soaking method to settle the roots; the principle is the same.
If you want the orchid plants to grow even more robustly, during routine care give them an orchid-specific organic nutrient solution once every 10 days. It is purely plant-fermented, so the roots absorb it better.