Growing apple seeds on a balcony rarely produces apples, but kumquat seeds really can bear fruit
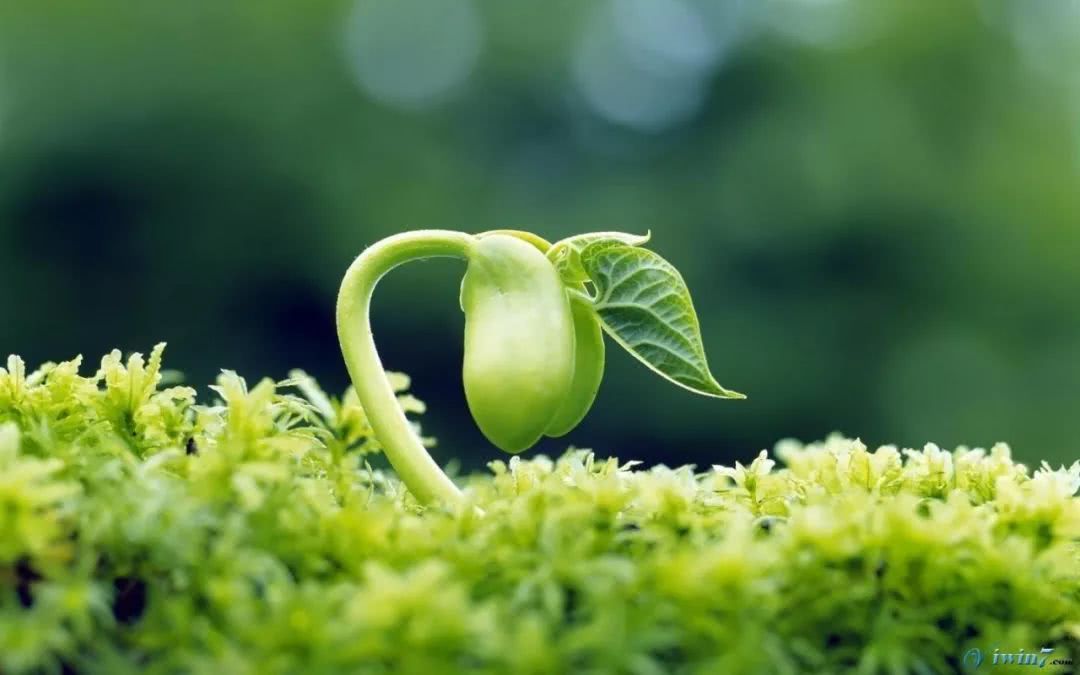
If you want to experience "you reap what you sow,"
eat a watermelon, plant a watermelon seed...
eat a grape, plant a grape seed...
eat an orange, plant an orange seed...
eat a lemon, plant a lemon seed...
Not only that, there is more!
eat corn, plant a corn seed...
eat a chili pepper, plant a chili pepper seed...
eat a cucumber, plant a cucumber seed...
eat a tomato, plant a tomato seed...
Uh... these are just a bit small, and removing the seeds is a hassle, but thinking about the dragon fruit seeds I played with before, tomato seeds are still easier to handle... hehe...
In this article, the editor-in-chief recommends that fellow gardening friends try planting kumquat seeds using the "seedling propagation" method. From planting the seed to growing into a fruit seedling, it is an extraordinary "spectacle," and the fun in it can only be appreciated by gardening friends who like to try things themselves.
The editor-in-chief is in high spirits today, so let's share the kumquat planting process!
Seedling propagation: a propagation method of obtaining saplings by sowing seeds. The editor-in-chief mentioned in a previous article that this is the most direct way to obtain bonsai material.
Sowing seeds not only allows you to obtain a large number of seedlings, but the cultivated seedlings also have strong, healthy root systems and beautiful, solid branch structure, all of which are ideal conditions that bonsai growers dream of.
Kumquat seedling propagation
Preparing materials
A pile of kumquat seeds
Akadama soil
Sand and gravel
Tweezers
Unglazed round pot
Mesh net
Insect-proof net
Aluminum wire
Kumquat seedling propagation
Method and steps
One
Prepare all required materials. For the planting pot, an unglazed pot with good drainage and breathability is best; a plastic pot will also do.
Two
A small amount of kumquat seeds. They can be sown once the peel color turns slightly light orange-yellow. Peel the skin open and take out the seeds.
Three
Place an insect-proof net at the bottom of the pot, spread coarse-grained sand and gravel at the bottom to facilitate drainage, fill in the rest in order, and gently poke with a bamboo chopstick so the medium is evenly distributed.
Four
Gently plant the seeds in, then cover with a layer of medium to keep the seeds moist.
Five
Cover the top of the pot with a layer of mesh net, secure it with aluminum wire, and twist it tight with a little force to prevent the seeds from pushing off the mesh net after sprouting.
Six
Growth situation after half a year. Lift off the mesh net and let it grow for a period of time; after the seedlings are stable, choose a time to transplant them.
Seven
Seedlings moved into small pots can now be managed individually, with fertilizer applied in appropriate amounts.
Eight
Choose the seedlings with more graceful shapes, give them a slight trim and branch training, then plant them into ornamental pots.
Editor-in-chief's tip: Covering with a net can suppress the growth of the seeds after sprouting, causing them to twist and curve left and right, forming a highly interesting natural curved-trunk form.
Each seedling's curvature has its own characteristics. This kind of twisting curvature is an effect that cannot be achieved by wrapping with aluminum wire. It is beyond human power and has none of the stiffness of artificial shaping; it is a natural and relaxed beauty of wild charm.
Grow it on the balcony
Alright, that's all for this article. If fellow gardening friends still have any questions, check in at the comment section below.