Snap off a pothos stem, chop it into 8 segments, and it will fill a pot in a month
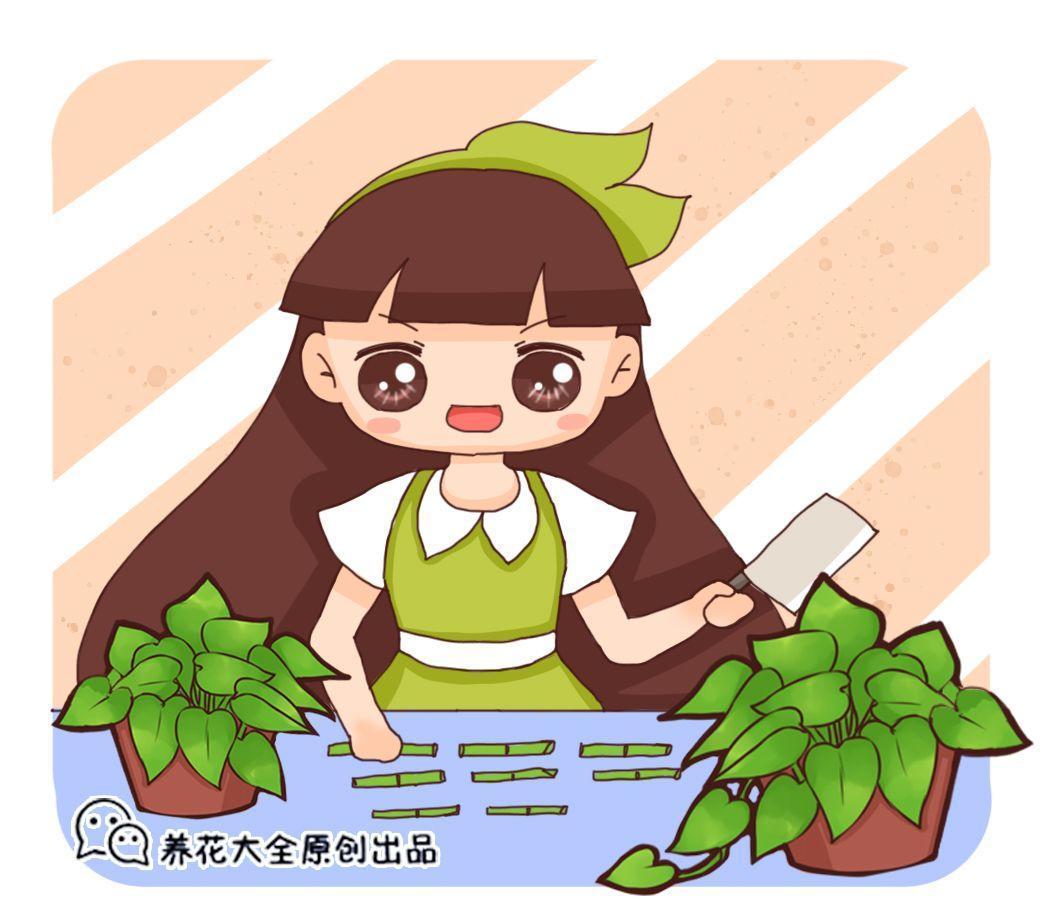
When it comes to cuttings, many flower lovers shake their heads. The weather is so hot now, how can you take cuttings? Won't they just die as soon as you try? Actually, there are several kinds of flowers that must be propagated by cuttings while summer humidity is high. The hotter it is, the higher the survival rate. Hurry and see which flowers are suitable for summer cuttings!
Cut a pothos stem into 8 segments, and a big pot will sprout in no time!
Pothos is a plant almost every household grows, not to mention that high summer temperatures are exactly when pothos shoots up. Cut a stem now, and it can immediately be rooted as a cutting!
Steps:
1. Using a sterilized knife, cut a vigorously growing stem from the mother pothos plant, then use the knife to cut the stem into small segments. Make sure each small segment keeps one node with aerial roots.
2. Prepare perlite, coconut coir, or loose, breathable soil as the potting mix for the cuttings. At the same time, place the pothos stem cuttings in a well-ventilated spot to let the wounds dry.
3. If you want the pothos cuttings to fill the pot as quickly as possible, lay the pothos stems horizontally on the soil, water once thoroughly, place them in a bright, indirectly lit, well-ventilated spot, and mist the surface of the pot with a spray bottle to keep humidity high enough.
4. If you want the pothos cuttings to climb quickly and become a curtain, insert the pothos vertically into the potting soil so the aerial roots are buried in the soil, then water once thoroughly and likewise place it in a cool, ventilated spot.
5. It takes only about 10 days for the pothos cuttings to root! After rooting, small green leaves will also sprout.
6. Summer weather is hot, so you can mist the pothos leaves and around the pot. You can also mix a little compound fertilizer or foliar fertilizer into the water, which will make the new pothos leaves even more glossy!
Cut jasmine stems into 8 segments, and big white roots sprout in 10 days!
Right now is the peak blooming time for jasmine, and some flower lovers' jasmine has already finished blooming. For those stems that have finished flowering, we can absolutely cut them off and use them for cuttings, and then we can harvest even more pots of jasmine!
How to do it?
1. For the cuttings, it is best to choose semi-lignified stems, because semi-lignified jasmine stems contain more nutrients and have a somewhat higher rooting and survival rate. Using a sterilized knife, cut the jasmine stems into short small segments, making sure each small segment keeps 1-2 leaves.
2. Prepare the soil needed for cuttings; generally, a loose, breathable potting mix is fine. Today Huahua chose perlite. Use chopsticks to poke a few small holes in the perlite in the pot so the jasmine stems can be inserted.
3. Insert the trimmed jasmine stems into the perlite, press down slightly, then water once thoroughly, and place them in a spot with plenty of bright, indirect light and very good ventilation for care.
4. Summer temperatures are high, so it takes only about 2 weeks to root!
5. After rooting, the jasmine stems can be directly transplanted into a pot to continue growing. First place them in a ventilated spot to acclimate for 1-2 weeks, then move them outdoors or to a south-facing balcony with direct sun, and water 1-2 times a day, and the jasmine will grow more and more vigorously!
Cut kalanchoe stems into 8 segments, and they immediately become 10 pots!
In summer, kalanchoe often develops black rot, and if you are not careful it may die. To avoid losing all your kalanchoe at home, we can cut stems and use them to propagate small plants, just in case!
How to do it?
1. Take the trimmed kalanchoe stems and trim them a few more times with sterilized scissors, keeping at least 2 pairs of leaves on each stem, then let the wounds dry in a well-ventilated spot. You can also soak them in a carbendazim solution for 2 hours to disinfect.
2. Prepare loose, breathable potting mix, or you can use pure sand for cuttings, which also roots fairly quickly. Use a wooden stick to make a hole in the sand, then insert the kalanchoe stem with the dried wound.
3. Insert all the kalanchoe stems into the pot, water once thoroughly, then place in a spot indoors with good bright, indirect light, and be sure to ventilate often. Remember to mist the leaves and the soil surface regularly to keep them moist.
4. It takes only about 1 week for the kalanchoe cuttings to sprout roots! After that, transplant the kalanchoe into a pot, making sure it receives 4 hours of direct light each day, and it will soon grow into a big, lush green pot!
Cut hydrangea stems into 8 segments, and next year they will bloom into big balls!
Many flower lovers' hydrangeas have already finished blooming. If you do not prune them now, they probably will not bloom next year! For those trimmed stems, we can use them directly for cuttings!
How to do it?
1. The cut hydrangea stems need a little trimming, keeping at least 1-2 leaves on each segment. To reduce unnecessary nutrient consumption, you can cut the leaves in half with scissors.
2. Prepare the soil needed for cuttings. Summer temperatures are high, so you can use vermiculite or akadama soil for cuttings. Prepare a disposable paper cup, poke 3-5 small holes in the bottom, put vermiculite in the disposable paper cup, then insert the hydrangea stems to be rooted into the cup.
3. To ensure the moisture needed for cuttings, place a tray under the disposable paper cup, add water to the tray, set the disposable paper cup in the tray, and finally place it in a cool, ventilated spot. Absolutely do not expose it to direct sun.
4. It takes only about 20 days to see the hydrangea cuttings grow dense roots!
5. After rooting, transfer the hydrangea to a pot, then place it in a cool, ventilated spot; it can be kept outdoors under tree shade. Summer weather is hot, so water once in the morning and once in the evening to ensure enough air humidity.
Cut blue plumbago stems into 8 segments, and it will keep you cool all summer!
Summer is so hot, so you should grow a cool, refreshing flower, and that is blue plumbago! Although blue plumbago grows vigorously, sometimes it becomes sprawling and wild. If you do not prune it now, when are you waiting for?
How to do it?
1. Take the cut blue plumbago stems and trim them a little more. Each stem segment should be about 5-7 cm long.
2. Prepare loose, breathable potting mix and put it in a seedling tray. Water once thoroughly, then insert the blue plumbago stems directly, and place them indoors in a spot with bright, indirect light and good ventilation.
3. Summer weather is hot, so it takes only about half a month for the blue plumbago cuttings to basically root!
4. After rooting, transplant the blue plumbago into a pot. First let it acclimate for 1-2 weeks in a ventilated spot without direct sun, then place it in the sun to get more sunlight. Water 1-2 times a day depending on the weather, and the blue plumbago will soon grow more and more vigorously!
Cut osmanthus stems into 8 segments, and it will keep you cool all summer!
Summer humidity is high, which is exactly the good time to take osmanthus cuttings. When you normally prune osmanthus, the cut stems can be used directly for cuttings, so everyone, do not miss out!
How to do it?
1. Take the trimmed osmanthus stems and trim them a little with scissors, making sure each stem keeps 2-3 pairs of leaves, then place them indoors in a well-ventilated spot to let the wounds dry.
2. If you want a high survival rate for osmanthus cuttings, you can choose pure perlite for rooting. Insert the trimmed stems into the prepared perlite. To keep humidity, you can place the pot inside a larger pot and cover it with plastic film.
3. Mist the osmanthus leaves regularly to ensure enough air humidity. It takes only about 20-30 days to see the osmanthus cuttings root.
4. After rooting, pot up the osmanthus. First let it acclimate in a cool spot for about 1 week, then let it get more sunlight. By autumn, you will have a pot of blooming osmanthus!
Cut azalea stems into 8 segments, and it will keep you cool all summer!
Recently, many flower lovers have been telling Huahua that their azaleas are dropping leaves for no reason and are about to die! Before the azaleas die, we might as well quickly take a few pots of cuttings and keep a few small plants as backup!
How to do it?
1. Cut the lower end of the azalea stem at a 45-degree angle, keep 6 leaves, then soak in rooting water for 24 hours, take it out, and let the wound dry in a cool, ventilated spot.
2. Prepare loose, breathable soil, insert the azalea stems into the soil, and water once thoroughly. To keep the azalea humid, you can cover the opening with plastic wrap, poke 3-5 small holes, and place it in a cool, ventilated spot.
3. It takes only about 20 days for the azalea cuttings to root!
4. After rooting, transplant the stems into a pot to continue growing. Be careful to maintain humidity, mist the leaves and around the pot in the morning and evening, and the azalea will grow more and more vigorously!
That is all Huahua is introducing today!
For summer cuttings, everyone must remember,
Be sure to keep good ventilation!
?