Kalanchoe care tools are all ready, time to go all out and try to make the balcony burst with blooms this year
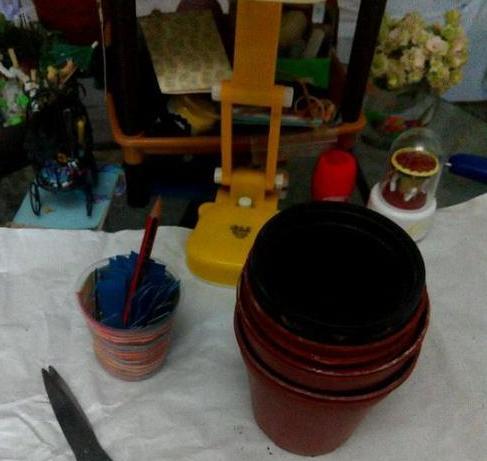
So many tools have been prepared, all ready to go all out for the kalanchoe
Kalanchoe cuttings play a very important role. Generally speaking, kalanchoe cuttings can be done all year round, but generally the best times are March to May in spring and August to September in late summer and early autumn.
I first put in expanded clay pebbles, then the potting soil. For the ratio I generally use 1:1, that is, half and half. All the tools needed for various types of cuttings are fully prepared, just waiting for the time to do the cuttings. The most important point for cuttings is that the cuttings must be dried at the wound before sticking them in, otherwise they easily get black stems. The longer the drying time, the easier they are to survive
Kalanchoe easily grows aerial roots in humid air. If you want to use branches for cuttings, it is best to choose branches that have aerial roots, or choose relatively thick and sturdy branches, and select branches like these.
When pinching the tips of kalanchoe, for each main branch, only keep the two pairs of leaves closest to the soil surface, and cut off everything above that. Do not throw away the cut-off branches, they are all excellent cutting material!
Kalanchoe has fleshy leaves that store a lot of nutrients, so even after leaving the plant they will not dry out quickly. When doing leaf cuttings, choose plump ones, then let them dry slightly before putting them into the soil. For the soil, you can use a four-to-one mix of vermiculite and perlite, or you can use sterilized plain sand. After sticking them in, maintain reasonable soil moisture and avoid excessive wetness, which causes the leaves to rot. When the temperature is low, you can cover with plastic film to keep warm and retain moisture, giving a higher survival rate.