Propagating hibiscus from cuttings takes just a few simple steps, and you can grow a big potful
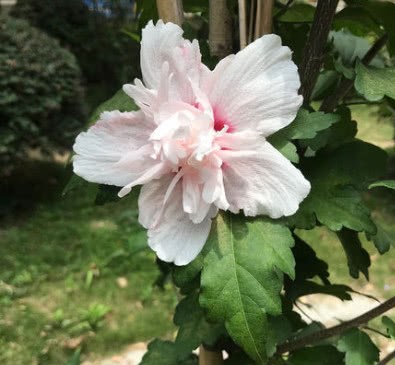
At this time of year, many hibiscus flowers have already bloomed, producing deep pink blossoms that look incredibly striking in the heat of summer. So keeping one pot at home is a great idea, and it is very suitable for gardening beginners too!
Like other flowers, hibiscus can be propagated from cuttings, and its survival rate is very high. So today, Huahua will teach you how to propagate hibiscus from cuttings. As long as you have enough patience, the survival rate will be very high!
First, cut a branch from the hibiscus, generally around 15 cm is fine. Remember to use one that is relatively sturdy, and make sure it has no pests or diseases, otherwise no matter how you propagate it, it will not survive later on. As for the leaves, we can keep those on two nodes; there is no need for too many, just let it have enough energy to grow new leaves.
Just to be safe, we should first soak the cut branch in a disinfecting solution for a while, so that even if the branch carries tiny insects, they will be killed. After soaking, we should take them out and let them dry first, then move them into the soil, otherwise if planted immediately, they will be very prone to root rot later on.
Once the moisture has dried off and the wound has healed enough, you can go ahead with the cuttings. At this point there are two methods you can choose from, namely water and soil. Overall the two are about the same, since the main goal is to get it to root; as for which method to use, you can decide based on your own preference.
Here Huahua uses the water propagation method, because relatively speaking it is a bit cleaner, and you can also clearly see how its roots are developing. At this point, besides preparing a water container, we should also prepare a piece of foam board.
Push the branch through the foam board; the exposed length does not need to be too long, generally around 4 cm, then just place them in the water. Finally, put the inserted branches in a semi-shady spot. Be sure not to leave them in direct sunlight for long periods, otherwise the leaves will wilt from the sun and the growth of new buds will also be affected.
If all goes well, you can see new roots growing in about a week. However, during this period, try to change the water as little as possible, as this is more conducive to the growth of its new roots.