DIY all-purpose flower-growing soil beats pine needle soil and leaf mold soil, costs nothing, and makes whatever you grow thrive
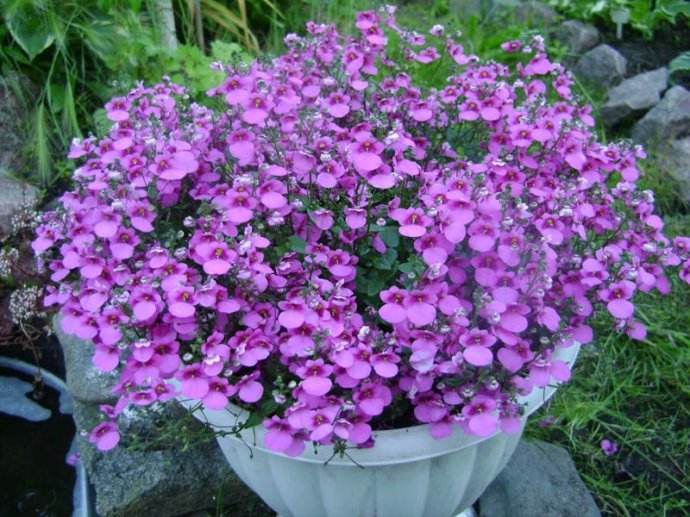
Nowadays many families like to grow flowers and fuss over them, but because there isn't much farmland, many people grow them on balconies. Every morning when you push open the door and see your own plants and flowers growing so lushly, you feel so much better!
To grow good flowers, the soil must be good. Among flower growers there are many kinds of soil in circulation, such as pine needle soil and leaf mold soil. These are actually very common soils. Many people say this kind of soil is especially good for growing flowers, but is it really an all-purpose soil? Do you really know? This all-purpose soil! Whatever you plant in it grows well, and only flower sellers know about it!
This soil is a kind of bone residue soil, a composite soil made by crushing bones and mixing them into soil. Because the soil contains relatively many nutrients, it is also called all-purpose soil. Many flower sellers use this kind of soil. Today the editor will teach you how to make this soil!
First is the bones. The editor suggests choosing relatively small chicken bones and fish bones, because these two kinds of bones are relatively small and soft, easy to crush, and the materials are also easy to get. When eating, just collect them. Then wash the collected bones a bit; a rough wash is enough. Put them in the sun to dry for 10 days, then take them back, soak them in clean water for 20 hours to remove the seasonings and dirt on the bones, and then you can put them in a pressure cooker and simmer for half an hour.
Then take them out, air-dry them, and sun them again for a few days. You will find that the bones have become very soft and brittle by this time. Take a small hammer and crush them. Remember, the more crushed the better, so that when put into the soil they won't feel so rough on your hands. Many people will probably find it troublesome, but just look at the effect and you'll know!
The next step is mixing the soil. First find a discarded flower pot, line it with a layer of leaves, then put soil on top, put the processed bone residue on top as a layer, then add another layer of soil, then bone residue again, repeating in this order. After it's done, don't rush to plant anything. First water it thoroughly, seal the opening with a plastic bag, and put it in the sun for 30 days. During this period, no matter whether it's windy, raining, or whatever, don't bother with it. After 30 days it can be used. When using it, just mix some soil with the bone residue soil and use it!
This kind of soil is rich in nutrients and makes whatever flowers you grow thrive. Because the nitrogen, phosphorus, and potassium elements in it are relatively complete, it is also very good for growing flowering plants, such as clivia, kalanchoe, jasmine, gardenia, cut flowers, and so on. All can use this all-purpose soil.
Isn't it super simple and money-saving? It's fine even without fertilizing for several years. It's a great method for lazy people who grow flowers.
If you haven't used it, hurry home and give it a try. Maybe from then on you'll swear by this soil!