How to grow cherries in pots? A step-by-step guide to the planting method
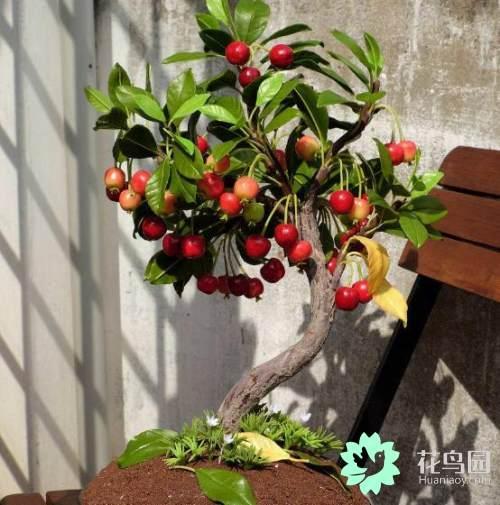
Summer is the peak season for cherries and the best time to eat them. Cherries are brightly colored with a sweet, fresh taste, making them a favorite fruit. But cherries are also fairly expensive, so when we eat them, we wonder whether we could grow them ourselves in pots, which is both a pleasure in life and a way to eat cherries we have grown with our own hands.
1. Treating the cherry seeds: When we eat cherries, we keep the seeds inside. We need these seeds for planting. Soak the cherry seeds in warm water for a day, then take them out and rinse them, and use a tool to crack open the shells. People with good teeth can bite them open directly, but be careful not to damage the kernel inside.
2. Drying and sowing: Place the treated cherry seeds in a cool, shaded spot for 1-2 days, then take them out for sowing. Prepare a container filled with soil in advance, sow the cherry seeds shallowly in the soil, then cover with about 1-2cm of soil, and water thoroughly once after sowing. After sowing, keep the temperature between 20-25 degrees, and they will sprout in about half a month.
3. Seedling stage care: After the seedlings emerge, we can water according to how dry or moist the soil is, keeping the soil moist but not overly wet. Once the seedlings have grown and taken shape, we can transplant them into a larger pot. When transplanting, move them together with the soil, and be careful not to damage the seedling roots. After transplanting, apply organic fertilizer as appropriate, so the seedlings can grow better.