How to Grow Daisy Seeds? Detailed Planting Methods and Tips
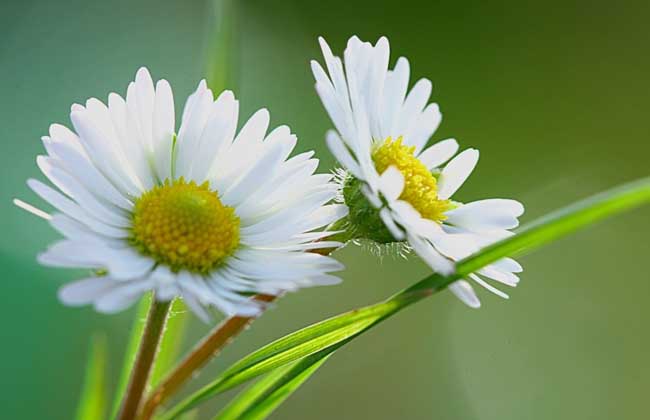
Daisy is also known as spring chrysanthemum, aster flower, and extended-life chrysanthemum, among other names. It originated in Europe, where the original species was regarded as a clump-forming weed. Its flowering period is in spring, and it is now cultivated all over the world. In China, it is cultivated in gardens everywhere as a flowerbed ornamental plant. In cold regions where it can survive the summer, it can be propagated by division. Now let us take a look at how to grow daisy seeds!
Sowing Time
Daisy prefers a cool climate, dislikes heat, likes light, and tolerates partial shade. The suitable temperature for seed germination is 22-28°C, and the suitable temperature for growth is 20-25°C. The seeds are very small, with 4900-6600 seeds per gram. They are mostly sown in September, while in the Zhejiang area sowing generally begins in late July, mainly from late July to mid-August. When sown at this time, New Year's Day is the peak blooming period.
Sowing Method
For sowing daisy, use a loose, breathable medium. The medium should be disinfected, and it is best to cover it with a thin layer of vermiculite, just enough that the seeds are no longer visible. Because daisy seeds are very small, they are not suitable for spot sowing, so broadcast sowing is generally used. Once the seedlings have 2-3 true leaves, they can be transplanted once. The pH value of the sowing medium is preferably 5.8-6.5, and an EC value of 0.5-0.75 is more suitable. After sowing, maintain a temperature of 18-20°C and humidity of 80-90%, and germination occurs in 5-8 days.
Post-Sowing Management
1. First stage: After sowing, maintain a temperature of 18-22°C and humidity of 80-90%. The radicle emerges in 5-8 days. After germination, the medium should still be kept moist. No fertilizer spraying is needed, and light should be provided, but the light cannot be too strong during germination, so appropriate shading is still required. In July and August, shading is still needed around midday to lower the temperature.
2. Second stage: In this stage, humidity is 70-80%, which allows the roots to penetrate into the medium to absorb nutrients for the expansion of the cotyledons. Keep the temperature at 16-20°C. Wait until the first pair of true leaves unfolds, then begin fertilizing, mainly with a 50 ppm 20-10-20 water-soluble fertilizer. After this stage, a transplant can be carried out using 288- or 128-cell trays.
3. Third stage: This stage is the rapid growth period of the seedlings. Prevent the medium from becoming too wet, and alternately apply 50 ppm of 20-10-20 and 14-0-14 special flower fertilizers. Due to differences in temperature and transpiration, generally apply liquid fertilizer once every 2-3 days instead of watering. This is a relatively scientific method of water and fertilizer management in seedling production. If the traditional method is used, applying fertilizer once at intervals, the concentration should be relatively increased to 70-100 ppm. However, between watering or fertilizing, the medium should be allowed to dry slightly, using alternating wet and dry conditions to promote seedling growth and root development. When the seedlings have 2-3 pairs of true leaves, the seedling height is 3-100 cm, and the root system is basically fully developed, they can proceed to the next stage of hardening off.
4. Fourth stage: At this stage, the root system of the seedlings has grown well, and they already have 3 pairs of true leaves. The hardening-off process before potting can be considered. The temperature is the same as the previous stage, and the humidity is slightly reduced. Water control at this stage is especially important. Apply 14-0-14 water-soluble fertilizer, otherwise the seedlings will easily become leggy. Therefore, there should be sufficient sunlight, enhanced ventilation, and controlled temperature and humidity to prevent legginess.