Key Points and Methods of Cedar Cutting Propagation Techniques Explained
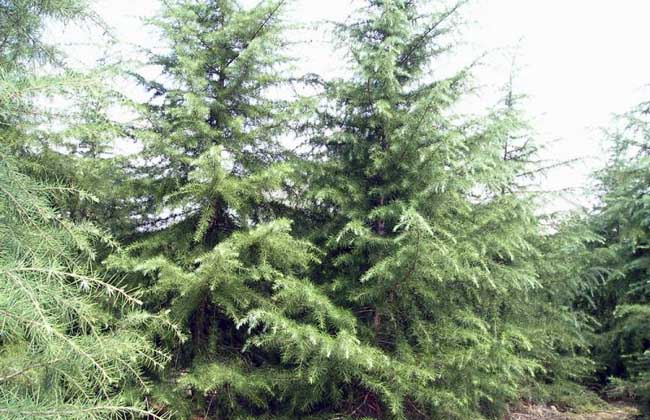
Cedar is an evergreen tree of the genus Cedrus, favored for its graceful tree form, majestic bearing and upright trunk, and is widely used in landscaping. Besides seed propagation, its propagation methods include cutting propagation, which has the advantages of a relatively high survival rate and relatively good economic returns. Let's take a look at cedar cutting propagation techniques together below!
Cedar Cutting Time
Cedar can be propagated by cuttings in all four seasons. For spring cuttings, mid-to-late March is suitable; for summer cuttings, May and June are good; for autumn cuttings, carry them out in mid-August. Late autumn and early winter cuttings are still possible, but they cannot take root in that same year. In large-scale production, spring and summer cuttings are the main ones, with a relatively high survival rate and relatively good economic returns.
Cedar Cutting Selection
The age of the mother tree from which branches are collected and the age of the cuttings are one of the key factors determining the survival rate of cedar cutting propagation. The younger the mother tree, the higher the cutting survival rate, and among these, cuttings from seedling-grown mother trees are higher than those from cutting-grown mother trees. The younger the cutting, the stronger its meristematic capacity and the easier it is to take root. Therefore, it is best to select one-year-old thick and strong branches from robust young seedling-grown mother trees as cuttings. Cuttings should preferably be taken on windless mornings with dew or on cloudy days. Select one-year-old thick and strong branches as cuttings, about 15 cm long, with the base cut smooth, and remove the secondary branches and the lower needles. For summer cuttings, the new shoots of the current year should be cut as cuttings, with a portion of last year's old branch at the base. After cutting, soak the base of the cutting in a naphthaleneacetic acid aqueous solution at a concentration of 500 mg/kg for 5 seconds, then insert immediately.
Cedar Cutting Bed Treatment
Cedar should be raised in a place sheltered from wind and facing the sun, with convenient drainage and irrigation, and slightly acidic sandy loam soil. Make the seedbed 100 cm wide, with 10 cm of gravel and coarse sand laid underneath, and on top sifted loess, burnt soil and fine sand mixed evenly in a ratio of 7:1:1. The seedbed ditches should connect with one another to facilitate drainage. Before making the cutting bed, the bed ground should be plowed and turned repeatedly; at the same time, spread 30 jin of ferrous sulfate and 100 jin of compound fertilizer per mu and turn them into the cutting bed ground together. The middle of the cutting bed should be slightly higher to prevent water accumulation.
Cedar Cutting Techniques
When inserting cedar cuttings, they should be inserted separately according to diameter grade, length, and thickness. Before inserting, shallow furrows can first be opened on the seedbed, and then the cuttings can be inserted. For spring cuttings, the plant and row spacing is 5 cm × 9 cm; for summer cuttings, it can be appropriately denser. Both vertical and slanting insertion are acceptable, but slanting insertion is better, as the contact area is larger, which is conducive to rooting. The insertion depth is 6 to 8 cm. After insertion, press firm and water thoroughly.
Cedar Post-Cutting Management
After cedar cuttings are inserted, set up a shade shed or use a shade net for covering, with a light transmittance of 30-40% being most ideal. After insertion, spray water once every morning and evening with a watering can or sprayer, and spray less on cloudy and rainy days. After the cuttings take root, control the amount and frequency of water spraying to prevent root rot. At the same time, strengthen fertilizer and water management. When summer cutting temperatures are high, cover with double-layer curtains to lower the temperature and ventilate on all sides. On sunny days, the shade shed must be covered early and uncovered late; on rainy days, clear the ditches promptly to drain water and prevent waterlogging. After the Beginning of Autumn, the shade shed can be removed for hardening the seedlings to improve their resistance. Generally, roots can form about 50 days after insertion, with a survival rate above 85%. After new shoots appear, spray 0.2% urea or potassium dihydrogen phosphate to promote new shoot growth. The following spring, they can be transplanted at a plant and row spacing of 30 cm × 50 cm to ordinary garden plots for temporary planting.