How to propagate Mimosa pudica? Introduction to common propagation methods
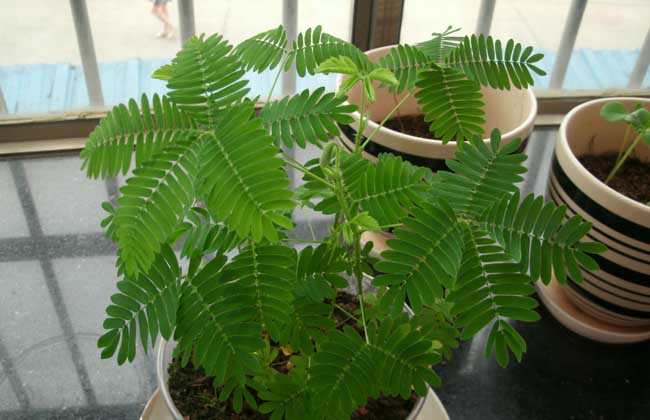
Mimosa pudica is a perennial herb or subshrub of the Fabaceae family. Its flowers, leaves and pods all have good ornamental value. It is a taproot plant with very few fibrous roots, so it is suitable for propagation by sowing, and it is best to sow directly to avoid damaging the roots when transplanting. If transplanting is necessary, it should be done at the seedling stage, otherwise it is difficult for the plant to survive. Let's take a look below at how to propagate Mimosa pudica!
Mimosa pudica seed collection
The pods of Mimosa pudica often grow in clusters in one place, and the ripening period is very uneven. On a single branch, pods that have already ripened and split open, young fruits and flower buds often appear at the same time. Seeds should therefore be harvested in batches, and usually the seeds in the early-formed pods on the middle and lower parts of the branches should be collected.
Sowing time for Mimosa pudica
Before sowing Mimosa pudica, select mature, plump, large, full and colorful seeds for sowing. The viability of seeds in storage is relatively short, so they should be sown immediately after collection or stored mixed with fine sand in a cool indoor place and sown the following spring. Generally, sowing is done indoors in early spring.
Sowing methods for Mimosa pudica
1. Mimosa pudica can be sown directly in a small pot, or raised in a shallow pot and then divided and transplanted. For the sowing soil, mix 2 parts leaf mold, 3 parts garden soil and 5 parts fine yellow sand after sifting. When sowing, first fill the pot with an appropriate amount of growing medium, spread it flat and firm it, then water thoroughly with a watering can. Once the water has completely penetrated, sow immediately. For direct sowing in a small pot, sow 1-2 seeds per pot; if using a shallow pot for raising seedlings, sow by dibbling at a spacing of 2×2 cm.
2. After sowing the Mimosa pudica seeds, cover with 3-5 cm of soil, just enough to cover the seeds. Cover the pot with glass or plastic film to retain moisture, and place the pot in a spot with bright, indirect light at around 20°C. Afterwards, when the potting soil is dry, water by the immersion method. After about 7-10 days, the seeds germinate and seedlings emerge.
Seedling stage management of Mimosa pudica
1. After the Mimosa pudica seedlings emerge, remove the covering from the pot and gradually let them receive sunlight. When the seedlings grow to 3 cm tall, those sown in a shallow pot can be divided and transplanted. When dividing seedlings, transplant them with soil, otherwise it is difficult for them to survive. After watering thoroughly, place the newly potted seedlings first in a semi-shaded place, and after they recover, move them to a place with plenty of sunlight.
2. Mimosa pudica sown directly in a small pot can be placed directly in a place with plenty of sunlight to grow. In mid-April in the south and early May in the north, the seedling pots can be moved outdoors for cultivation, and water promptly and regularly to keep the potting soil moist. When the seedlings grow to 4 leaves, begin applying liquid fertilizer. Generally, applying a diluted decomposed liquid fertilizer once every 7-10 days is enough. After the seedlings grow larger, they can be repotted once more, but the pot should not be too large. Generally, planting them into a medium-sized flower pot of 15-20 cm is sufficient.