How to Propagate Ficus? A Detailed Guide to Common Propagation Methods
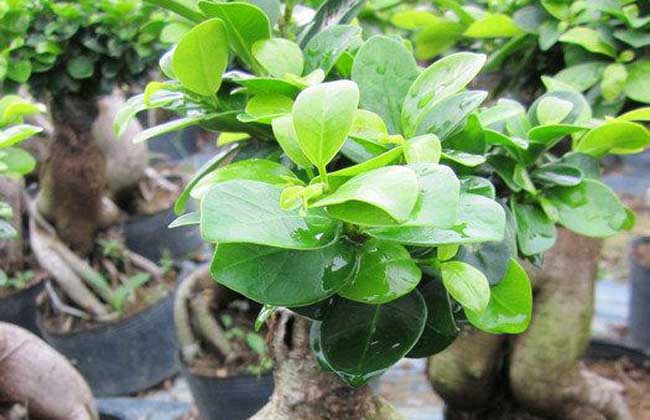
Ficus is also known as small-leaved ficus, evergreen, ficus aerial root, etc. It can be used as a street tree, its bark fiber can be made into fishing nets and artificial cotton, and its aerial roots, bark and leaf buds are used as a heat-clearing and exterior-releasing medicine. Common propagation methods include cuttings, layering, and burying stems. In northern greenhouses, it is mostly done between late spring and summer and in conjunction with shaping and pruning, with occasional methods such as seed propagation or field collection. Now let us take a look at these propagation methods for Ficus!
Cutting Propagation
After temperatures warm up in spring, cut 1-2 year old branches into 5-15 cm long sections, each containing 3-4 bud nodes, remove the lower leaves, and keep 1 leaf at the top. If the leaf is large, roll it into a tube shape and tie it tightly with fine string. Insert the cuttings into a sand bed or flower pot, with the insertion depth accounting for 1/3 of the cutting. After inserting, cover with plastic film to retain moisture and warmth, and keep the temperature at around 25°C. After 30-45 days, roots and shoots form, and they can be transplanted into pots. Treating with ABT No. 1 rooting powder before cutting can promote rooting.
Layering Propagation
For home cultivation of Ficus, layering or air layering can be used for propagation. Bury part of a branch in the soil, press it firm and water it, and roots generally form after about 30 days. The air layering method is to select a 2-year-old branch, make a ring-shaped cut on a smooth part of the branch, with a cut width of 1.0-1.5 cm, wrap the wound with moist peat, moss, etc., and finally wrap it tightly with plastic film, tie the upper and lower ends securely, and poke several small holes in the film for ventilation. After roots grow, cut it off and pot it.
Seed Propagation
Seedling-grown Ficus has a well-developed root system and is easy to shape, so seed propagation is often used. Sowing should be done as the seeds are collected, processed, and sown. First wrap the ripe berries in cotton gauze, rub and wash them in clean water until they become mushy, air-dry for 2-3 days, then sow directly in a prepared sand bed or flower pot, scatter-sow, do not cover with soil, and spray with clean water 1-2 times a day to keep the bed surface moist. At a temperature of 25-30°C, germination begins successively 10 days after sowing. After sowing, a plastic arched shed should be set up over the bed surface to prevent heavy rain from washing it away. After 15 days of growth, spray the leaf surface with 1% urea or potassium dihydrogen phosphate solution. When it grows to 6-7 leaves, transplant it into a pot.
Grafting Propagation
1. Green branch grafting: use vigorous young shoots of the current year that are still growing but have not yet stopped growing as the rootstock, and use relatively mature young shoots of a superior variety as the scion for grafting. Stop watering several days before grafting to reduce excessive bleeding during grafting. The thickness of the rootstock and scion must be consistent. The scion should be 2-3 cm long and retain the apical bud and the uppermost 2 leaves, with the lower end cut into a "V" shape. Cut off the top of the rootstock and use a blade to cut vertically downward along the pith to 1 cm. Insert the scion into the "V"-shaped slot of the rootstock, align the cambium on both sides, and tie it tightly with plastic film. Finally, cover it with film, water it thoroughly, place it in a ventilated and bright place, and uncover the film once a day for ventilation. Generally after about 45 days, it will survive and the binding can be loosened.
2. Hardwood grafting: graft before bud break and growth in spring. The diameter of the rootstock trunk stem should be more than 1 cm. The base diameter of the scion should be about 0.8 cm, length 5 cm, retain a single bud, and leaves may be left off. When grafting, cut the grafting site of the rootstock flat, and make a vertical downward cut at an appropriate position at the rootstock grafting site according to the diameter of the scion. Then insert the wedge-shaped lower end of the scion into the cut slit of the rootstock, align the cambium of both, and tie it tightly with plastic film. Finally, seal the grafting site tightly with film to prevent water loss. After grafting, remove the leaves below the grafting site on the rootstock to promote scion budding and shoot growth.