How to Propagate Ivy from Cuttings? Detailed Cutting Methods and Steps
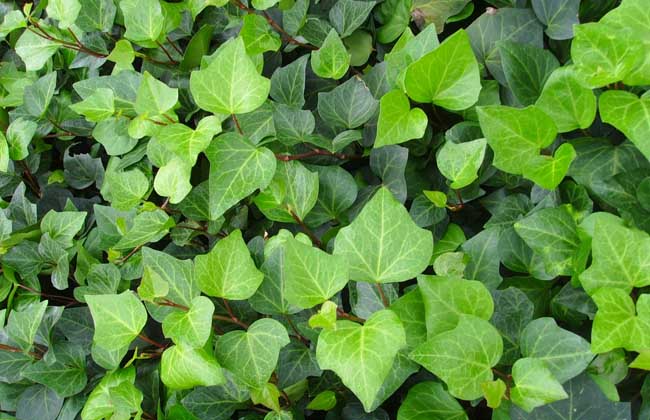
Ivy is a perennial evergreen climbing shrub of the genus Hedera in the Araliaceae family. Its stems and vines root easily, so it is usually propagated by cuttings. Under greenhouse conditions, cuttings can be taken year-round. For home propagation, spring (April-May) and autumn (August-September) are generally the best times. Let's take a look at how to propagate ivy from cuttings!
Preparing the Cuttings
Pinch off a branch about 30 cm long from the tip of the ivy. Before taking cuttings, be sure to carefully check the leaves and stems for signs of insects, especially with plants brought back from the wild, as bringing home pests is the biggest concern. Cutting branches will not affect the growth of the mother plant; it can even encourage the mother plant to branch out and grow more new shoots. Cut the ivy into small sections about 8-9 cm long. Be sure to use scissors rather than pinching with your hands, as this would damage the plant tissue at the cut. Also remove the lower leaves, keeping only the top 2-4 leaves.
Cutting Medium
Prepare a few disposable plastic cups and cut three or four holes in the bottom to use instead of flower pots. This kind of "pot" has several advantages. First, it holds less soil, so it dries and re-wets quickly, preventing the cuttings from rotting due to soil staying too wet for too long. Second, the transparent cup allows you to clearly observe root development; transplanting after the roots have developed well improves the survival rate. Third, transplanting is convenient: when it is time to transplant, turn the cup upside down and slide out the intact root ball, keeping the roots of the young plant unharmed. Fourth, it takes up little space. After cutting the holes in the bottom of the cup, fill it with well-aerated soil; sandy soil works too. Use a finger or chopstick to poke a hole in the soil in the middle of the cup, place at least one leaf-removed node into the soil, then fill in soil and press gently around the cutting so it does not wobble when watered.
Cutting Care
1. Watering: After watering the ivy thoroughly, place it in a bright spot without direct sunlight. For the first few days, water about once every two days. After about a week, gradually reduce watering frequency, watering only when the soil looks slightly dry. Be careful not to let the soil dry out completely.
2. Rooting and Transplanting: With proper care and suitable temperatures, ivy cuttings will root in about 15-20 days. After rooting, do not rush to transplant; let the young plants continue growing in the cups for a while. After about a month and a half, when the root system has developed well, they can be transplanted into larger pots.
3. Aftercare: After transplanting the young ivy, water thoroughly and place it in a spot without direct sunlight for two or three days to recover, then it can be exposed to sunlight. Shaping can be done according to personal preference. If you want a lush, full pot, place it in a sunny spot, add urea or nitrogen fertilizer to the water when watering, and pinch off the tips frequently to encourage more branching. If you prefer an elegant, trailing look, place it indoors in a bright spot without direct sunlight, skip the fertilizer, and let it grow freely.