3 tricks to revive a clivia after beheading: sprouts in 1 week, roots in 1 month, no need to buy another
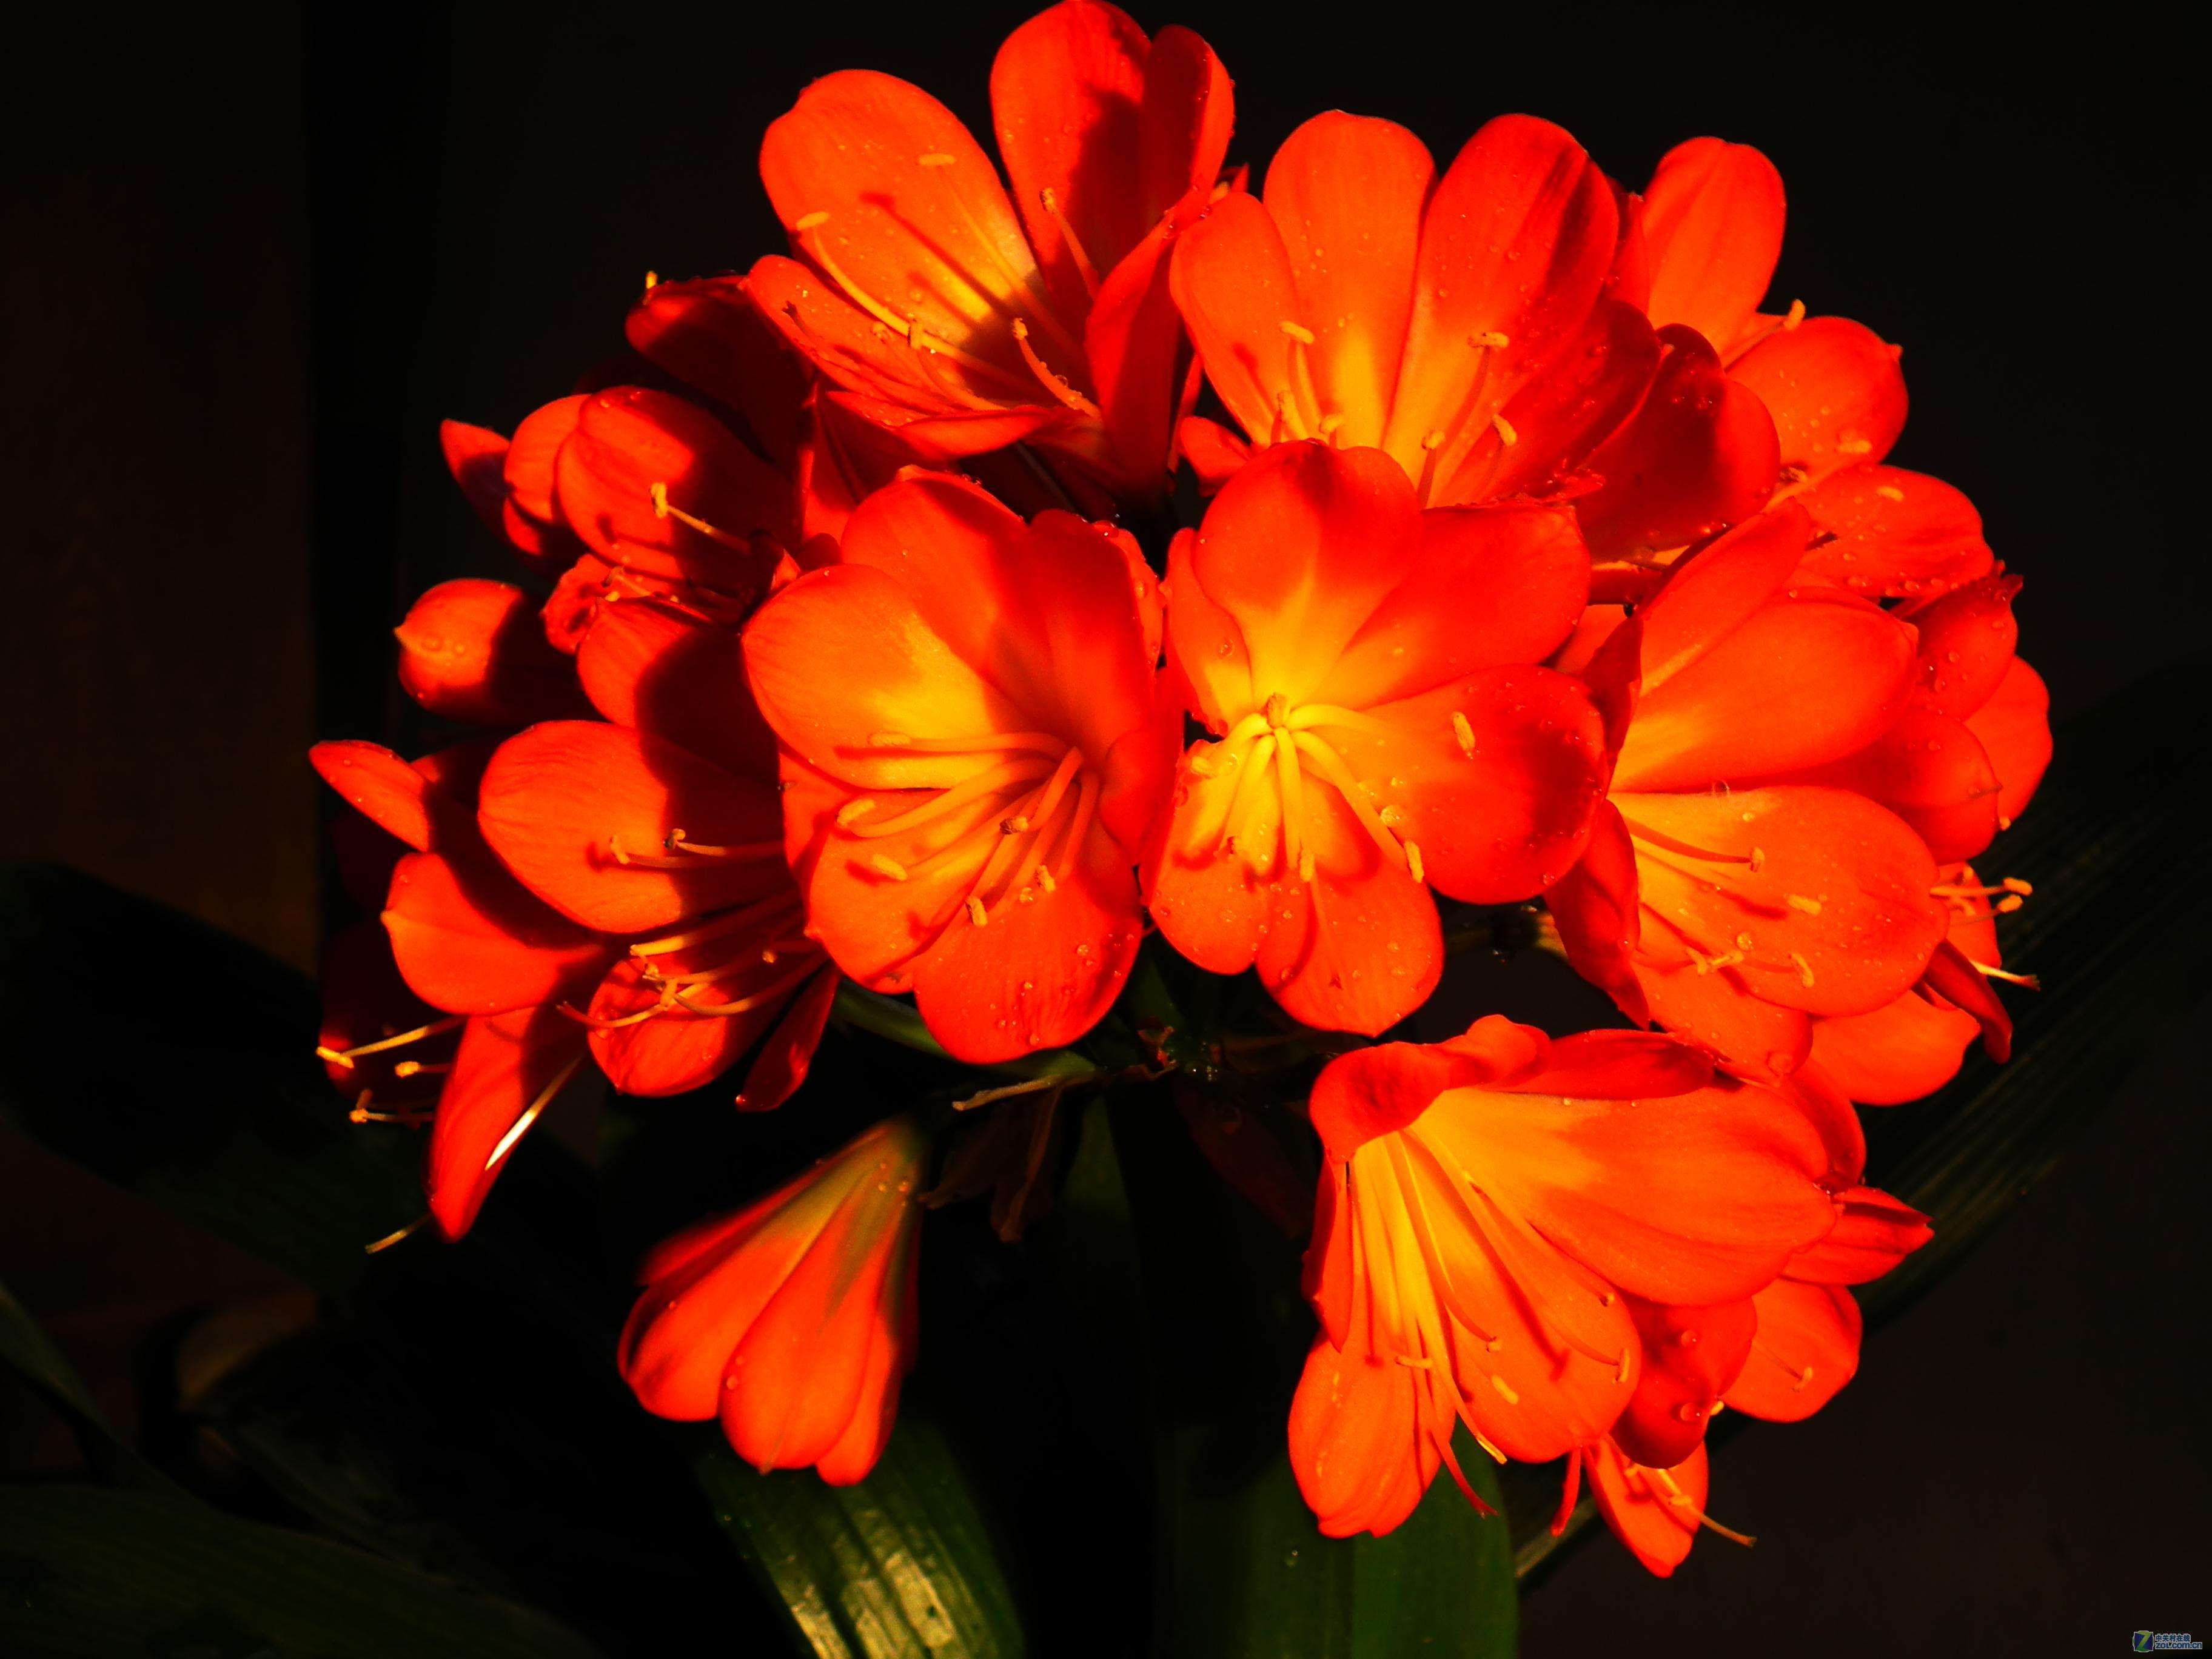
Clivias are loved by everyone, and they are not hard to care for, but many clivia owners often run into problems during care because of a moment of negligence. Yesterday I saw that after one owner's clivia was beheaded, it came back to life. The little gardener is sharing his care experience with the clivia owner, and this will be very useful for your clivia care.
1. A fertilizing mistake, and the clivia gets "hurt"
Here is what happened: during care, this clivia owner accidentally got "farmyard manure" into the heart of the plant. He had used farmyard manure hoping to see flowers this year, but now, because of the mistake, the clivia's heart rotted, so he could only behead it and see whether it would survive. We must pay attention to this point during care: if fertilizer accidentally drips onto the leaf heart, rinse with water, wipe dry, and give it a blow with a fan, and it will be fine.
2. Three little tricks, and the clivia is "reborn"
The one in the picture is what his clivia looked like when it sprouted new growth. New sprouts mean there is still hope of keeping it alive. If we are forced to behead a clivia during care, then we might as well learn this owner's technique for prompting new sprouts. His clivia put out quite a few new sprouts, and it turns out he had some tricks of his own.
The first trick is dry cultivation to prompt new sprouts. He said that after beheading the clivia, he used a dry-cultivation method to force sprouts, and the sprouts forced out by dry cultivation are more numerous; this is his experience. As for how to do dry cultivation, that means strictly controlling water. If the sprout is kept in overly moist potting soil, it will produce fewer sprouts. Beginner flower growers can use a plant monitor to measure soil moisture before watering, which makes water control easier.
The second trick is a homemade drainage cover to increase air permeability and at the same time ensure that fine planting medium does not wash away. If you want the clivia to root smoothly, the potting soil must have guaranteed air permeability and drainage. You can do what he did: cut a plastic bottle and use the bottom as a drainage cover, simple and convenient. Of course, you can also buy a dedicated drainage cover online.
The third trick is clay pellets (LECA) to prompt rooting. After dry cultivation until the clivia sprouts, then, as in the picture above, switch to potting it in clay pellets to grow roots. This owner says clay pellets are also a good thing for rooting. Of course, moss works too, but moss is cleaner and feels more comfortable to use. When rooting with clay pellets, you need to do a good job of keeping moisture at this point.
If your potted clivia has problems during care, do not panic. Try this method used by flower owners: first dry-cultivate to force sprouts, then use clay pellets to grow roots, attacking on two fronts. After 3 months, use Huadongde organic nutrient solution to supplement fertilizer, strengthen the roots and nourish the seedlings, and let the potted clivia regain new life. Who knows, next year it might burst into a full pot!