Using Water-Absorbing Stone to Grow Succulents for Practice: Creating a Succulent Rockery Micro-Landscape
Foreword
Follow the Encyclopedia · Meet Beauty (WeChat ID: duoroubaike)
Main text begins:
Thanks to the author [Xinghua] for theoriginal submissionsharing
Submission date: June 8, 2018
Edited and compiled by: Encyclopedia Jun
Location: Beijing
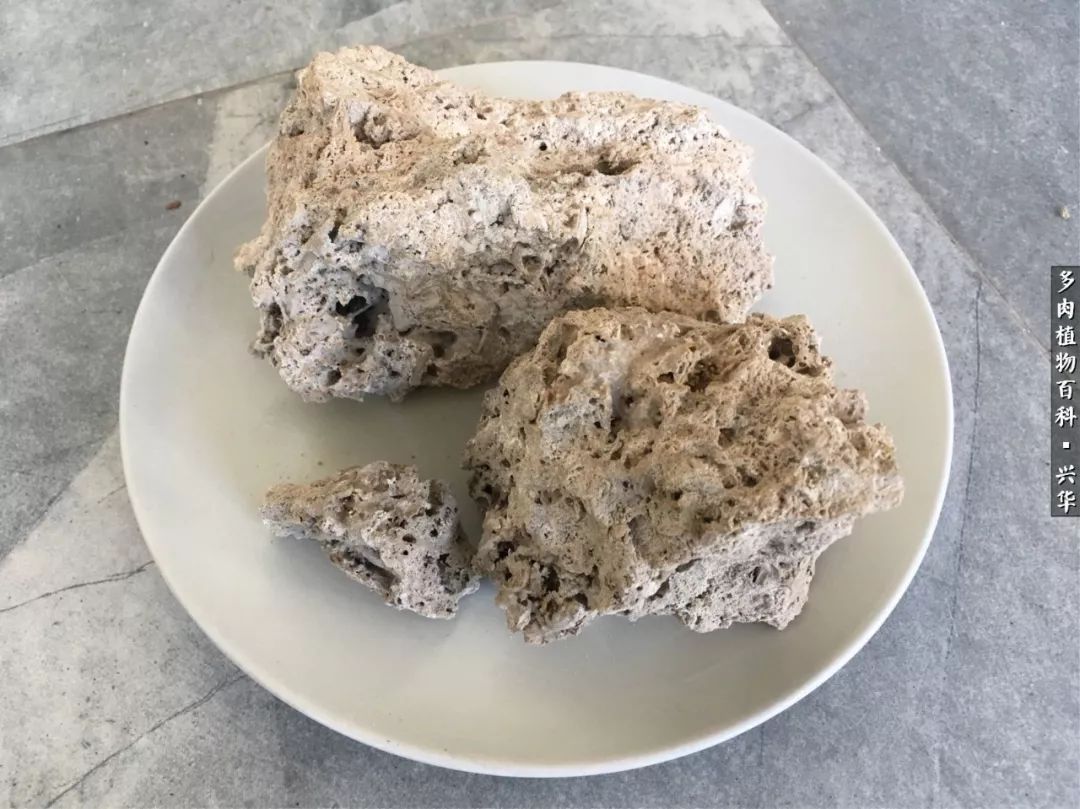
Water-absorbing stone rockery landscaping is very common; usually grass seeds and moss are planted as the vegetation on the mountain, but did you know that succulents can also be grown on water-absorbing stone? After seeing the introduction in a previous article, I was eager to try, so I spent just over ten yuan on a certain e-commerce site and picked up a few small pieces of water-absorbing stone to practice with.
The succulent seedlings were all ready at hand. Ever since I started growing succulents, leaves keep dropping constantly, so there are always plenty of seedlings. For the trays, I found two unused large plates to put to good use.
Step one: wash the water-absorbing stone clean, arrange the shapes, and first put together a composition in the plates. Two plates were assembled in total.
Step two: drill holes in the stones with an electric drill; this step was done by my husband. Choose spots that already have small holes or depressions to drill, and distribute the drilled holes evenly across the stone. The depth is about three or four cm. Choose a relatively thick drill bit. The result after drilling is shown in the picture.
Step three: paint the plates. For materials, use the acrylic paint used for painting succulent flower pots. I planned to paint one with a lake water effect and one with an ocean effect. It's very simple: mix the colors well, apply evenly, then paint a few strokes in different colors to represent water ripples. After painting, let them dry, then apply two more coats of clear varnish for protection.
Step four: plant the succulents. Choose seedlings with relatively long stems, use tweezers to stuff the seedling together with its roots and soil into the holes in the stone, then add some soil into the holes and pack the seedlings in tightly. Try to choose different varieties and different colors to plant together for a richer, more colorful look. Put the stones back into the plates, and it's roughly done.
Step five: decorate. I bought some miniature water-absorbing stone ornaments - little pavilions, little pagodas, little boats, little houses, little birds and so on - and placed them on the stones. If they don't stay firmly in place, use blue tack (the kind for sticking photos to walls, a bit like plasticine) to stick them down. This makes the micro-landscape come alive.
Finally, add water to the plates. After a while the water-absorbing stone will be fully soaked, so there's no need to worry about the succulents lacking water. With rippling blue waves and green waters and green mountains, the rockery succulent micro-landscape is done. Isn't it simple? Maintenance is also very easy - just add water once a week. It has been more than two months since it was finished, and it's growing very well. In the future I'll try growing succulents on a larger piece of water-absorbing stone.
Encyclopedia Jun's ramblings:Water-absorbing stone is also called water-absorbing rock (a natural air purifier). The reason it's called this is that after water is stored in the basin, if the water-absorbing stone is of good quality, it can quickly absorb water to the top. On water-absorbing stone you can plant wild grass and moss; lush and verdant, it is an excellent stone material for making bonsai. Using water-absorbing stone to create a succulent bonsai is a good idea, because it can effectively prevent succulents from lacking water or becoming waterlogged. In addition, water-absorbing stone has very good breathability, so you could say the moisture is just right and it's airy. The drawbacks are also obvious: if the holes drilled are too small, they will restrict plant growth, so the holes should be neither too small nor too large. Let the plants be grown in a controlled way inside the stone holes and gradually develop into small old stumps. Then, supplemented with moss as embellishment in between, it becomes even more charming!
Succulent culture needs you and me to promote it! Remember to share good articles more, so that more people fall in love with succulents!
Appreciate this article
The official account's appreciation function has currently been adjusted, and the author's WeChat appreciation code is used instead of the system appreciation. If you want to appreciate the author, please directly scan the WeChat appreciation code to tip the author of this article!
Advertisement ADVERTISEMENT
This article has beenexclusively authorizedby the author to the WeChat official account: Succulent Plant Encyclopedia (ID: duoroubaike). The content of the article does not represent the views or stance of the official account! The Encyclopedia has signed with a third-party internet copyright enforcement company and has launched network-wide rights protection. Unauthorized reproduction by other platforms is strictly prohibited! If unauthorized reproduction is discovered, infringement liability will be pursued! Netizens are welcome to report it!