Detailed Explanation of Winter Chicken Coop Environment Control Methods
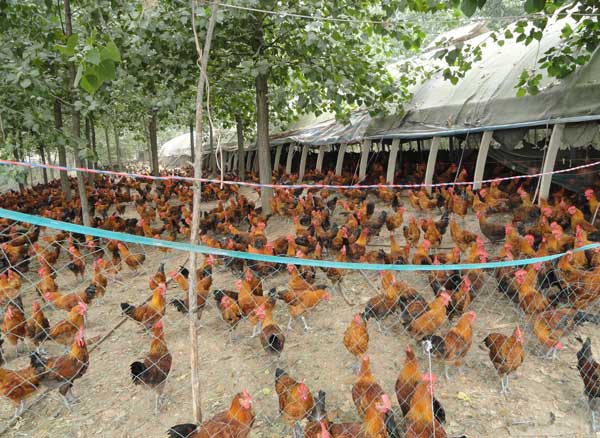
In early winter, temperatures and the temperature difference between day and night vary greatly. To ensure the flock has a warm and comfortable living environment, improve flock production performance, and reduce disease occurrence, temperature, humidity, ventilation and other conditions in the coop must be well controlled.
Temperature
The temperature inside the coop should preferably be kept at 18-23°C, and should not be lower than 15°C at minimum. In windy weather, the tarpaulin should be rolled up (roll up half or all of it depending on changes in outside temperature) to prevent wind from causing a sudden drop in coop temperature. Adjust the size of the air inlets each day according to weather conditions and the flock's condition. At the air inlets, use wire or rope to securely fasten the plastic sheeting and plywood so that air blows upward; do not let cold air blow directly onto the chickens, to prevent cold stress from causing disease in the flock. Do not open the air window directly facing the temperature controller, to prevent cold air from blowing directly onto the temperature controller. If the exhaust fan cannot be turned on, it easily causes poor air quality inside the coop. When installing a timed temperature-controlled exhaust fan, choose one with intact louvers, and do not choose a north-facing exhaust fan. Before winter begins, clean the dust from the heater; when first turning on the heater, keep its louvers parallel so that hot air evenly fills the coop. Do not open the workroom door and the coop door at the same time, to prevent cold air from blowing directly into the coop. Carefully observe the flock every day; if the chickens are lying on the perch frame with their feathers standing up, it indicates that the coop is too cold. Adjust the air inlets, block air leaks, and prevent stress so that the flock does not catch cold and become ill. Watch the weather forecast every day and take preventive measures in advance.
Ventilation
In early winter, fresh air and relatively slow airflow speed inside the coop are preferable. Before winter begins, repair places that should not let air in, especially air leaks at the exhaust fan, which must be dealt with properly, to prevent localized backflow of cold air from making overall ventilation in the coop poor and the temperature near the exhaust fan too low, causing disease in the flock and affecting production. When the ammonia smell in the coop is strong, first raise the temperature inside the coop, then increase the ventilation rate. When the air inside the coop is relatively stale in the morning, if the ventilation rate must be increased, it should be increased gradually, preferably at noon when the temperature is higher. Each ventilation period can be shorter, and the number of ventilation times can be greater. During ventilation, be sure not to leave dead corners. If the number of exhaust fans to be turned on is to be increased, carefully observe the flock's condition after the additional fans are turned on, and only proceed if there are no adverse reactions.
Humidity
Before winter begins, add enough bedding material. In winter the bedding is relatively dry, so it should be frequently sprinkled with water or sprayed for disinfection. If there is standing water under the perch frame, when autumn temperatures are high, drain the water from under the perch frame, then spread white lime. When the temperature inside the coop is suitable, increase the ventilation rate. Adjust the water pressure of the nipple drinker line to below 10 cm, or adjust the water level of the drinkers to below 1 cm. Frequently check the drinker line; nipple connectors on the drinkers that leak should be replaced or repaired immediately. If the drinkers leak, handle it promptly to prevent leakage from causing excessive ammonia smell in the coop and affecting flock health.