Detailed Explanation of Muscovy Duck Breeding Technology: The Whole Process from Mating to Hatching
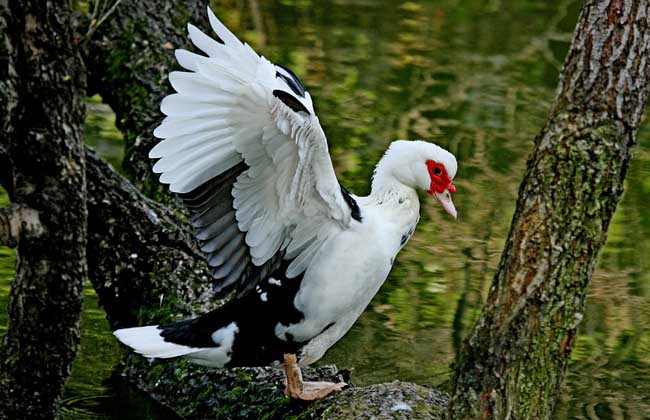
Muscovy ducks are bred through artificial incubation. First, we need to do a good job of selecting breeding eggs.
Selection of Breeding Eggs
We should choose duck eggs that are unbroken, free of off odors, and not spoiled as breeding eggs. After selecting them, place them on the wire racks. Once they are arranged, put them directly into the incubator. Next, disinfection work still needs to be carried out.
Disinfection
For disinfection, you can use Jintai Weisa disinfectant (medication shown on camera). Mix it into a 600-fold dilute solution and spray it directly onto the breeding eggs. After the breeding eggs dry, we can close the incubator door and begin incubation period management.
Incubation Period Management
The entire incubation process takes about 40 days. The first 27 days take place inside the incubator, and the final dozen or so days take place on the hatching bed. The specific methods are as follows:
1. Embryo movement: This allows the embryos to be heated evenly and also effectively prevents the embryos from sticking to the eggshell. There are two methods for turning the eggs. The first is to take the wire rack out of the incubator and turn each egg individually. When doing this by hand, you must be very careful to minimize the eggshell breakage rate. The second is to rotate the whole rack by pushing and pulling the incubation wire rack so that the breeding eggs change position accordingly. These two methods can be used alternately.
2. Candling: During incubation, candling should be carried out once each on day 7, day 13, and day 23. Candling can be done with a light. It serves two purposes: one is to check the incubation progress of the breeding eggs; the other is to pick out spoiled infertile eggs and dead embryo eggs. Candling can be done at night or during the day. If you are a beginner, it is recommended to do this work at night, because in a pitch-black environment, any spoiled eggs are easier to identify by color. For those with a grayish color, we must pick them out in time. Moreover, candling can very clearly reveal the development inside the breeding eggs. At around 7 days, you can see thread-like and net-like structures appear inside. At around 13 days, they become cotton-ball-like objects. This is the duckling embryo slowly developing. At around 23 days, the inside of the breeding egg looks like a cloud mass, with patches of black and white. This is the embryo that is about to fully form.
3. Cooling the eggs: During incubation, cooling the eggs is a very important step. Its purpose is to help the embryos dissipate heat and breathe fresh air. Because duck eggs contain more fat, heat increases as the embryos develop. If the temperature is not adjusted properly, it can easily cause death. Therefore, we should open the incubator door once each in the morning, at noon, and in the evening to cool the eggs. Each cooling session lasts about 2 hours. Doing this helps regulate air circulation and ensures smooth incubation.
4. Temperature control: During incubation, the temperature must be strictly controlled to ensure successful hatching. During the first 7 days, we should keep the temperature at 38°C. After 7 days, keep the temperature at 37.8°C. After 23 days, lower the temperature to 37.4°C. We can adjust the temperature by machine, or coordinate it manually, such as by adjusting the eggs. Adjusting the eggs means swapping the upper and lower positions of the wire racks. Different positions inside the incubator also have different temperatures, so this helps keep the temperature balanced.
5. Humidity control: During the incubation process, the moisture inside duck eggs continuously evaporates, so the eggs also become lighter. We should preferably take measures to keep the weight loss of the duck eggs at around 13%. The main control method is maintaining humidity. In the early stage, relatively high humidity can prevent too much moisture from evaporating from the eggs; in the middle stage, the breeding eggs need to release more moisture, requiring relatively lower humidity; in the later stage, humidity should be increased again to help the ducklings hatch. Humidity is usually adjusted by sprinkling water. We should sprinkle water once every day. Note that the water temperature must be kept at around 38°C. Sprinkle warm water evenly onto the breeding eggs in the incubator. When sprinkling, also turn the rack inside the incubator so that every duck egg can receive moisture. After sprinkling, leave the incubator door open and air it for 3—5 minutes before closing the door.
After about 27 days, they can be moved out of the incubator and placed on the hatching bed. Here, we can share a little trick with everyone. We can take a small piece of mesh net and place it between two wire racks. Note that the upper one must not contain breeding eggs. Then swap the upper and lower positions of the two racks, and the breeding eggs can easily be collected into the net. Then just place the breeding eggs on the hatching bed.
Management During the Hatching Bed Period
During this period, about 15 days are needed. The main management needed consists of temperature control and checking for spoiled breeding eggs.
1. Adjusting temperature: We should keep the temperature at 36°C—37°C. The breeding eggs on the hatching bed can all generate heat on their own. The closer to the middle, the higher the temperature, while the temperature around the edges is relatively lower. This is not good for hatching. Therefore, we should turn the eggs once every 4 hours. The method is to move the ones around the edges to the middle and gently press them downward, so that the breeding eggs in the middle are pushed to the sides. This helps balance the temperature well.
In addition, when the air temperature is too high, we can turn on a fan to lower the indoor temperature, and we can also sprinkle water on the hatching bed. The temperature should not be too low; 18°C—26°C is suitable. When the air temperature is too low, we can use blankets or cotton cloth to raise the temperature.
2. Inspection: The closer you get to this final stage, the more you must keep a close watch. We must inspect frequently. There are three methods, commonly described as "first look, second smell, third listen." First, looking means carefully examining. If you find eggs with dull surface color, or if the eggs feel cold when touched by hand, or if the tips of the eggs turn black, these are dead embryos and can be taken out immediately. Next, smell them with your nose. If the breeding eggs have changed odor and smell foul, they are definitely spoiled. If you still cannot be sure, hold the breeding egg by hand and gently shake it near your ear. If you hear the sound of liquid sloshing, then incubation has definitely failed, and it can be thrown away.
After about 7 days, you can see a small opening appear on the duck egg. This is the hole pecked from inside by the duckling, because they want to hatch. At around day 13, they will struggle impatiently to break free from the eggshell.
Vaccination
2—3 hours after the ducklings hatch, we must immediately vaccinate them. The vaccine can be Muscovy duckling parvovirus vaccine (shown on camera). Usually, when injecting, the injection should be given from the back of the duckling's neck. The dosage standard is 0.2 milliliters per duckling. After vaccination is completed, they enter the growth stage of brooding ducklings.
Here, we should also remind everyone of one point: at present, most breeding sites do not yet have incubation technology and rely on purchasing ducklings for raising.