Lemon Tree Propagation Techniques Explained in Detail: Master the Methods to Grow Seedlings with Ease
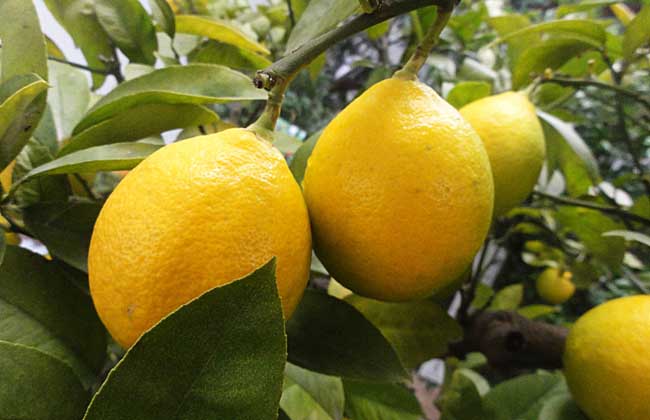
Lemon propagation methods fall into two major categories: sexual propagation and asexual propagation. Sexual propagation is growing plants from sown seeds, also called seedling propagation. Asexual propagation is growing plants from part of the lemon's vegetative organs, also called vegetative propagation, and includes grafting, cuttings, layering, tissue culture and other methods, among which grafting is the most common. Let's take a look at lemon tree propagation techniques below!
Lemon Tree Seed Propagation
Select robust, pest- and disease-free lemon plants as mother trees for seed collection. Pick the lemons in November to December when the fruit is fully ripe. Leave them for a few days, then cut the fruit open, take out the seeds, rinse them clean and sow them immediately, or store them inside the fruit and take the seeds out for sowing in spring. Dry seeds should not be stored long, as they easily lose their germination ability. Fresh seeds germinate in just 7 days under alternating temperatures of 15-25°C.
Lemon Tree Cutting Propagation
Lemon cuttings root extremely easily. In late May, take the vigorous spring shoots pruned from the current year, leave 3-4 buds and cut them into cuttings. Except for keeping one leaf at the terminal bud, remove the rest. Insert the cuttings into sandy loam and water immediately after planting, then water once every few days to ensure the leaves stay green and do not wilt. After one month the terminal bud begins to grow; apply diluted manure water once every 20 days. The plants can send out summer shoots and autumn shoots the same year, and can be transplanted in autumn.
Lemon Tree Layering Propagation
Lemon layering propagation mainly uses air layering. In May to June, choose vigorous branches free of pests and diseases as mother branches for propagation. At the air-layering site, remove the leaves and use a small knife to make a ring-shaped cut 4-6 cm long through the bark, peeling off the bark without damaging the xylem. Then take a plastic film about 12 cm long and about 10 cm wide, and tie the film firmly with string 2 cm below the peeled section to form a cylinder. Fill the cylinder with loose, fertile garden soil until it forms a mud ball the size of a fist, then tie the upper end firmly. After air layering, the leaves turn light green and white young roots grow inside the plastic bag and gradually fill the surrounding area, indicating the air layering has succeeded. In September to October, cut the branch off below the plastic bag, gently remove the plastic film, being careful not to break the mud ball, plant it in a flower pot, water thoroughly and place it in a shaded spot to recover. After 10-15 days, gradually increase the light, and new leaves will soon grow.
Lemon Tree Tissue Culture
Cut sterilized shoot tips to 5-8 mm long, then keep their polarity and inoculate them onto callus induction medium. After 3-4 weeks of culture, the explants begin to form callus. At this point they can be cut off and transferred to shoot induction medium. After several more weeks of culture, shoot clusters form; cut them off and transfer them to root induction medium. After 3-4 weeks of culture, regenerated plantlets with root systems form. The culture temperature is 24-26°C, with 8-12 hours of light per day at a light intensity of 1000-2000 lux.
Lemon Tree Grafting Propagation
1. Cut grafting: cut grafting is mostly used in spring. Grafting works better when the sap begins to flow. In the Sichuan and Chongqing areas, grafting can be done in the half month before and after the Rain Water solar term, and in Guangdong the survival rate is high when grafting is done within 40 days after the Start of Spring. In years with low temperatures, the grafting time can be postponed to May. Cut grafting is simple to perform, sprouts quickly and grows rapidly, and can reach the standard for leaving the nursery the same year; it can be planted out in autumn or the following spring.
2. Side grafting: side grafting is generally used for autumn grafting and can be done from after the Rain Water solar term to early November. Side grafting has a relatively high survival rate; if it fails the first time, it can be re-grafted 2-3 times. The scion is cut the same way as for cut grafting. At about 10 cm above the ground, choose a smooth surface and make a vertical cut from top to bottom, about 2 cm long, with the cutting depth such that the xylem is not damaged or only slightly damaged. Once the cut is opened, immediately insert the scion and bind the joint tightly and seal it with plastic film strips from bottom to top.
3. Bud grafting: bud grafting can be divided into two types, small-bud cut grafting and small-bud side grafting. Small-bud cut grafting is mainly done in spring, while small-bud side grafting is mainly done in autumn. Bud grafting is fast, highly efficient and makes a small wound on the rootstock that heals easily. When cutting the bud, hold the scion upside down in the left hand, hold the knife in the right hand with the blade flat, and cut from 1 cm below the bud upward to 0.5 cm above the bud, so that the bud carries a slight bit of xylem. Then use the knife to make a vertical downward cut on the scion and remove the bud piece.