Detailed Explanation of Key Points for Efficient Walnut Cultivation Techniques
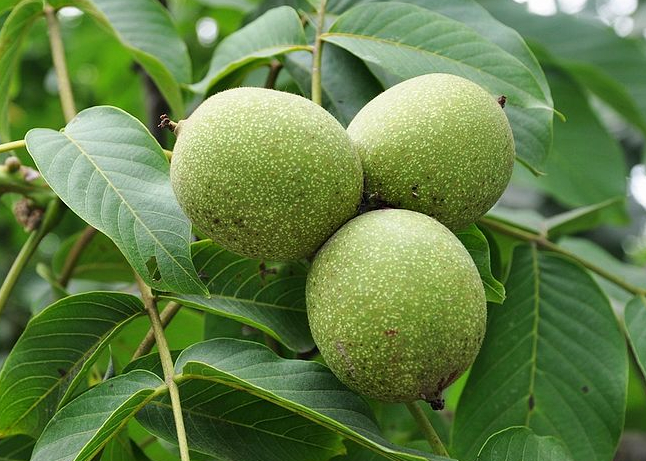
Cultivation of Walnut Seedlings
To ensure the quality of seedlings for walnut base afforestation and avoid the quality variation caused by using local walnut seed propagation for seedling cultivation, efficient and rapid propagation grafting techniques are adopted to cultivate grafted walnut seedlings. That is, using one-year-old iron walnut (Juglans sigillata) seedlings for in-place rootstock grafting or transplanted rootstock grafting to cultivate grafted walnut seedlings. The main advantages are:
1. It can well maintain the excellent traits of the mother plant and accelerate the achievement of improved walnut varieties.
2. It can significantly increase yield and improve quality.
3. It can dwarf the plant and promote earlier fruiting.
4. It can make full use of iron walnut germplasm resources.
Walnut Planting
Walnut planting begins with the selection of the planting site. Flat land, terraced land, and gentle slopes are selected as walnut planting bases, and comprehensive or block site preparation is carried out. Planting should ensure large holes with spread roots, close contact between roots and soil, fully backfilled soil, adequate watering, heat and moisture retention, and sufficient nutrients, so as to ensure the survival of walnut planting and facilitate rapid growth of walnut trees. To master practical walnut planting techniques, the forestry department has gained good experience through years of exploration, referred to as the "six ones" technique of walnut planting, namely "select a good piece of land, dig a large hole, apply a load of farmyard manure, plant a strong seedling, water with a bucket of clean water, and cover with a piece of plastic film."
1. Plot Selection
Select land with loose soil and good drainage, such as flat land, terraced land, and gentle slopes, in relatively concentrated and contiguous areas as walnut planting bases. Growth is best on slightly alkaline soil containing calcium. Walnut is a deep-rooted tree species, and its root system requires a deep soil layer of more than 1 m to maintain good growth and development. If the soil layer is too thin, it is easy to form "little old man trees," or the shoots wither year after year, and yield cannot be formed.
2. Site Preparation and Planting
Seedling planting is an important foundational task for establishing a walnut base. Each planting step must be well controlled to improve the survival rate and planting effectiveness.
① Site preparation: Digging planting holes in advance is conducive to soil maturation and increased moisture in the planting holes. Digging planting holes can be done as early as summer. The specifications of the hole are length × width × depth of 100 cm × 100 cm × (80—100) cm. After the hole is dug, backfill it layer by layer with topsoil and then leaves and weeds (or organic fertilizer) until it is close to the ground surface, with a slight depression to facilitate water accumulation. The backfilled hole is left until planting time. In places where conditions do not allow digging holes in advance in summer, holes can also be dug and planted at the time of planting. The hole is 100 cm long and wide, and 80—100 cm deep. When digging, the topsoil and subsoil (stone) in the hole should be piled separately. If the soil is heavy clay or the lower layer is gravel or an impermeable layer, the planting hole should be enlarged and deepened, and foreign soil should be used for improvement. When backfilling, use 25—50 kg of farmyard manure (stable manure, green manure, compost, etc.) and 1 kg of ordinary calcium superphosphate or 1.5 kg of calcium-magnesium phosphate fertilizer per hole, mix thoroughly with topsoil, and then fill into the hole. Where farmyard manure is lacking, leaves, weeds, turf soil, organic garbage, etc. can be used as substitutes. The positions of the holes are generally arranged horizontally, that is, each row is on the same horizontal plane.
② Planting season: As the saying goes, "Plant trees early, do not wait for spring to dawn." Walnuts should be planted in late autumn after the seedlings enter dormancy or in late winter and early spring before the seedlings begin to sprout, that is, from the ninth lunar month to the first lunar month of the following year. Planting is not suitable during the vigorous summer growth period.
③ Planting method: The walnut planting method is generally determined according to the mountain terrain. Where the mountain slope is gentle and the gradient is not steep, rectangular planting can be used; if the slope is steep and the terraces are narrow, triangular planting is preferable.
④ Planting density: 12—16 trees per mu is appropriate. On flat land, the spacing between plants and rows is 7 m × 8 m or 6 m × 9 m, about 12 trees per mu; on sloping land, the spacing between plants and rows is 6 m × 7.5 m or 6 m × 7 m, about 15—16 trees per mu. Usually, walnut plots intercropped with crops have better results, using cultivation as a substitute for tending and short-term crops to support long-term crops, achieving the multiple benefits of walnuts on top and grain below, which is necessary to obtain high yield and quality.
3. Planting Techniques
Planting techniques can be summarized as the eighteen-character formula: "place upright, orient, stand straight, cover with soil, lift gently, tread firmly, make a basin, water, cover with film."
① Place upright: When planting, place the seedling in the center of the prepared hole, aligning it front, back, left, and right.
② Orient: Position the seedling in the direction it faced before transplanting.
③ Stand straight: Hold the seedling upright and let the root system spread out in all directions.
④ Cover with soil: Cover with nutrient soil mixed with fertilizer.
⑤ Lift gently: After the root system is completely covered, gently lift the seedling once so that the root system spreads out and closely combines with the fine soil, then gradually fill in more soil. The planting depth should be such that after the soil settles, it is consistent with the depth at which the seedling was buried in the original nursery.
⑥ Tread firmly: During the soil-filling process, tread while filling, treading once for each layer of soil filled, until the soil is filled to 5—10 cm above the ground surface.
⑦ Make a basin: Build a ring-shaped earth ridge around the hole.
⑧ Water: Water thoroughly to settle the roots, 50—80 kg per tree.
⑨ Cover with film: Cover each tree with 1 piece of agricultural plastic film measuring 1 m × 1 m. Cut a small hole about 6 cm in diameter in the center of the film, let the seedling stem pass through it, and after it lands, cover the small hole with fine soil on top of the film. The edges around the film need to be buried below the ground surface.
Walnut Management
Walnut management refers to the follow-up management after walnut planting, that is, a series of management tasks such as watering and fertilizing, shaping and pruning, and loosening soil and weeding.
1. Water Management
In the dry season of the year after walnut planting, supplemental watering is needed 2—3 times, with 25 kg of water per tree each time. Where conditions permit, irrigate 1—2 times each year before walnut flowering. Walnut trees are relatively sensitive to surface water accumulation and excessively high groundwater levels, so drainage should be carried out in a timely manner. In areas with high groundwater levels, deep ditches can be dug to lower the water level. According to the growth depth of the walnut tree root system, drainage ditches about 2 m deep can be dug to lower the groundwater level to below 1.5 m from the ground surface. In low-lying areas prone to water accumulation, drainage ditches can be dug around the area to both prevent outside water from flowing in and drain surface water accumulation.