Geranium cuttings step-by-step tutorial: healthy seedlings, strong roots, blooming into clusters of flower balls
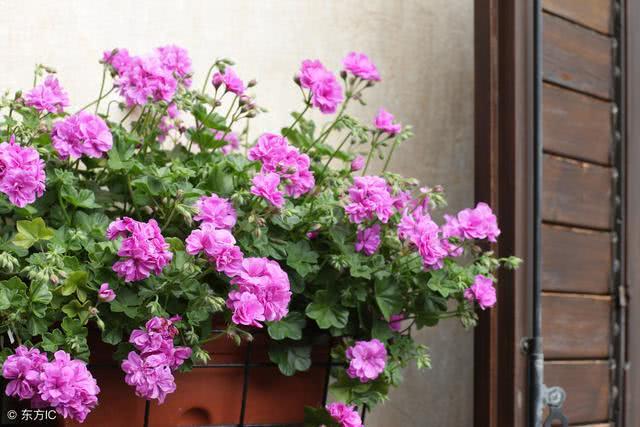
When you visit a friend's house or a fellow gardener's home and see a rare and beautiful geranium, you will surely like it immensely, your heart itching with desire. Could you bring yourself to ask someone for a flower? No, right? By using your own flowers to exchange for cuttings, usually fellow gardeners are still willing. Then, here comes a question: do you know how to take cuttings? Can you turn a cutting into a living, breathing life?
Through pictures, I will tell you step by step: how do you take geranium cuttings?
Step 1: Find a disposable plastic cup, and poke holes in the bottom with a nail.
Step 2: Prepare the geranium cuttings, as shown below. Each cutting only needs to keep 5-7 nodes. In addition, freshly cut cuttings should be placed in a ventilated and shady spot to dry for half a day, so that the wounds air-dry and heal.
Step 3: The substrate in the cup can be washed clean river sand, or vermiculite, both are fine. Insert the geranium cuttings into the river sand or vermiculite.
Although the cuttings are separated from the mother plant, to a flower lover, they are all life, and no one has the heart to throw away any single cutting. But when they have been raised to maturity, they are very willingly given away.
Step 4: After 15-20 days, the cuttings in the substrate begin to develop, the tender white roots becoming clearer and clearer. As time goes on and they grow, you will find the roots expanding, tightly and firmly wrapping around the substrate.
Step 6: Take out the seedlings and repot. To avoid damaging the roots, first water thoroughly, use your fingers to hold the pot and seedling in place, then turn it upside down into a basin of water.
Step 7: In a gentle way, separate the roots from the substrate.
Step 8: Row after row of life is born. The roots have grown very vigorously, full of vitality. Whether the seedlings grow well and whether they bloom abundantly depends entirely on the roots.
Step 9: Start planting, bury the soil to cover the roots, and plant them steadily into pots about 15cm in diameter.
The final step: all successfully rooted geranium cuttings are all repotted and established.
They are like children, from gestation to birth to growing up, and they need a certain amount of care: watering at the right time, fertilizing at the right time (I generally use organic nutrient solution, the kind below), and pruning at the right time. At the right moment, they will burst into cluster after cluster of flower balls.