How to grow asparagus fern? An old man used this method and in one month he had more than he could find space for
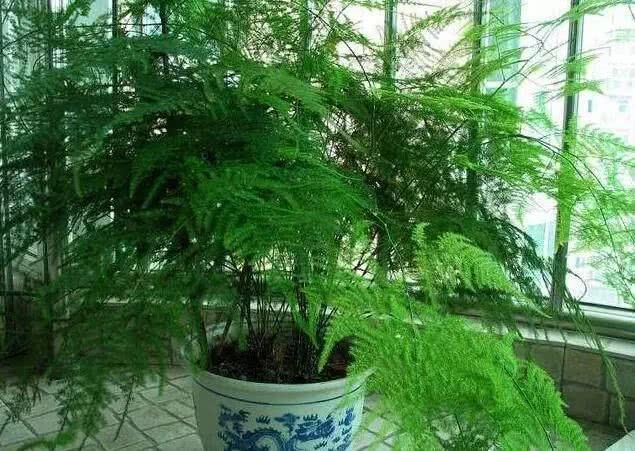
Asparagus fern means "the elegant bamboo." Actually it is not bamboo; it is only because its leaves are soft, it stays green all year round, its stems have nodes like bamboo, and its posture is elegant and unrestrained that it is called asparagus fern. Its leaf-like branches are slender and beautiful, densely growing like feathers, with layers upon layers of emerald clouds and an elegant plant shape, with a unique charm that people love deeply. Previously there were 2 or 3 pots of asparagus fern at home; after the old man cared for them, there are now so many asparagus ferns at home that there is no room to place them. Let's see how Grandpa grows them.
Asparagus fern likes a warm and humid environment. It is not drought-tolerant. In summer it can be watered more, once in the morning and once in the evening. In summer do not place it in direct sunlight. Do not place it by a windowsill where the sunlight is strong. If you want one pot of asparagus fern to become many pots, you must master the propagation method of asparagus fern. Grandpa propagated asparagus fern by division.
For asparagus fern to be divided, generally choose a healthy asparagus fern with 2 to 3 years of growth and with many new shoots sprouting from the roots; this kind has better root sprouting ability.
1. Remove from pot and soil
Remove the selected asparagus fern from the pot and soil. After removing the pot, gently pat the roots of the asparagus fern with your hand, gently pat off the original soil, try to damage the roots, and protect the integrity of the roots.
2. Wash the roots
After removing the soil, rinse the plant roots slightly with clean water; this makes it easier to see the root system clearly and facilitates the next steps. Observe the roots carefully and you can find many division nodes. Find the right part, pinch the division part with your hand and gently break it apart and it will separate. If the selected part does not break apart, note that you must not use brute force; you may have chosen the wrong part, and you can choose again.
3. Divide into clumps
You can decide how many new plants to divide it into according to your needs. For beginners, to ensure the survival rate, it is recommended not to divide the plant into too small pieces, and try to make the new plants' root systems vigorous. A robustly growing plant is usually fine divided into 3 to 4 plants.
4. Pot and plant
After dividing, choose a suitable flowerpot that has been prepared. First put some potting soil in the pot, place the divided plant in, hold the plant with one hand, and fill soil with the other hand. Be careful to loosen the root system and distribute it evenly in the flowerpot, which helps the root system survive.
5. Division complete
Do not fill in too much soil; just up to the division part of the roots and stems. After filling the soil, water thoroughly once, and afterward do not water unless it is dry. Then place it in a place with scattered light to adapt, giving it a buffering process; do not directly take it into direct sunlight.
Grandpa used this method to grow asparagus fern. Now there are so many asparagus ferns at home that there is no room to place them, and Grandpa also gave two pots to neighbors. If you have the chance, you can try it. If flower lovers have better methods, you can also leave a message in the comments to share and exchange with everyone.
??????????
END??????????
Thank you all for reading, and thank you fans for your attention
If you think the article is good, share it with your friends too
Don't forget to give mea likeoh
Reply: plant name (such asmoney tree): view growing methods