How should chives be grown to ensure they are safe?
Nowadays, the safety of chives has become an important topic of concern for urban residents. The emergence of phenomena such as "toxic chives" and "root drenching of chives" has made people fearful of chives. So to make sure you can eat chives you can trust, you can create a private vegetable garden; growing vegetables invisibly plays a role in exercising the body and can inspire enthusiasm for life.
To grow safe chives, you need to master the following key points:
1. Sowing
In spring, dry seeds are mainly sown directly, or the seeds can first be soaked in warm water at about 40°C for 12 hours before sowing. In summer and autumn, germination should be promoted. Generally, 1 week in advance, soak the seeds in warm water at about 25°C for 12 hours, wash them clean, wrap them in a wrung-out wet cloth, and place them in an environment of 15-20°C, rinsing with clean water 1-2 times a day. After 3-5 days, when more than half of the seeds have broken white, they can be sown. Drilling, hole sowing, and broadcasting are all suitable. Cover with about 2 cm of soil, press slightly firm, and place in a relatively cool and ventilated place. They will germinate in 1-3 weeks.
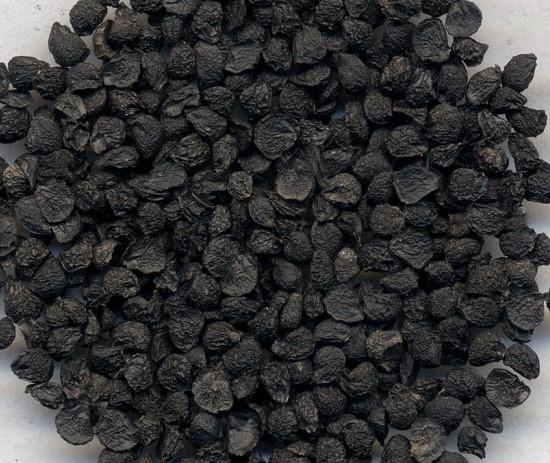
Chive seeds
2. Watering
Those sown with dry seeds need to be watered thoroughly immediately. Before germination, water once every 2-3 days to keep the soil moist. For wet sowing, watering is generally done after the seedlings emerge. Before the seedlings reach 20 cm in height, generally water once a week. Be careful not to let water accumulate, and weeds must be pulled out immediately.
3. Planting out
When the plants have 7-9 leaves, they can be planted out. Cloudy days are the most suitable for planting out. Before planting out, be sure to water thoroughly. Carefully lift out the chive seedlings, gently shake off excess soil, and move them into new planting holes. Be careful not to bury the tillering nodes when covering with soil. After planting out, water thoroughly.
Home potted chives
4. Fertilizing
When the plants grow to about 10 cm and 15 cm, apply 1 application each of decomposed organic fertilizer along with watering. After planting out, apply a topdressing once every two to two and a half months, about 2 topdressings in total. After harvesting begins, apply an additional topdressing about every 20 days, and also apply topdressing after each harvest.
5. Division propagation
Division propagation is generally carried out in April. Carefully dig up the entire clump of chive roots that are more than 2 years old, remove dried leaves and fibrous roots, divide into portions of about 10-15 plants each, cut the leaves to 10-15 cm, and then plant them at a spacing of about 15 cm. After planting, water thoroughly.
6. Harvesting
When chives grow to about 25 cm, they can basically be harvested. After 1 month, they can be harvested again. Do not harvest immediately after watering or spraying, and harvesting in summer is also not suitable. Sunny days are the most suitable for harvesting. Use clean scissors to cut the chives at the leaf sheath about 3 cm above the soil surface. After harvesting, loosen the soil once, and water 2-3 days later when the cut has healed. At this time, it is best to apply 1 application of decomposed organic fertilizer. Chives are perennial, and the harvest period lasts 2-3 times. When the plants age and growth weakens, they must be divided and renewed or sown again.
Harvesting chives
Fresh and tender chives