Detailed Explanation of Asexual Propagation Techniques for Japanese Quince
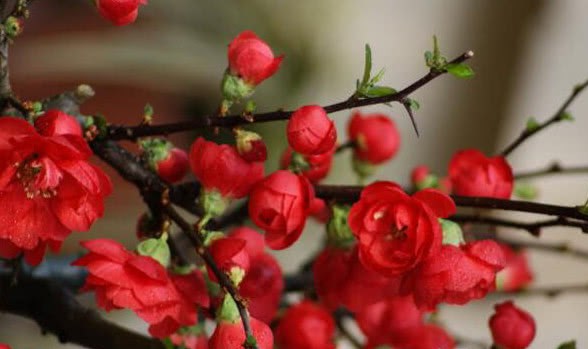
What are the key points of asexual propagation of Japanese quince? Japanese quince is also known as dwarf quince. Its flowering period is from March to April, with flower colors of bright red and pink. After flowering, it bears yellow spherical fruits. It can be planted in courtyards, roadsides, and slopes, and can also be placed as a potted plant on balconies or indoors for viewing. Next, the editor will briefly explain the asexual propagation techniques for Japanese quince.
1 Hardwood Cleft Grafting
1.1 Rootstock Preparation
Rootstock selection: Malus baccata (Siberian crabapple) seedlings with a ground diameter of 1-2 cm;
Rootstock treatment: After the trees shed their leaves in autumn and before the ground freezes, grade the Malus baccata seedlings by ground diameter and height and heel them in a cellar. Spray water regularly to maintain humidity above 60%, in preparation for grafting the following spring.
1.2 Scion Collection
Collect scions in conjunction with winter pruning. In February to March of the following year, select current-year Japanese quince branches that are vigorous and free of pests and diseases. Cut off the thin and weak portions of the branches, bundle every 50 branches into 1 bundle, and place them in a cellar. Bury the base of the branches in disinfected moist sand while maintaining a certain humidity.
1.3 Hardwood Cleft Grafting
Hardwood cleft grafting: Take out the Malus baccata seedlings that were heeled in the previous year and cut off the portion below 5 cm from the base of the stem. After selecting the grafting site and cutting it off, use a splitting knife to make 1 vertical split in the center of the rootstock. At the same time, cut the branches selected as scions into 8-10 cm stem segments, retaining 2-3 plump buds as scions. At the lower end of the scion, cut 2 symmetrical slanted surfaces into a wedge shape. The cut surfaces of the scion must be flat and smooth; rough and uneven cut surfaces are not easy to bind tightly. When cutting the scion, hold the scion steady with the left hand and push the knife diagonally into the scion with the right hand. The force of the knife push must be even, and the direction of the knife push must remain consistent with the direction of the cut.
Joining and tying: Use the wedge part of the splitting knife to pry open the cleft in the rootstock, then gently insert the scion into the rootstock. When inserting, make sure the cambium of the rootstock and the cambium of the scion are aligned. Do not insert the cut surface entirely; leave about 0.5 cm of the cut surface exposed. Finally, tie tightly with a 1.5 cm wide elastic plastic strip. Use a 1.5 cm wide elastic plastic strip to tightly bind the interface area, then put on a transparent plastic bag of appropriate size to help maintain temperature and humidity and increase the survival rate. Graft 1 scion per rootstock.
1.4 Post-Grafting Management
1.4.1 Transplanting
Plant the grafted seedlings into the field while keeping the plastic bags as intact as possible. Buds begin to sprout 10 days after grafting.
1.4.2 Cutting the Rootstock and Releasing Buds
When the buds on the scion sprout to 2-3 cm, tear a small hole in the plastic bag, and tear it completely open 3 days later. When the new shoots of the scion grow to 25-30 cm, cut the binding plastic strip.
1.4.3 Weeding and Removing Suckers
About ten days after grafting, suckers begin to appear on the rootstock. These need to be removed in time to reduce competition with the scion for nutrients. It is best to remove buds and suckers from the base of the sprouting shoots or suckers.
1.4.4 Timely Fertilization
Fertilize when new shoots sprout to 10 cm. In spring, fertilize once every 8-10 days with a nitrogen, phosphorus, and potassium ratio of 6:2:3. Stop fertilizing in July.
1.4.5 Pest and Disease Control
After grafting, alternately spray 1 type of fungicide from 2-3 types once every 7-10 days; after spraying foliar fertilizer, spray 1 fungicide and 1 insecticide each every 10-15 d. The main pests and diseases include: quince rust, gray mold; leaf roller moth, red spider mite.
2 Bud Grafting
For Malus baccata seedlings sown the previous year or transplanted in April of the following year, carry out 'T' bud grafting or supplementary grafting from late July to early August; select plump buds near the middle of current-year branches, cut a "T"-shaped opening on the west side of the rootstock 5-10 cm above the ground, with a depth just enough to reach the xylem and allow the bark to be peeled open, then carefully peel open the rootstock bark with the tip of the knife, and tie tightly with a 1 cm wide plastic strip. The wrapping width should preferably exceed the incision by 1-1.5 cm above and below.
2.1 Post-Grafting Care and Management
Check survival 7-10 days after grafting. At the same time, carry out management such as supplementary fertilization, pest elimination, and sucker removal. The specifics are the same as for stem grafting;
For seedlings bud-grafted in autumn, after they survive, cut off the top shoot of the rootstock 1 cm above the grafted bud in the following spring.
2.2 Winter Irrigation
At the end of October, carry out winter irrigation on the grafted seedlings to preserve soil moisture.