How Do You Graft Camellias? A Step-by-Step Detailed Guide to Camellia Grafting Techniques
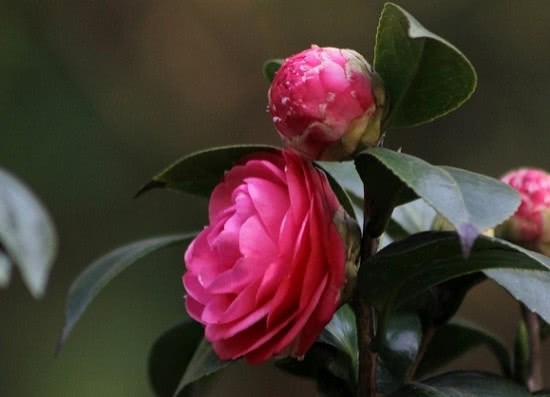
Many beginner flower growers want to know how camellias are grafted. Here, Guzhujun has put together a detailed illustrated guide to camellia grafting so you have a reference when grafting your own camellias.
The rootstock commonly used for grafting camellias is the oil tea tree (Camellia oleifera), because the oil tea tree is an evergreen small tree of the tea family (Theaceae) and, like the camellia, belongs to the Theaceae family, so the survival rate after grafting is extremely high.
I. Preparations Before Grafting
1. Suitable grafting time: grafting can be done in spring, early summer and winter, and it works especially well during the plum rain season from May to June.
2. How to select and collect scions: from the mother tree of a chosen ornamental camellia variety, the best scions are one-year-old woody or semi-woody branches cut from the upper outer part of the canopy that are free of pests and diseases, grow vigorously, have plump buds and are 0.2-0.5 cm in diameter. Bundle the scion branches by variety for storage, and be sure to keep the base moist (for example, by wrapping it in damp newspaper).
3. How to combine rootstock and scions: scions for the same rootstock must be taken from mother trees with similar flowering periods and similar appearance, to ensure balanced overall growth of the canopy after grafting. A single oil tea rootstock can be grafted with scions of several camellia varieties, forming a canopy with one variety per branch and many colors, which is extremely ornamental.
4. How to treat the rootstock: in the previous winter, you can select 3 to 5 evenly distributed main branches on the oil tea tree and cut them back to encourage adventitious shoots, then keep 3 to 5 adventitious shoots on each branch and tend them carefully. Graft in June to July, after the adventitious shoots have become semi-woody; this is also called the green-wood grafting method or softwood grafting method. If you did not leave shoots this way, select 3 to 5 evenly distributed main branches with a diameter of 2 to 5 cm on the oil tea tree as the grafting branches. After sawing off the grafting branches with a hand saw, use a dedicated grafting knife to smooth the saw cut, then graft. For thicker branches, you can graft several scions around the perimeter.
II. Grafting Tools and Operating Steps
1. Grafting tools and auxiliary materials: prepare binding rope, plastic film strips, white plastic cover bags, a cleft grafting knife, pruning shears, a hand saw, and so on.
2. Specific operating steps for cleft grafting:
1) Cut the scions into 5 to 6 cm pieces, making sure each piece has 2 to 3 lateral buds; to reduce evaporation, you can cut the leaves in half.
2) Make a long slanting cut about 2 to 3 cm long 1 cm below a lower bud of the scion, and make a short cut less than 1 cm long on the opposite side of the long face.
3) Smooth the cut end of the rootstock, choose a smooth spot on the edge of the xylem of the rootstock cross-section and cut straight down, so that the length and width of the rootstock cut match the long face of the scion. Then insert the scion with its long slanting face toward the rootstock, align the cambium on one side, and wrap the bark of the rootstock cut around the outside of the scion.
4) If the rootstock is thick, you can graft several scions around the perimeter and bind them together after grafting. Bind with plastic film strips about 1 cm wide (they should have some elasticity), and be sure to pull the film strips tight when binding.
5) Cover the grafted rootstock and scions with moisture-retaining film to prevent water loss through transpiration from drying out the scions.
III. Management After Grafting
1) About one month after grafting, remove the moisture-retaining film; after about two months, remove the binding tape and shade paper.
2) After about three months, you can cut off the rootstock above the graft point; afterward, cut back the rootstock's nutrient branches, the auxiliary nurturing branches on the rootstock branches, and the sprouts on the rootstock in 3 separate rounds. In winter, apply 1 kg of high-quality organic fertilizer such as cake fertilizer in a ring trench around each plant; in spring and summer, water on fertilizer solutions such as superphosphate, monopotassium phosphate and urea.
3) During flower bud differentiation and flower bud swelling, apply foliar fertilizer, with the fertilizer concentration preferably around 0.3%. Spring, summer and autumn are the growing seasons for tea trees, when water demand is high, so water whenever the soil dries; in winter the tea tree enters dormancy, so simply keep the soil moist.
4) To control scale insects, spray with 1000-times diluted dusiben, once every 10 days, for 3 consecutive sprays. To control longhorn beetles and tea stem borers eating into the tea stems, soak cotton in 2-times diluted dichlorvos emulsion and plug it into the bore holes to kill them. For pests on the young branches and leaves of tea trees, spray with 1500-times diluted dusiben.
Look at this successfully grafted camellia. Don't you feel like trying it yourself? Then give it a go right away. A camellia you graft successfully yourself is sure to look especially beautiful!