Propagating hydrangeas by cuttings is very simple: one pot becomes ten, and the balcony is full of blooming clusters.
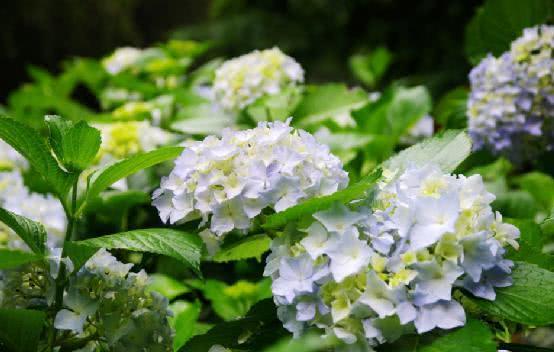
Lately, friends keep sending private messages asking me what flowers they should plant in summer. In the past, I often chose one of the summer "special" flowers such as hanging baskets, pothos, roses, and petunias as a reference answer, but now there is a new option among the candidates, and that is the hydrangea. Blooming into balls and showing off its adorable charm is the biggest feature of this ornamental plant, and it also has its own special techniques when it comes to growing it. If you want to grow a hydrangea at home, then do not miss today's article.
The hydrangea tip we are introducing today is "cuttings." Compared with traditional planting, cuttings not only omit some steps, but the survival rate of hydrangeas is also much higher. A large portion of the hydrangeas we usually buy at flower shops are actually successfully cultivated through cuttings, so if you master this technique, you can at least save quite a bit of money.
So how exactly should you take cuttings? First, if we want to propagate hydrangeas by cuttings, we need to understand the timing and method of cuttings. In terms of timing, in theory, after hydrangeas sprout new shoots in February, it can all count as the cutting period, but the best season is still June, as it is now. One important reason is that the temperature in June is relatively high, and the higher the temperature, the higher the survival rate of plant cuttings. Generally speaking, the flowering period of hydrangeas is from April to June, so in order not to affect the ornamental display, you can also take cuttings after the flowering period ends, and the effect is equally outstanding.
Choose a healthy, strong hydrangea branch about 15 cm long. To prevent a large amount of water from being consumed during the rooting process, you can cut off the excess leaves on the branch. At the lower part of the branch, you can use sterilized scissors to make a slanted cut. You can apply some rooting powder to the bottom of the hydrangea branch, then place it in a cool, ventilated place to let the wound dry. The cutting temperature is best kept at around 15°C.
After the cutting branches are prepared, you can mix the soil. Generally speaking, just make sure it drains well and is fertile. For cuttings of a single branch, not much growing soil is needed. You can use several plastic bottles to hold them separately. Remember to water thoroughly once before inserting, to ensure the soil is moist. Once everything is ready, insert the pre-prepared cutting branches. Put a tray at the bottom of the pot, and put some water in the tray. The cutting process is mainly about keeping moisture. Just mist often to maintain humidity. Do not put it under strong sun; a cool place is fine, and too high a temperature is also not good. The best temperature is between 25°C and 30°C.
For the next period of time, we only need to ensure the humidity during cutting. In about half a month, the branches will take root. At that point, just transfer them to a larger pot for growing. Overall, the method is actually quite simple. If you are interested, why not take action starting now and grow your own hydrangea!