Gardenia cuttings not rooting? Try this method and new roots will grow like crazy
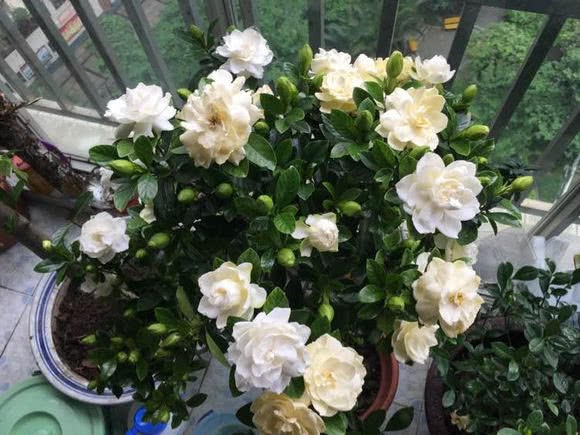
The gardenia (Gardenia jasminoides) can be considered a "perfect" plant: not only are its flowers small and lovely, but they also have a wafting fragrance, and even its leaves are glossy green, making it very appealing. And after we buy one pot, we can also take cuttings from it, and the method is very simple too!
When we take gardenia cuttings, the most common problem we run into is that they do not root; often we wait a long time and still do not see any roots emerge. So today, Huahua will teach everyone how to take gardenia cuttings and get them to survive quickly.
First, we need to choose the branch for the cutting, and you should know that this step is the most important of all. If you choose the wrong branch, no matter how you take the cutting, it will all be wasted effort. So before we cut the branch, we should first observe it carefully and check how healthy the branch is. Remember not to choose one that has just grown out, because a new shoot does not have much nutrition stored in it to sustain later growth. Likewise, a branch that is too old is even less usable, because its rooting speed will be very slow!
A trimmed length of about 15 cm is fine, and it is enough to keep 2-3 leaves at the top of the branch. Besides paying attention to cutting it at a slant, you should also cut at a distance of about two cm above the bud node. This will help the wound on the original plant heal and promote the sprouting of the new branch!
For rooting cuttings, the simplest method is to put them in water to encourage rooting. Here, we need to use an ordinary beverage bottle, and we should decide the size according to the number of cuttings. Then cut open the bottle at one third of its height, being careful not to cut all the way through, and then add an appropriate amount of water inside.
Next, we need to pass the branch through a foam board and place it in the bottle. Finally, seal the opening of the bottle with tape, and just poke a small hole in the bottle cap for ventilation. Then place it in a spot that gets sunlight, and in about a week, we can see bright white new roots emerging!
After the roots have grown well, you can open the plastic bottle and place the branch in a semi-shaded spot for a two-day transition, and then you can plant it in a pot!
Before potting up, we can first use a paper cup for raising the seedling. Poke a small hole in the bottom of the paper cup now, and seal it with a piece of tape. Now add one third water to the paper cup, then add a little bit of fine soil. Hold the branch gently with one hand and place it in, while filling in soil with the other hand. This method does a very good job of protecting the root system.
After filling in the soil and securing the plant, you can tear off the tape at the bottom, in order to let the excess water in the cup drain out. Then place it in a cool spot for about a week. During this time there is no need to add water, and once the soil is dry, it can be planted into a large pot.
When planting, just cut the paper cup open directly with scissors, being careful not to damage the root ball. This protects the root system very well and thereby increases the survival rate! After potting up, we should still give it a buffering period, just two or three days, and after that it can be cared for normally!
Gardenias like a somewhat moist growing environment. Especially in a season like the present one, we can mist the leaves and provide appropriate shade, which can very well avoid the problem of yellow leaves. During this period, we should not fertilize it, otherwise, since the plant is too young, it will easily be burned!