Grow clematis according to the 3 groups, and the flower count won't be small
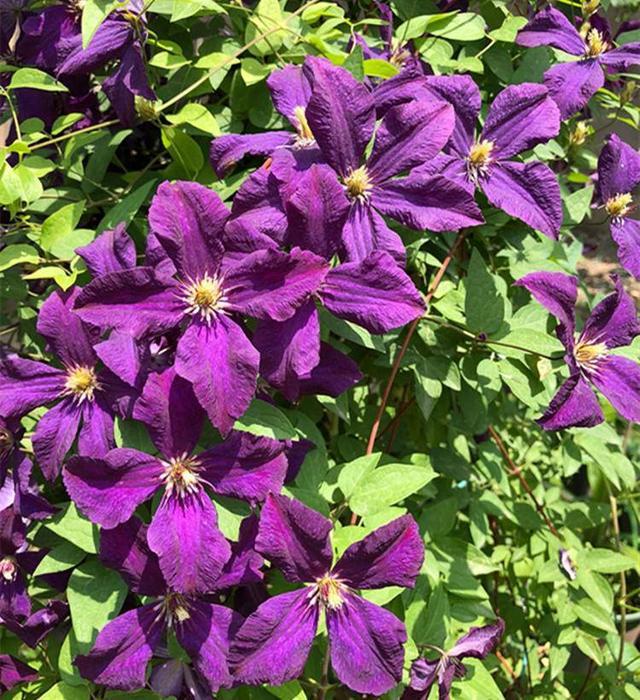
In June, for clematis, some varieties usher in their full bloom period. Most of these clematis have smaller flowers, but an enormous flower count, blooming into a sea of flowers in the garden, a truly magnificent sight. As the flowering period of early-blooming clematis ends, a large amount of pruning and topdressing work is also imminent. Therefore, when growing clematis in June, generally follow the 3 groups, master them well, and the flowering will not be sparse.
1. Management of Group 1 clematis
Placement of potted plants: suitable for a spot in full sun.
Watering: evaporation intensifies, and water shortage is likely, so be sure to replenish water in time. Generally once a day.
Fertilizer: during the flowering period, use a balanced nitrogen, phosphorus, and potassium flowering liquid fertilizer at 500 times dilution once every 2 weeks, applied instead of water.
Training, pruning, guiding: after flowering ends, the shoots of tendril clematis grow rapidly, so guide them well. In addition, autumn-blooming evergreen clematis sets seed, and it is best to cut these off in time. For Clematis paniculata, this is the season for flower bud growth, but if the plant is very healthy, they can also be kept. Be careful not to break the new shoots.
Planting, repotting: if you buy seedlings, you can transplant them as long as the root ball is not broken apart.
Pests and diseases: in June, spider mites appear in large numbers. Spider mites are very stubborn and require continuous spraying, and when spraying, both the front and back sides must be covered. It is best to choose a specialized acaricide.
2. Management of Group 2 clematis
Placement of potted plants: suitable for a spot in full sun.
Watering: evaporation intensifies, and water shortage is likely, so be sure to replenish water in time. Generally once a day.
Fertilizer: during the flowering period, use a general-purpose organic liquid fertilizer for flowers combining nitrogen, phosphorus, and potassium at 500 times dilution once every 2 weeks, applied instead of water.
Training, pruning, guiding: Group 2 early-flowering large-flowered clematis have generally already completed pruning work, and the new shoots that sprout after pruning must be guided immediately once they grow, to avoid tangling. In addition, if post-bloom pruning is not completed in time, a second flush of flowers may not appear. In this case, you might as well give up the summer flowers and prune a little deeper, letting it store energy to bloom in autumn.
Planting, repotting: seedlings that have finished flowering can be transplanted as long as the root ball is not broken apart. If new shoots have already grown, be especially careful.
3. Management of Group 3 clematis
Placement of potted plants: suitable for a spot in full sun.
Watering: evaporation is high, water shortage is easy, pay attention to watering every day.
Fertilizing: during the flowering period, use a general-purpose organic liquid fertilizer for flowers with nitrogen, phosphorus, and potassium at 500 times dilution once every 2 weeks, applied instead of water. For topdressing after flowering, use controlled-release fertilizer or fermented bone meal, 10 grams for a pot of about 5 liters.
Training, pruning, guiding: Group 3 late-flowering clematis must be pruned immediately after flowering. You can prune hard or lightly; depending on the degree of pruning, the time of the second bloom also differs. With light pruning, flowering is earlier.
Planting, repotting: purchased seedlings, or potted seedlings after flowering has ended, can be transplanted as long as the root ball is not broken apart. When transplanting, be careful to remove the support first.