Spider Plant Roots Thicker Than Ham, Bursting the Pot - The Secret to Care Is This
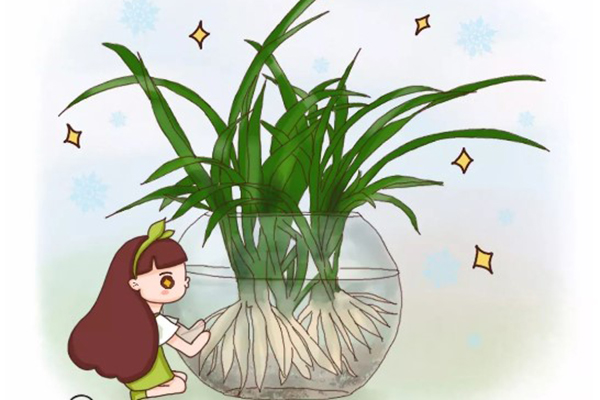
How to Grow Roots on Spider Plants
The Ultimate Spider Plant Root-Growing Method
1. Soil
The spider plant's root system is made of fleshy roots, and it prefers loose, well-aerated soil. Gardening friends can mix peat soil, garden soil and perlite in a 5:3:2 ratio.
2. Watering
If you want the spider plant's roots to burst the pot, it is best to reduce watering frequency, so that waterlogging does not suffocate the roots. Follow the watering principle of "better dry than wet", and water only after the potting soil has dried out and turned pale.
3. Fertilizing
Fertilizing can be done together with watering, roughly once every half month. You can use bone meal diluted with water, or put 4-5 granules of compound fertilizer in the water. This both promotes flowering and makes the roots stronger.
The Ultimate Spider Plant Division Method
When the spider plant's roots burst the pot, it means it is time to divide and repot it. Dividing and repotting helps the spider plant's root system grow better.
1. Remove from pot and wash the roots
Tap the flower pot and take the spider plant out of the pot, then place it in clean water and wash the soil off the roots.
2. Prune the roots
Spider plants with vigorous root systems usually grow many radish-like roots. When pruning, be careful not to cut these off; you only need to trim away the fine roots and weak roots.
3. Divide the plant
Use a sterilized knife to separate the connected parts of the spider plant's roots, dividing it into several plants.
4. Pot them up
Pot the prepared spider plants separately, water them thoroughly, and place them in a cool, ventilated spot for care.
How to Grow Roots on Clivia
The Ultimate Clivia Root-Growing Method
1. Soil
If you want Clivia to have thick, sturdy roots that do not rot, the growing medium must be permeable, aerated and rich in humus. Gardening friends can mix leaf mold, pine needles, coarse sand and charcoal in a 6:2:1:1 ratio.
2. Line the bottom of the pot
Clivia is especially prone to root rot. To grow sturdy roots, you first need to prevent Clivia root rot. Before potting up Clivia, you can line the bottom of the pot with a layer of walnut shells, peanut skins and the like.
3. Fertilizing
In summer, you can apply fermented cake fertilizer water about once every 10 days. Note that when the temperature reaches around 30°C, Clivia enters its dormant period, so stop fertilizing. When repotting, you can mix some bone meal or roasted melon seeds into the soil, which helps the root system grow more vigorously.
The Ultimate Clivia Rooting Method
Clivia is called the "scrap king" because it so often suffers root rot. Today Huahua will introduce a simple rooting method for everyone.
1. Prune the rotten roots
Use a sterilized knife to cut away all the rotten roots of the Clivia.
2. Sterilize and disinfect
Soak the prepared Clivia in a potassium permanganate solution. After about half an hour, take it out and let it dry in a ventilated spot.
3. Insert into sand to root
Insert the disinfected and dried Clivia into sand, pour a little water to keep the sand slightly moist. After about 15-20 days, the Clivia will grow big white roots!
How to Grow Roots on Amaryllis
The Ultimate Amaryllis Root-Growing Method
1. Soil
Amaryllis prefers loose, aerated sandy soil, and you must never use relatively heavy clay soil. Gardening friends can mix leaf mold, sand and organic fertilizer in a 3:1:1 ratio.
2. Fertilizing
The amaryllis root is a bulb. To help the root system grow better, you can supplement potassium fertilizer once a month; you can use fermented rice-washing water diluted with water to irrigate it. However, at high temperatures, amaryllis enters its dormant period, so stop fertilizing, otherwise it will burn the roots.
The Ultimate Amaryllis Rooting Method
Amaryllis is a bulb-type flower, and whenever hot, stuffy weather arrives, the bulb roots easily rot. Today, Huahua will introduce a universal rooting method that is very practical!
1. Cut off the base roots
Use a knife to cut away all the rotted bottom of the amaryllis, and prepare a plastic pot and a slightly larger metal basin.
2. Set the pot inside
Punch a few holes in the bottom of the plastic pot, fill it with clean perlite, and place the bulb on the perlite. Put a slightly larger pot outside the plastic pot and add a layer of water. Place it in a bright spot, and add water when it runs out.
3. Amaryllis roots
After about 10-15 days, the amaryllis will grow tender new white roots.
Aren't you super envious of other people's roots!
But as long as you care for them attentively,
your plants can grow big white roots too!