Detailed Explanation of Five Key Techniques for Chinese Bayberry Training and Pruning
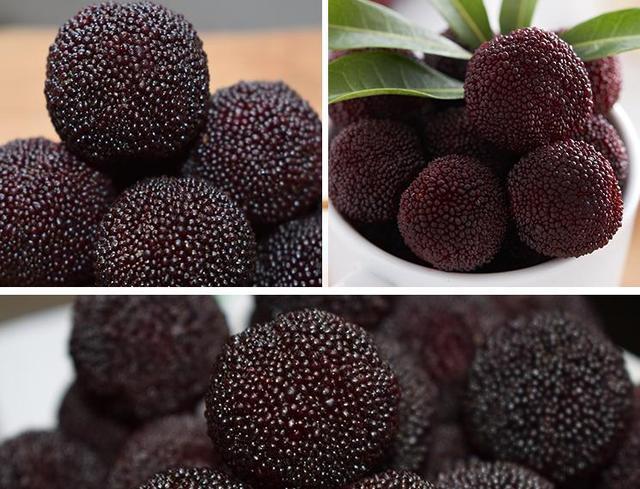
Five Training and Pruning Techniques for Chinese Bayberry
Chinese bayberry is a perennial, multi-branched plant. Due to natural growth and extensive management, mature trees develop unscientific canopy structures, with imbalanced growth and fruiting and a low rate of high-quality fruit. This technique, through the use of measures such as thinning, heading back, renewal pruning, shoot removal, girdling and root pruning, makes full use of light energy and space, so that Chinese bayberry trees develop dwarfed and open canopies that bear fruit three-dimensionally from top to bottom and from inside to outside.
1 The Method and Steps of the "Five Observations" Training and Pruning
1.1 Observe "Tree Height"
Canopy height limitation. On flat land, canopy height should be controlled within 3.5 m; on mountain land, canopy height should be controlled within 2.5 m. Branches and shoots exceeding this height, or those less than 0.3 m above the ground, should be pruned away year by year.
1.2 Observe "Tree Branches"
The Chinese bayberry canopy consists of the trunk (absent in some trees), main branches, secondary main branches, lateral branches and fruiting branch groups. Enter the lower part of the canopy and look upward to observe the whole tree. According to the tree form requirements of low-trunk natural open-center shape or low-trunk sparse stratified shape, select 3 to 4 large branches with suitable orientations from those arising from the trunk and retain them as main branches; then equip each main branch with 2 to 3 secondary main branches on both sides; on the secondary main branches, retain lateral branches and fruiting branch groups. Train the "tree branches" into an orderly arrangement with clear subordination, extending outward in all directions and upward.
1.3 Observe "Tree Form"
Compare with high-quality tree forms such as the low-trunk natural open-center shape or the low-trunk sparse stratified shape, create a wavy outer periphery that is open at the lower part, concave-convex in the middle and adequately lit at the upper part, and thin out or head back branches that block light penetration, so that leaves throughout the tree receive light.
1.4 Observe "Tree Vigor"
Cultivate moderate tree vigor, and use methods such as thinning, heading back, renewal pruning, root pruning and girdling to deal with strong branches, vigorous branches, upright branches, as well as thin and weak branches and senescent branches.
1.5 Observe "Timing"
Choose pruning time wisely. Saw large branches in summer; prune small branches in spring and autumn. In summer (mid-June to early July), saw off upright large branches and strong branches that disrupt the tree form; in spring (mid-to-late March and mid-April), renew-prune branches whose fruiting zone has moved outward, thin out dead branches and densely growing branches in the inner canopy, and thin out or head back excessively fruiting branches; in autumn (November), thin out or head back upright small branches, strong branches, strong flower branches over 30 cm, as well as excessive and overly vigorous vegetative branches and late-autumn shoots. In the upper canopy "remove strong and retain weak"; in the lower canopy "remove weak and retain strong."
2 Precautions for the "Five Observations" Training and Pruning
2.1 Tree Form Transformation Should Be Completed Year by Year
When sawing large branches in summer, saw off only 1 to 3 main-branch-sized large branches and 2 to 4 secondary-main-branch-sized thick branches each year. If the branching angle of retained main branches or secondary main branches is insufficient, adjust them by propping, pulling or hanging.
2.2 Pruning Amount Depends on the Tree
For heavily bearing trees and weak trees, the pruning amount should be 1/4 to 1/3 of all leaves on the tree; for lightly bearing trees and strong trees, it should be 1/6 to 1/5. 2.3 Do Not Leave Stubs When Sawing Large Branches. When sawing large branches, saw or cut them off from the base of the large branch, leaving no stub, to reduce the sprouting of new shoots. The saw cut surface should slope slightly downward, and a wound healing agent should be applied to protect the wound. With a hand saw, first make a shallow cut of a small half-circle on the underside of the branch, then saw from slightly above the fork point diagonally downward [Jishan Huayao].
2.4 Strictly Control Shoots
After sawing large branches in summer, new shoots sprout near the saw cuts and pruning cuts. Use the available space to select and retain 2 to 3 vigorous shoots and cultivate them as fruiting mother branches. Remove excess new shoots promptly.
2.5 Strengthen Cultivation Management
Promptly carry out management work such as soil, fertilizer and water management, flower and fruit preservation, and pest and disease control, to ensure that "training and pruning" achieves the expected results. The overall requirements after pruning are: spacing between canopies of adjacent trees >= 20 cm, a light path of more than 50 cm between rows, canopy height controlled within 2.5 m to 3.5 m, trunk height 30 cm to 40 cm, 3 to 4 evenly arranged main branches on the tree, each main branch with 2 to 3 mutually staggered secondary main branches, branching angle of main branches and secondary main branches >= 45 degrees, dwarfed tree body, open canopy, forming a low-trunk natural open-center shape or a low-trunk sparse stratified shape.