The best time to repot has arrived; miss this window and your flowers will struggle to bloom
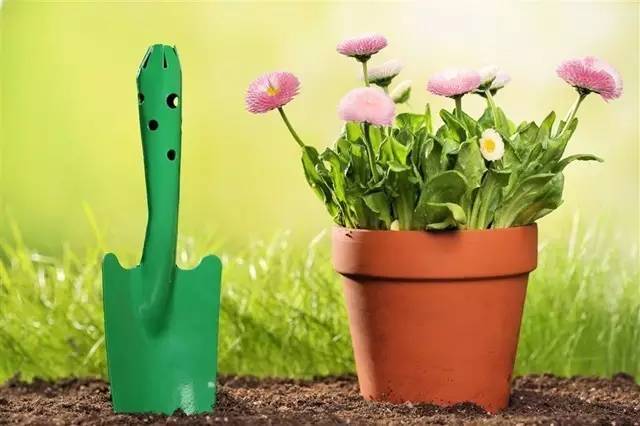
The temperature has clearly started to warm up these past few days, and the best time for spring repotting is approaching. If you grow flowers, don't miss this optimal repotting period. Let's take a look at how to repot your beloved flowers!
Repotting is the most important task for spring gardeners. For potted plants kept at home, after one to two years the potting soil tends to become depleted of nutrients or compacted, and the roots fill the pot so new root growth is restricted; the roots then easily become diseased or infested with pests, causing the plant to stop growing, drop leaves early, fail to bloom, and so on. All of these problems can be solved by repotting.
Our care for our own plants lives right in this early-spring repotting work.
Year after year the flowers look alike, but year after year the pots are different. If you love flowers, you carefully move them into larger pots, give them fresh soil, add base fertilizer, and tidy their roots, just like ventilating a sealed house and filling it with fresh air. For a plant, repotting means a rebirth of its growing environment.
Seize the best time to repot
Timing is nature's most mysterious affair. The best time to repot is in early spring or late autumn. Early spring generally means late February to early March, at the latest early April. Too early and the plant is prone to cold damage; too late and the temperature has risen, new roots have already sprouted, and the plant is easily injured.
When the temperature stays above 15°C for three consecutive days, at this pointthe buds begin to swell and the new shoots have not yet unfurled, the best time to repot has arrived.
Fast-growing herbaceous flowers such as chrysanthemums, begonias, lilacs, and hydrangeas are best repotted once a year; slower-growing woody flowers such as roses, jasmine, bougainvillea, and camellias, as well as succulents, can be repotted every other year. Common indoor green ornamental plants such as pothos and snake plants can be repotted every 1-3 years depending on their growth.
The correct way to repot
Once you've grasped the best timing, you still need to master the correct way to repot. The following details make the repotting steps clear and easy, so even a beginner's repotting skills can score full marks.
Before repotting: choose the pot well
This is the best time of year to switch to a beautiful pot, so don't miss it. Prepare the new pot you like in advance, and be sure to choose the size according to the size of the plant. A new pot is not better the bigger it is;it is best to leave a 2-3 cm gap around the edge of the pot after placing the plant inside.If the pot is too large, it's hard to control water and fertilizer, which instead disrupts the plant's nutritional balance.
The new pot should be scrubbed clean with a brush, and the old pot you've swapped out should also be sterilized, then left in full sun for a few days to prevent insect eggs or bacteria from lurking.
Stop watering a few days before repotting, and repot once the potting soil is half dry; this protects the roots best.
When repotting:Tidy the roots and improve the soil
Choose an overcast day or the evening to repot, which helps the plant recover better.
Take the repotting of the clivia as an example. When repotting, loosen the soil around the pot wall, then lift the whole plant out together with the soil.
Divide plants that are too crowded, and remove old roots, dead roots, and overly long root fibers. If the roots are badly damaged, also cut off excess leaves and branches to help the roots recover and the canopy take shape.
Wash the roots clean, soak them in carbendazim to sterilize and kill pests, then let them dry in a cool shaded place for a few hours before potting up.
When potting up and changing the soil, place two tile shards in an inverted "V" shape over the drainage hole at the bottom of the pot, which prevents waterlogging while also aiding ventilation. Then spread a layer of coarser-grained soil, followed by a layer of pre-composted organic fertilizer soil (or nutrient soil), place the plant in, and continue filling with new soil to 2-3 cm below the pot rim to make watering and water retention easy.
After completing the above steps, water slowly until thoroughly soaked, until water flows out of the drainage hole at the bottom of the pot; this is the "settling water."
After that, place it in a cool, ventilated spot to recover until the plant is thriving again or sends out new shoots. Wait at least half a month after recovery before considering fertilizing. Then follow your usual care routine, and the flowers will be especially brilliant when they bloom!
When are your flowers going to be repotted?