Don't throw away the fruit pits after eating - eight steps to teach you DIY seed potted plants
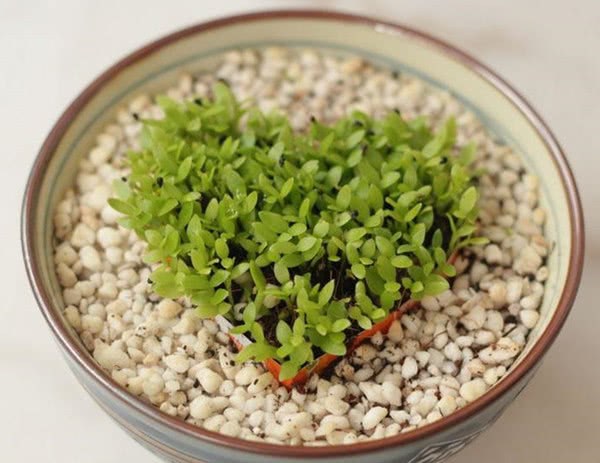
Starting from a tiny seed and growing a small potted plant feels different from buying a ready-made one directly from the flower and bird market. Every seed has magical power! From a seed sprouting and taking root bit by bit to growing lush and flourishing, the whole process brings many surprises and a sense of accomplishment. Today the editor will introduce to you how to DIY seeds into potted plants, and how to make your own seed potted plants.
Seeds mainly come from fruits you eat normally, and some vegetables work too. For example: pomelo, loquat, mandarin orange, lychee, longan, lemon, orange, fresh lotus seeds, peanuts, dragon fruit, durian, taro, sweet potato... and so on. So next time after eating fruit, before throwing away the seeds, think twice! Find a pot, bury the seeds well, add a little care, and before long, you will harvest a small forest. Every seed has magical power!
How to DIY seeds into potted plants? The steps are as follows:
Step one: Carefully choose the soil, which is the key to supplying nutrients. High-quality potting soil is most suitable for growing indoor seed potted plants.
Step two: Fresh seeds. Whether they are seeds left after eating fruit or picked up casually on the roadside, you must distinguish the freshness of the seeds. Usually, if the sprouting point has turned black or the seed coat is wrinkled, it is not fresh. Because non-fresh seeds will not sprout, and planting them will affect the overall beauty of the potted plant.
Step three: Soak in water to promote sprouting. In order to make seeds sprout and grow roots relatively quickly after being placed in soil, generally seeds are soaked in water for about 7 days, and the water must be changed every day. If the water is not changed every day, or if they are soaked too long, the seeds will rot.
Step four: Identify the sprouting point. Before placing them in soil, you must know where the sprouting point is. Because some seeds must be planted with the sprouting point facing down, while others face up.
Step five: Arrange the seeds properly. To have a pleasing potted plant, the arrangement of the seeds is key. You must arrange them step by step according to the size of the seeds. Remember, the smaller the seeds, the tighter the arrangement, so that you can grow the feeling of a small forest.
Step six: Stones of appropriate size. Spread them on top, using their weight to make the seed roots more firm.
Step seven: Spray water. Once every two days, use a spray-type sprayer to spray back and forth.
Step eight: Sunlight. The ability of seeds to adapt to the environment is beyond imagination. From the moment it sprouts, it means it has already adapted to the indoor environment and can use the weak indoor light for photosynthesis. If at this time the potted plant is moved outdoors to grow, it will instead cause the plant to quickly end its life.
Whether a potted plant is exquisite or not depends on the selection of seeds, the choice of container, and the planting methods and techniques. Creating a landscape depends very much on the grower's personal artistry, especially the choice of container. With more experience, once you clearly understand the forms of various seeds after they grow out, you can also mix plantings to create landscapes.