How should these two flowers be cared for so they bloom quickly and have a high survival rate? Every gardener wants to know
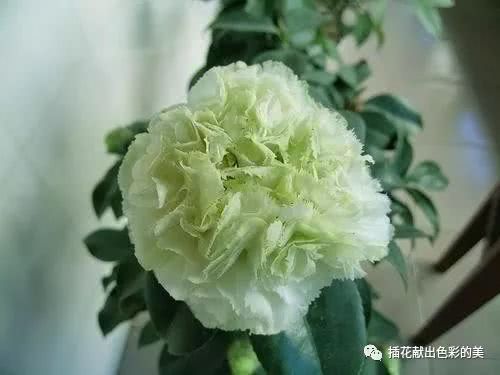
Pay attention to these points when repotting camellias, and the survival rate increases several times over
Watering
After repotting, the roots are definitely the most severely damaged part. The demand for water drops significantly, so water with half the usual amount, and the watering frequency must not be too frequent. Just keep the potting soil slightly moist, otherwise the camellia can easily develop root rot. Wait until the camellia starts putting out new buds before gradually increasing the amount of water, and also mist frequently to raise the air humidity.
Fertilizing
After repotting a camellia, absolutely do not fertilize. The roots are now in a state of self-healing, and fertilizing at this time, especially with chemical fertilizers, only adds burden to the roots, slows the self-healing process, and may even prevent self-healing altogether. It is best not to fertilize at all within one month after repotting. You can wait until new buds sprout and then apply some water-soluble fertilizer containing rooting powder. After the entire acclimatization period ends, it is still best to use organic fertilizer, and by late autumn, be sure to apply potassium dihydrogen phosphate twice.
Light
After repotting, do not give the camellia sunlight at first. The entire acclimatization period should be spent in a shaded, ventilated place to prevent excessive water evaporation. After new buds appear, you can gradually give it some sunlight from sunrise and sunset.
If you want to grow camellias well, the most important things are humidity and fertilizing. Control these two points, and the rest is much simpler.
For Aglaia odorata, you must pot it this way, and then it will bloom especially quickly
Potting soil
If the Aglaia odorata you bought comes in a plastic pot, be sure to switch it to a clay pot once you get home; that is best. The first key point of potting soil is that it must be loose and breathable, with a slightly acidic pH. I myself mix cow dung soil, leaf mold, and organic fertilizer. The cow dung soil and leaf mold must be used after being sun-dried, and for the organic fertilizer I use the mass-produced kind, so that after potting there will be no bacteria and no bugs!
Potting
The Aglaia odorata you buy usually comes with a moist root ball, and you can pot it together with this root ball without separating it out. This way the acclimatization period after potting is shorter. After putting it in the pot, just backfill with the prepared flower soil, then press it down gently. There is no need to rush to water; you can wait a day before watering, so it can adapt to the environment first.
Acclimatization
After watering on the second day after potting, be sure to place it in a bright, ventilated spot for care. Generally about ten days is enough before it can be cared for normally. If the management in your residential compound is not very strict, you can plant the whole pot into a green belt, and the growth speed will be absolutely incredible! Move it out in spring, and remember to move it back in autumn. Growing in a green belt for one year is enough for it to get big enough!
Fertilizing
The best fertilizer is liquid fertilizer. Apply liquid fertilizer once every 10 days, and a phosphorus-potassium foliar fertilizer once every half month. Sufficient nutrients can make Aglaia odorata grow rapidly, and combined with a good environment, it is fully enough to make your Aglaia odorata bloom and fill the whole garden with fragrance.