Succulent Sowing Insights: Lessons from 7 Years of Growing Succulents
Follow
Follow the Encyclopedia · Meet Beauty (WeChat ID: duoroubaike)
The main text begins:
Thanks to the author [Qiye Guaidan] for theoriginal submissionsharing
Submission date: 2018-04-18
Edited and compiled by: Encyclopedia Jun
Location: Taiyuan City, Shanxi Province
Time flies. Ever since I came across my first succulent, a White Peony (Graptoveria 'Titubans'), in my sophomore year, there was no turning back. And just like that, 7 years passed. Back then, succulents were outrageously expensive. So I threw myself headlong into the ranks of seed sowers, and basically sowed every seed from x.
This is my first time submitting to Encyclopedia Jun. I didn't know what to write, so I'll just write a bit about my sowing insights from these past few years.
First, let's enjoy a few succulents I grew from seed. Grown on and off over several years, they all grew up and were shared out, because I really enjoy the feeling of sowing!
Sempervivum, back then I bought 50 seeds for 58 yuan, and amazingly they all survived!
Bretony Snow Mountain, I especially love Dudleya, but they're so expensive, so let's sow them ourselves!
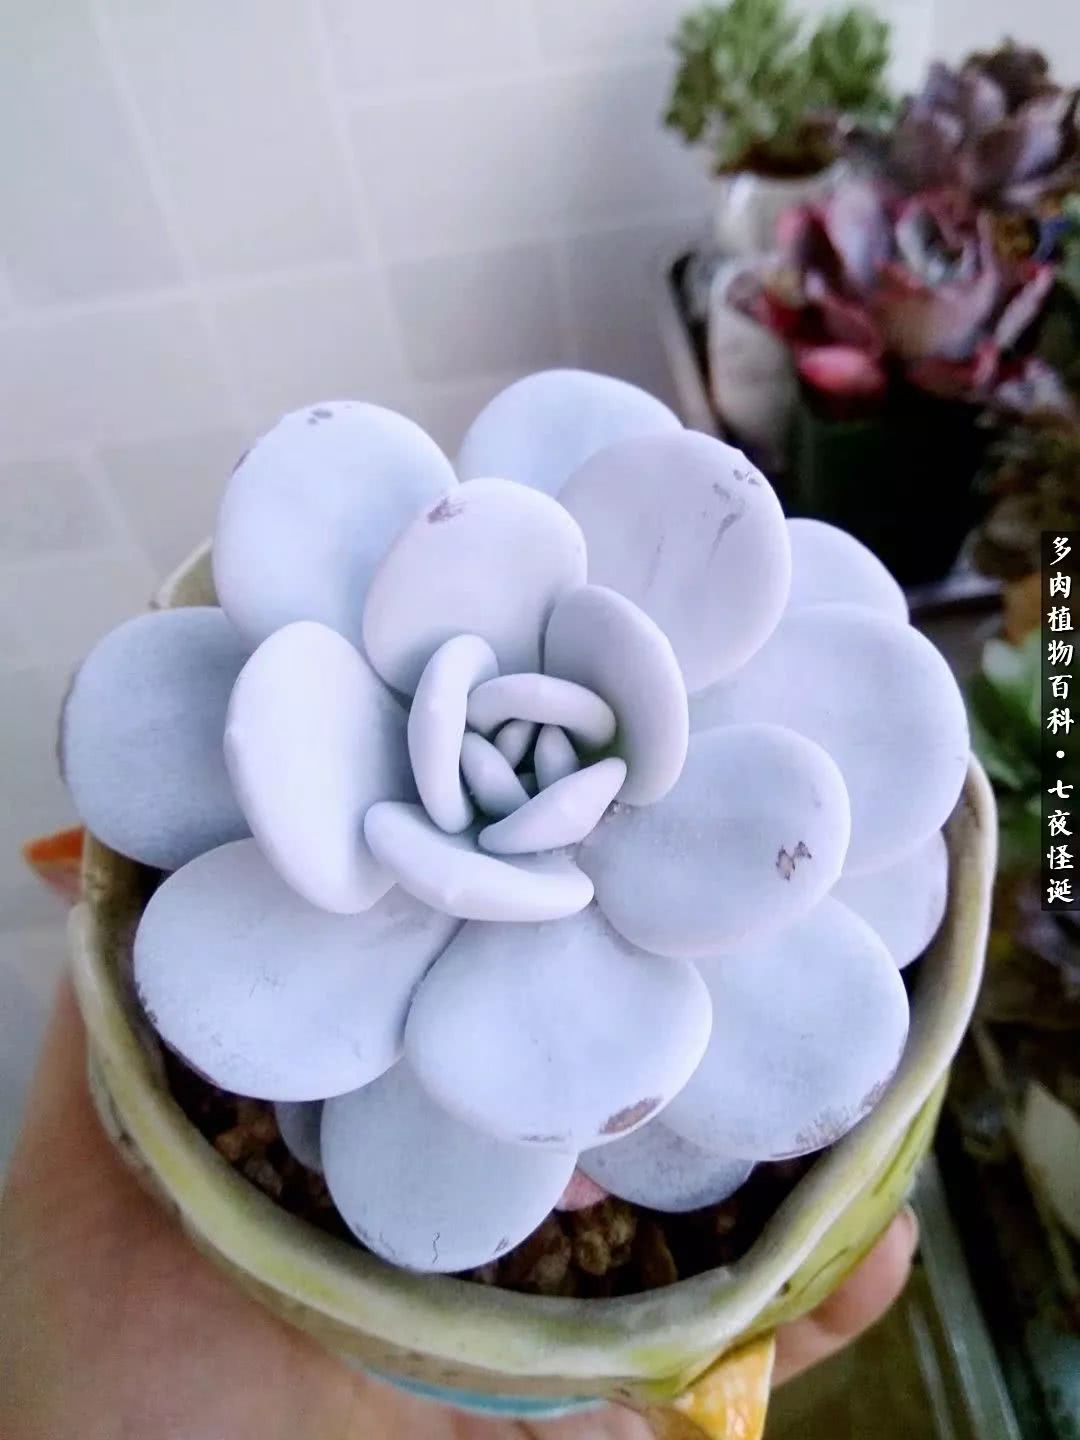
This one I bought, I fell for it at first glance!
Yu Jian!
Alright, let's begin the main text!
Sowing is a really interesting thing. To succeed, everyone always talks about temperature, humidity, and sowing soil. But seeds are truly the most important! So it's very important to avoid seed sources from certain places!
Below, I'll use the Thumb Dudleya as an example to explain~
On 2018.3.16, I sowed ten Thumb Dudleya seeds. When they arrived, one was already not plump, and sure enough, 9 germinated.
In the early stage, the soil must be sterilized, pure peat. My home is in Taiyuan, and the balcony temperature is 10 to 25°C, which is very favorable for germination. With a large temperature difference, seedlings emerge evenly. Based on my experience, when sowing conditions are suitable, the seeds begin to stir in one day and all emerge in three days. Here, I want to share my balcony sowing experience: during germination, wrap the seedling box with black cloth to block light, this is very important, and place it somewhere the sun can't reach. This photo has a date on it, three days after germination, the first week begins!
When the seeds are germinating, keep the soil moist, but not waterlogged. It's enough to see with the naked eye that the soil is moist, letting the seeds fully absorb water. This photo is the start of the second week. After the seeds germinate, you can remove the lid, but keep the soil moist. At this point the seedlings are still weak, so scattered light is enough. Compared with the previous photo, that thing, what's it called, the leaf that isn't a true leaf, starts to grow larger. At this time my home temperature is still fairly cool, staying in the 10 to 25°C range. After a week of building up strength, the third week begins and true leaves are about to grow!
It's April 4th now, and the true leaves have already grown. At this point, although the seedlings are still relatively weak, they're much easier to care for than in the previous weeks. Now you can let them get sun through glass, but one very important point: the midday sun is scorching, so try not to expose them. To save trouble, I just put them on the bottom layer of the flower rack. The key care points at this stage are: keep the soil damp, not just moist, and not waterlogged. You can wait until the soil dries a little to stimulate the seedlings, then bottom-water, and they'll start growing faster. At this point, do not apply fertilizer!
It's April 17th now, and I've gotten lazy, not taking photos on schedule. The small seedlings are easier to care for now. At this stage, you can apply a tiny bit of water-soluble fertilizer, just a tiny bit, keep the soil damp, and most importantly, don't give in to the urge to transplant the seedlings! Just wait until they fill the seedling pot before transplanting!
Alright, sowing is actually very simple. The main thing is that it's cheap, and you can get a lot of seedlings at once. Watching them grow day by day is also fun. Why not give it a try too?
Finally, let me end with a few of the ones I've grown myself. Oh right, I'm also a fanatical flower pot maker, and for that I even opened a pottery studio, also to fulfill my dream of making flower pots!
Recently I've become obsessed with making thumb pots haha
Advertisement ADVERTISEMENT
This article has beenexclusively authorizedby the author to WeChat public account: Succulent Plant Encyclopedia (ID: duoroubaike). The article content does not represent the views or stance of the public account.
- Review of last issue's wonderful pushes -
- Encyclopedia's essential articlesrecommended -