Playing with a moss bonsai however you please: bowl bottom up, moss on top
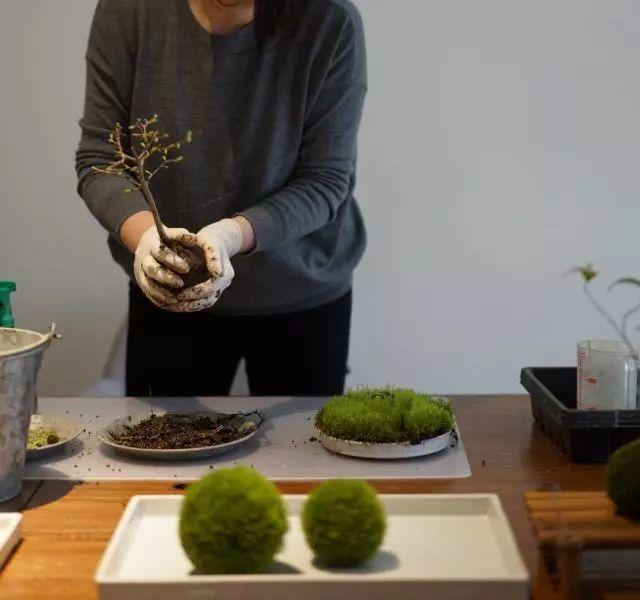
Moss bonsai, have you tried it?
Finger-tip bonsai, have you tried it?
Creative bonsai made from upcycled waste containers, have you tried it?
... Oh my, good heavens!
These past days, fellow gardeners, together with the Editor-in-Chief, nestled in this little world of "Grown on the Balcony," you could say you have seen much and practiced much, and after broadening your horizons, your tastes have grown pickier and pickier, haven't they?
Day and night the Editor-in-Chief racks his brain, wondering how to level things up today, and what strange new thing to lead fellow gardeners off to explore?
I wonder if any observant fellow gardener has noticed that the articles the Editor-in-Chief posts each day have different content, always thinking of ways to make the content more colorful, and thinking of ways to shift the angle so fellow gardeners can experience growing on the balcony and seek out the joys of life.
If fellow gardeners have felt this, the Editor-in-Chief salutes you!
Back to the article. Today the Editor-in-Chief will show fellow gardeners a moss bonsai made with utterly unrestrained creativity, named "Bowl Bottom Up, Moss on Top." Whether it is creative or not, fellow gardeners must be the judge.
Moss bonsai
Actually, at first the Editor-in-Chief also wanted to ask: even if you use a discarded bowl to grow moss, a normal person's thinking would be to use the inside of the bowl, so why use the bottom of the bowl?
After thinking it over, the Editor-in-Chief believes this depends on what meaning the person who made this bonsai intends to appreciate in it?
The painted decoration on the bowl is also one of the things to appreciate in the whole landscape, and a touch of green is enough to perfectly match these brightly colored patterns.
Bowl bottom up, moss on top
1. Drill holes in the bowl and fit a drainage screen at the bottom, and prepare the moss as well as coarse and fine-grained soil.
2. Fill in coarse-grained soil to about 1/3 of the capacity, letting the soil form a slight mound shape.
3. Use your hands to peel off the outer edges of the moss so it becomes a piece slightly smaller than the area of the bowl bottom.
Editor-in-Chief's tip: Doing this not only makes planting easier, but it will also grow better in the future.
4. Evenly sprinkle a layer of fine soil on the back of the moss, making sure to fill in all the original tiny gaps, and let the surface form a slightly raised curve.
5. Use misting to moisten the soil on the back of the moss.
Editor-in-Chief's tip: Doing this means that when it is flipped over and covered onto the bowl bottom, the moss will not fall off in uneven patches.
6. Cover the soil mound at the bowl bottom with the moss, press lightly so the soil on both sides is completely compacted, then press the edges of the moss a little into the soil.
Editor-in-Chief's tip: Although it does not look very nice right now, after a few days the moss will rise up from the soil and look very natural.
7. Choose the viewing angle according to personal preference; if you feel the painted decoration is too bright, then turn it to another side and it is much plainer.
At this point, the moss bonsai is done!
Fellow gardeners, what do you think of this bit of creativity? How is the final effect?
Alright, this article ends here. If fellow gardeners still have any questions, check in at the comment section below.