Larch Bonsai Creation: An Ugly Tree Meets a True Expert
These past few days I have been watching foreigners dig up stumps, and for several days I have not told the story of Graham and his old stump. Compared with those people going up the mountain to dig up stumps that I posted about these past two days, I still admire Graham's approach of benefiting all beings even more. There is no absolutely ugly stump in the world, only the absence of someone who understands it.
The larch we are talking about today is relatively lucky, because it met Graham. Two years ago Graham brought it back to the garden from a tree farm and planted it in this pot. Now the root system has grown well, so it is time to get to work. To reiterate, if the root system has not grown well and the plant is not healthy enough, you absolutely must not perform major surgery, otherwise you will end up with a deadwood trunk.
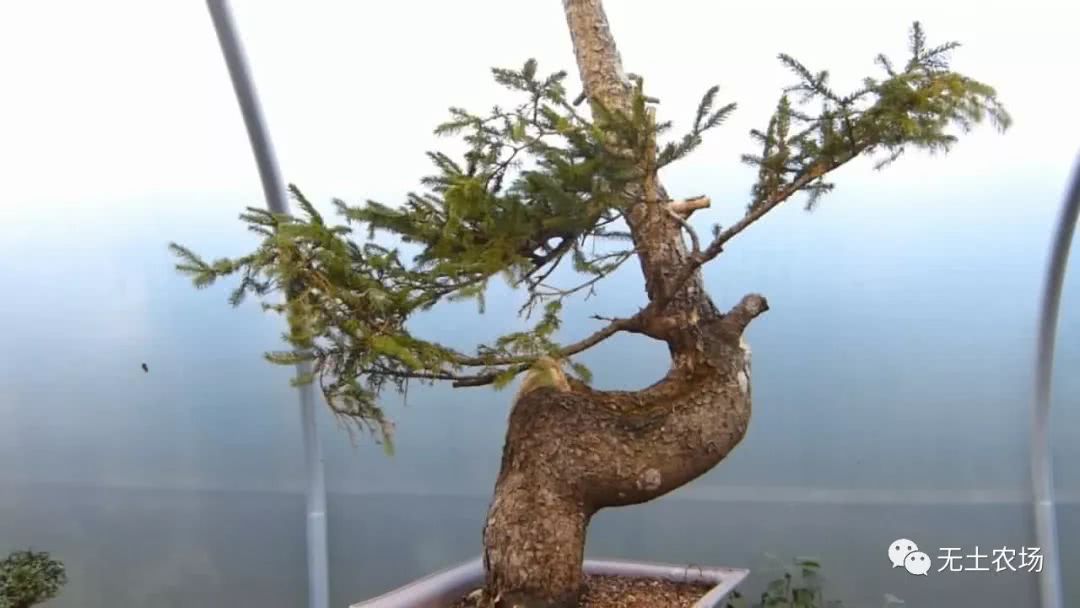
From the picture, this larch really is very ugly. The lines are not graceful, the thickness proportions are unbalanced, and the branches and foliage are not exactly lush either. Few people discover its inner qualities. It is hard to associate it with a fine bonsai.
The back is the same, with nothing that could be called a highlight.
The surface roots are not very good either. This kind of horizontally spreading root has always been disliked.
This section of deadwood at the top is thick and straight, just like a chimney.
Larch branches are relatively slender and long, so the ones that are too long and disharmonious must be cut off.
For this kind of old stump with the trunk as the main subject, only by creating a large amount of deadwood can awkwardness be avoided.
Scrape off the bark
Because the proportions of this trunk are really bad, the places that should be made thinner must definitely be made thinner. This is demonstrated in the animation, so I will not say much more.
That section of deadwood at the top is really too straight, so you have to find a way to bend it.
Do not be afraid to use more force when bending. When it cracks a little like this, stop.
Then use a lighter to scorch this bent area. At the same time, also scorch all the deadwood along the way to remove surface burrs and loose structure. After scorching, brush it.
After scorching with a lighter, once it cools, this bent area will basically hold its shape, and no guy wires are needed.
Just now I sawed a cut with a saw. This kind of saw cut absolutely must not appear in a bonsai, so this saw cut needs some treatment and carving to shape it. Because deadwood must try its best to imitate what is naturally formed, the more realistic it is, the better.
Next, use an electric metal brush to polish the surface. Then brush on lime sulfur.
And so, the deadwood portion is considered finished.
After the trunk is treated, the thickness now has a transition and looks much more natural.
The process of wrapping aluminum wire for wiring is also omitted, since everyone is very familiar with it.
The picture below is the final styling. The whole is relatively harmonious. The branches contract into the entire curve, looking compact and aesthetically pleasing. Given time, once the branches and foliage become fuller, it should be very beautiful.
Compare them.
Before creation:
It took about 8 hours; after creation
LOVE. Soilless Farm
Soilless FarmShengguo Mall
Discover the beauty of growing flowers