How to Care for Clivia in Spring: These Care Tips Are Essential
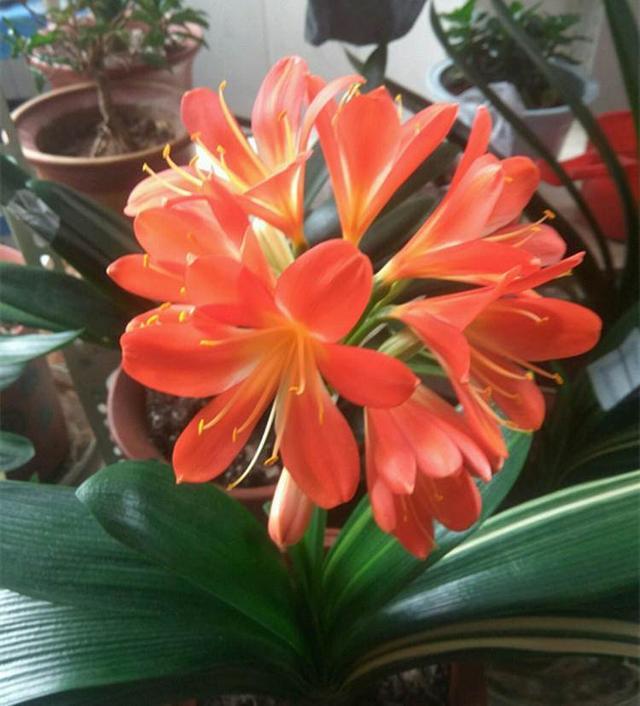
Clivia's blooming season is from November to February. Once it blooms, each inflorescence bears several to dozens of small orange-yellow trumpet-shaped flowers, which are very beautiful. However, this beautiful flower requires attention to certain matters in spring care in order to bloom vigorously.
In spring, Clivia is suitable for placement on east-, south-, and west-facing balconies. Repot once a year. If Clivia can grow normally in summer and winter, then repot twice a year.
For repotting, choose tall-footed clay pots with good drainage and breathability. Clivia also has high requirements for pot size, and the pot should be chosen according to the size of the Clivia. The specific tips are as follows:
1-leaf seedlings can be planted ten per pot in pots with a diameter of 10 cm; 2-3 leaf seedlings can be planted in pots with a diameter of about 10 cm; 4-5 leaf seedlings can be planted in pots with a diameter of 14-16 cm; 6-7 leaf seedlings can be planted in pots with a diameter of 16-18 cm; 8-10 leaf seedlings can be planted in pots with a diameter of 18-21 cm; 11-15 cm leaf seedlings can be planted in pots with a diameter of 24-28 cm; 16-20 leaf seedlings can be planted in pots with a diameter of 36-38 cm.
The potting soil should preferably be loose, fertile, well-drained loam. A special nutrient soil should be used, generally with a formula of half-rotted leaves : sand = 8:2. Repotting should be scheduled in spring and autumn. When removing from the pot, hold the base of the Clivia stem with one hand, support the bottom of the pot with the other hand, slowly turn it over so the pot is upside down, and gently tap the rim of the pot against the edge of a stool or chair, and the Clivia and potting soil will come out together.
Gently peel off the nutrient soil attached to the orchid roots, wash the roots with clean water, cut off shriveled, rotten, and aged roots, soak the wounds in plant ash or 1000-fold carbendazim, and after drying, they can be potted.
Clean the prepared flower pot, cover the drainage hole at the bottom with a large piece of tile, then place a layer of small tiles at the bottom, with the small tiles about the size of a broad bean, then add a layer of river sand, then a layer of nutrient soil on top of the river sand, apply a layer of base fertilizer, then add another layer of nutrient soil, then shape the nutrient soil in the center of the pot bottom into a steamed bun shape, place the base of the Clivia stem on top of the soil mound, distribute the Clivia roots evenly around the soil mound, fill with soil, press along the sides of the pot, and firm it down.
Spring temperatures are suitable, making it a great season for Clivia growth. Appropriately increase fertilizer application, and ensure 3-5 hours of morning and evening light each day. In spring, Clivia should not be moved outdoors too early, because spring temperatures are not very stable and frost damage can easily occur. The spring climate is dry, and after being moved out, the spring wind can easily cause Clivia leaves to age and lose their luster.
When watering Clivia, do not calculate the frequency of watering by the number of days. Watering should follow the principle of "water thoroughly when dry." Watering thoroughly means water slightly flows out from the bottom of the pot. The best time to water is in the morning or evening. Use rainwater, tap water stored for 2-3 days, or water changed from an ornamental fish tank.
It is best to use a specialized fertilizer for Clivia. You can also make your own: use sesame cakes or roasted and crushed sesame seeds, add fish heads, fish scales, fish bones, soybean cakes, etc., add water, seal in a container, and let it ferment. Once it turns black, the container can be placed outdoors, and then it can be used for normal fertilizing. If flower enthusiasts find this troublesome, they can use liquid organic nutrient solution and water it at a 500-fold dilution to drench the roots.