Detailed Guide to Cherry Bonsai Making Techniques, a Must-Read for Fruit Tree Bonsai Enthusiasts
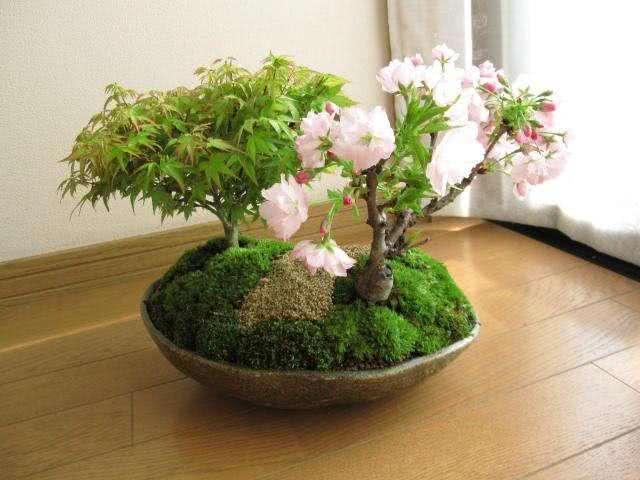
Potted fruit trees are not only for viewing but also for eating, and people increasingly favor these cost-effective potted fruit trees. Potted fruit trees are gradually entering the mature market, whether in courtyards, on balconies, on rooftops, or in halls, becoming indoor scenery.
There are many varieties of potted fruit trees in strange and varied forms, and they are widely favored in the market. Common varieties include apple, pomegranate, flowering peach, grape, cherry, and others. Cherry especially, with its bright colors, dots of red set off against specks of green, is particularly beautiful and much loved by people.
Many girls love eating cherries, because they not only beautify the skin and nourish the face but can also relieve anemia. The color and delicious taste of cherries are indeed hard to resist, so why not grow a pot of cherry bonsai at home, enjoying both beauty and use. Let us learn about the steps and methods for successfully making cherry bonsai. To reduce the trouble in cultivation for everyone, the simplest cultivation method is specially introduced here.
1. Seedling selection: The most convenient method is to go to the local flower and tree market and choose cherry seedlings of excellent varieties that are not only healthy but also have well-developed root systems, so they will not wither or die due to transplanting.
2. Pot and soil selection: The pot body should have good air permeability; you can choose a clay pot or ceramic pot, which is beneficial for the plant's root respiration and water absorption. The potting soil is suitable for preparation from multiple materials. The simplest method is to mix sandy soil and compost soil at 1:1, add 1 kg of compound fertilizer per cubic meter of soil, and then mix well. To sterilize and disinfect and prevent residual pests and diseases, spray 0.1% formalin solution, then cover with plastic film and seal well. After one day and one night, place it in the sun to dry for four days before use.
3. Potting: Cherries enter dormancy in late autumn, which is beneficial for root recovery and growth, so choose this time for potting. Place the cherry seedling roots into the potting soil, about 3-4 cm from the pot rim, then gently firm with potting soil.
4. Fertilizer and water management: When cherries begin to sprout, the cherry plants need to be watered with an inorganic liquid, which is made by mixing inorganic fertilizer stock solution with water; when using it, dilute it with water.
5. Flower and fruit management: During the cherry sprouting period, some flower buds need to be thinned out; during the flowering period, pollination between different varieties should be done well. When the fruits are about the same size as soybean grains, thin out the deformed fruits.
6. Shaping and pruning: When pruning fruit trees, it is necessary to prune damaged branches, and it is best to expose a new cut to avoid affecting other healthy branches. At the same time, cut off parts with pest and disease problems to prevent the spread of pests and diseases. When pruning, pay attention to the position of flower buds and do not cut them all off. The best time for pruning is summer and winter.