For clivia, just do this one step well, and the leaves will be green, the roots strong, and the flowers will burst into a full pot
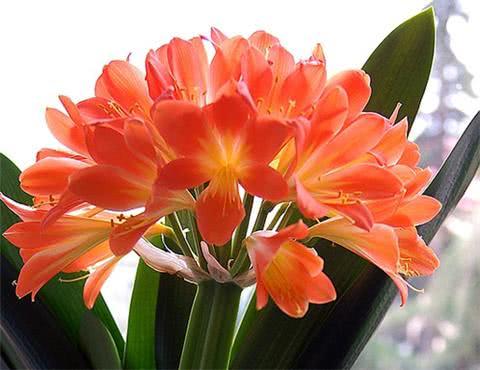
Clivia has broad, thick, glossy green leaves and elegant red flowers that bloom gracefully, with red and green setting each other off beautifully, making it an ideal potted flower for beautifying the home. Below is an introduction to the method of repotting clivia!
Method of repotting clivia
(1). Take out the plant
Clivia's fleshy roots are thick and well developed, and because they are tender and plump, they are easily damaged. Be especially careful when taking it out to avoid injuring the roots. Keep the root system intact.
(2). Choose a good flower pot
Generally, a deep pot is more suitable for clivia. A deep pot whose mouth diameter is roughly similar to the pot's height. For the size of the flower pot for growing clivia, you can place the plant in the pot, and a distance of 2~3cm between the roots and the pot wall is sufficient. The pot must not be too large, as root rot easily occurs.
(3). Put material in the bottom of the pot
Use crushed stone, coarse sand, etc. to line the bottom of the pot with 2~3cm, which helps with water seepage and air permeability and good drainage, helping clivia grow.
You can also line it with broken pot pieces. Place a piece over the drainage hole at the bottom of the flower pot, covering half of the drainage hole. Use another piece, placed at an angle over the drainage hole, which helps with ventilation and drainage.
(4). Transplant the plant
Straighten out the clivia's root system, place it in the center of the pot, secure the plant well, and slowly put the growing medium into the flower pot. For large seedlings, you can add finer growing medium; for seedlings without soil, add plain soil in the center of the pot.
After adding soil to a depth of 5~6cm, gently lift the clivia up a bit, which allows the root system to spread out comfortably in the soil and better contact the soil. Add growing medium up to the base of the clivia, about 2cm lower than the pot rim, for convenient watering and fertilizing.
(5). After-planting care
After planting, water thoroughly and place in a cool, ventilated place. No watering is needed for 5~7 days. After 7~10 days, it can be placed on a balcony for growing, and afterward just keep the pot soil moist when watering.